
Engine rebuild: 2.1 DJ WBX petrol VW T3
18 de mayo de 2018
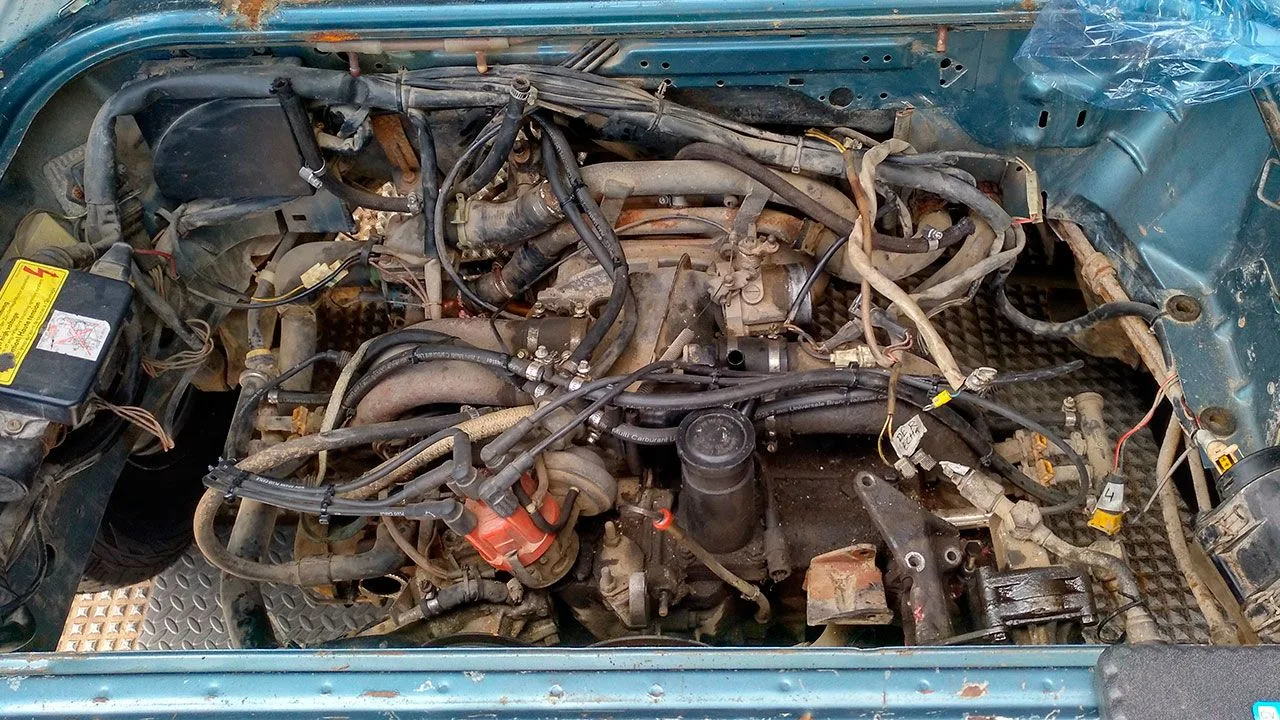
Although in my last post I was discussing alternatives for petrol engines, I’ve now started rebuilding the 2.1 DJ WBX engine. In the end, I’ve decided to rebuild the engine I already have. The other option was to fit a Subaru engine, but I spoke to a homologation specialist and they told me it wasn’t possible.
Why am I rebuilding the 2.1 DJ engine?
Well, in the end I’ve taken the plunge and, since I’m doing it, I’m going to do it properly. Just as I did with the front differential. Several factors have led me to make this decision:
- When I brought the Volkswagen T3 Syncro home, I noticed that this engine – which, in theory, is the most powerful of those fitted – was losing power on uphill stretches.
- Furthermore, I noticed it was leaking oil from the tappet tubes.
- It’s a petrol engine. Petrol is much more flammable than diesel, and although I’ve replaced most of the fuel line, I want to play it safe and check and overhaul the entire system.
- The rubber hoses through which all the coolant flows also need replacing.
Stage 1: Removing the 2.1 DJ engine
As far as the engine is concerned, there are certain tasks that can be carried out on site. But for this one, it’s necessary to remove the engine. Before doing so, you need to find out how to remove it. I must stress that I’m not a mechanic and I’ve never removed an engine from a Volkswagen T3 before.
These videos have given me exactly the information I needed to remove the 2.1 DJ engine:
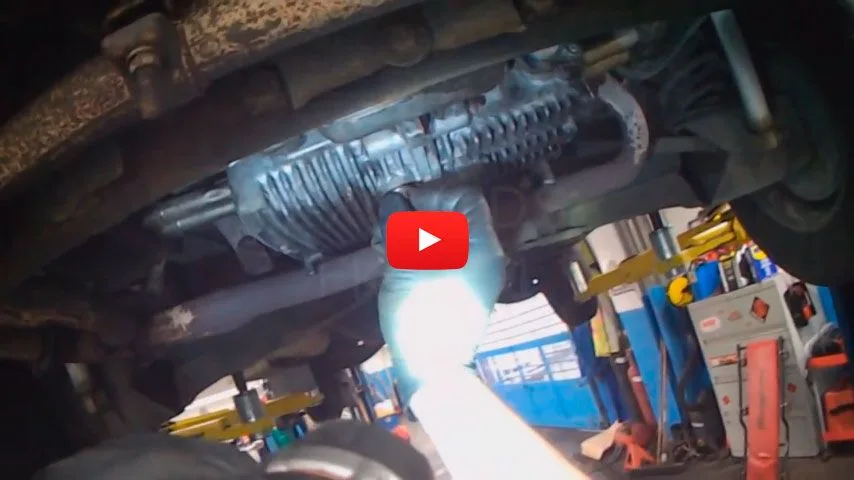
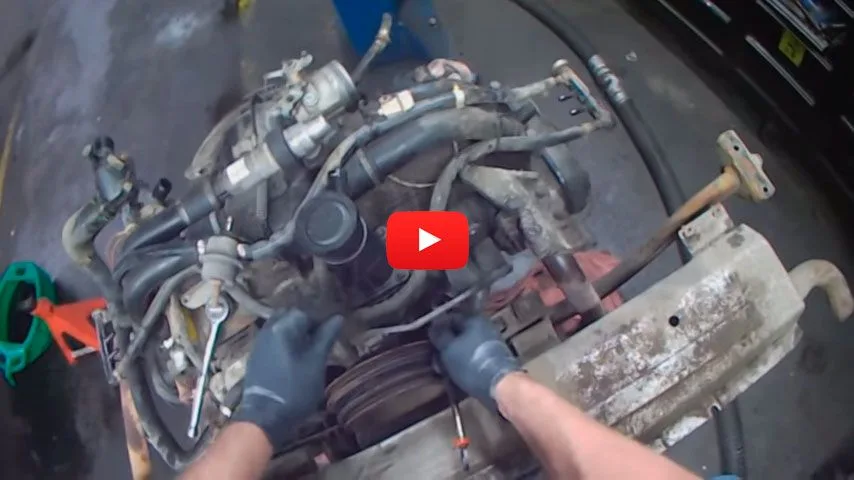
Once I’d watched them and knew where to start, I began by removing the engine’s ‘add-ons’. That is to say: the intake manifold, the alternator, pipes, fuel injectors… This way, the engine will weigh less when it comes to lowering it to the ground. I also removed the entire exhaust system, which, as you know, I’d replaced a while back.
Once the weight had been reduced, the task was to secure the engine and loosen the bolts holding it in place. What I did was remove just the engine, but you can also remove it together with the gearbox.
To do this, and as I was on my own, I managed to secure the engine properly and began to lower it. I took some slings and some pipes, which I propped up in the boot. I threaded the slings around the cylinder heads, ensuring the engine was securely held and balanced. I reckoned that, together with a jack propped up against the sump, this would be enough to get the job done.
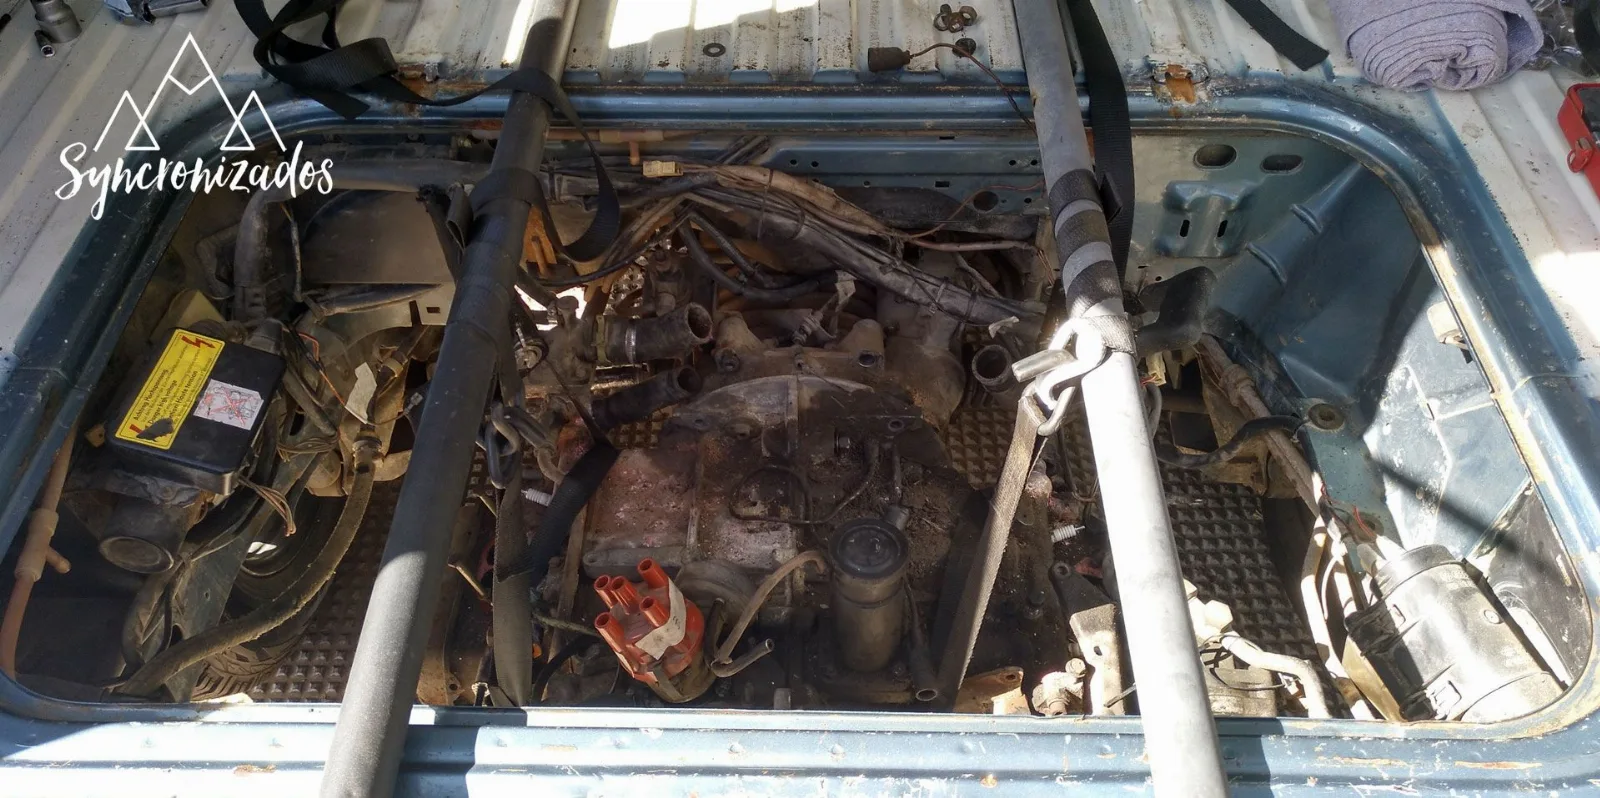
And indeed it was. Once I’d removed the bolts connecting it to the gearbox and the rear cross-member, I detached the engine from the drivetrain and gradually lowered the engine block. Mission accomplished!!
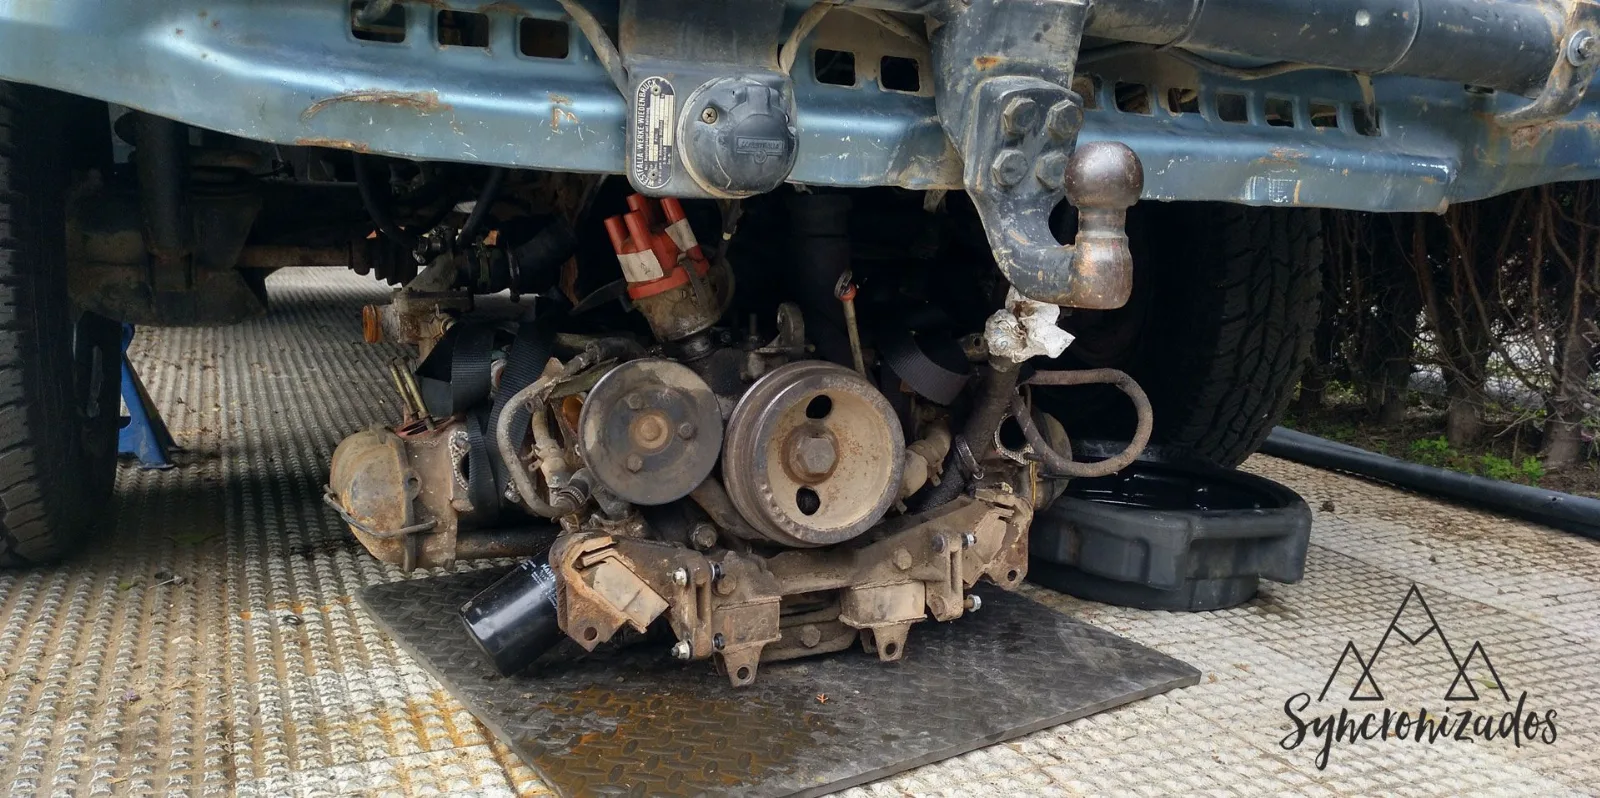
Phase 2: Stripping down the 2.1 DJ engine
Right, I’ve got the 2.1 DJ engine on the workbench now; let’s get on with dismantling it to see what condition it’s in and what needs replacing.
During this stage, I’ll also take the opportunity to clean the engine – which, as you can see, is quite dirty – and salvage any parts that can be reused.
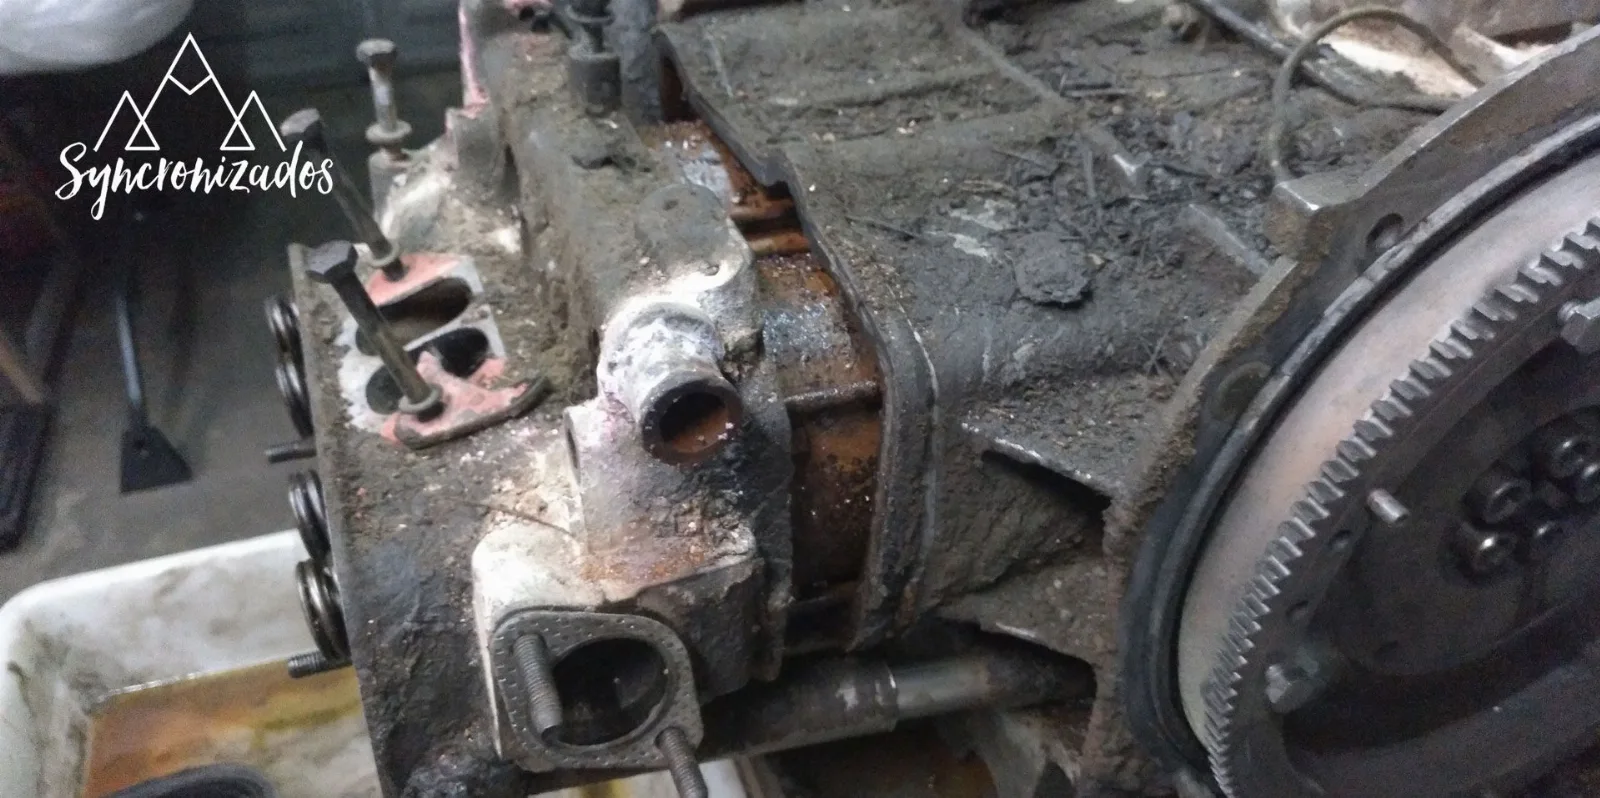
To remove all the grime, I bought a steam cleaner, which, to be honest, has worked a treat. Steam is very effective, non-polluting and cheap; you just need distilled water mixed with tap water. It’s effective, as I say, because the steam reaches every nook and cranny of the block, so we can remove almost everything.
The surprises begin with the 2.1 DJ engine
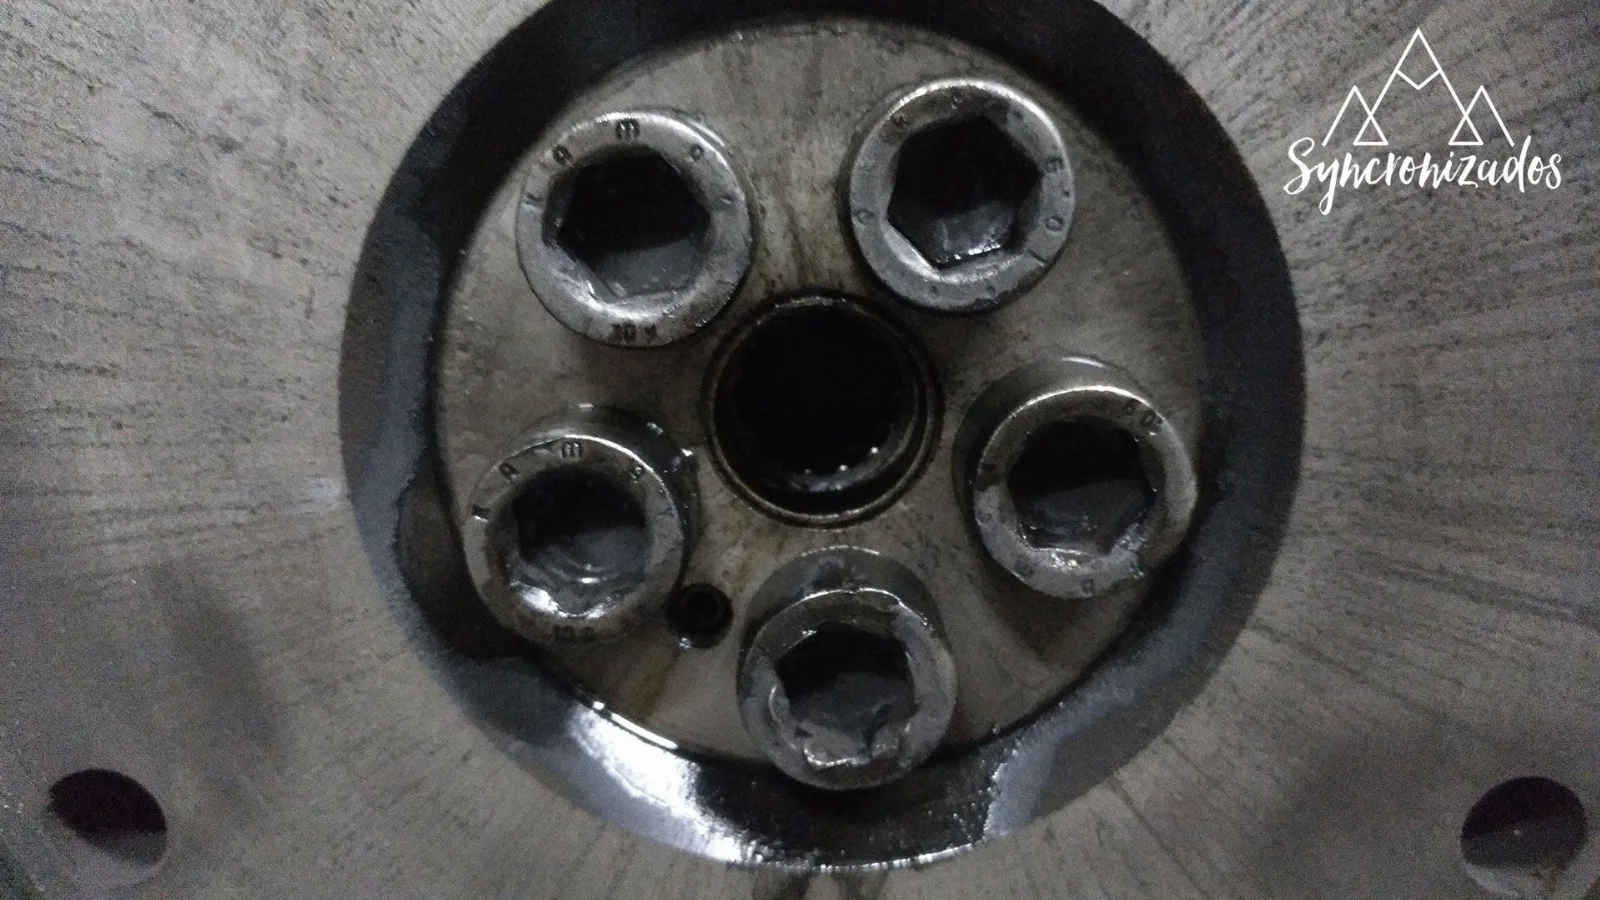
To dismantle the engine block, I started by removing the cylinder heads. These give us access to the pistons and the lock nuts needed to split the block in half. Well, after removing the cylinder heads, the first surprises emerged. Well, actually, I’d already spotted signs suggesting that this 2.1 DJ engine had been opened before – the flywheel bolts have notches in them.
Well, to remove each of the cylinder heads, you need to remove eight nuts. That’s when I realised there were only seven nuts, and in one of the holes there was a threaded bolt. It didn’t look quite right, but it turns out the same thing was happening on the other cylinder head too. I removed the nuts, took out the screw and realised that this part wasn’t from the 2.1 DJ engine; someone had replaced a nut with a screw.
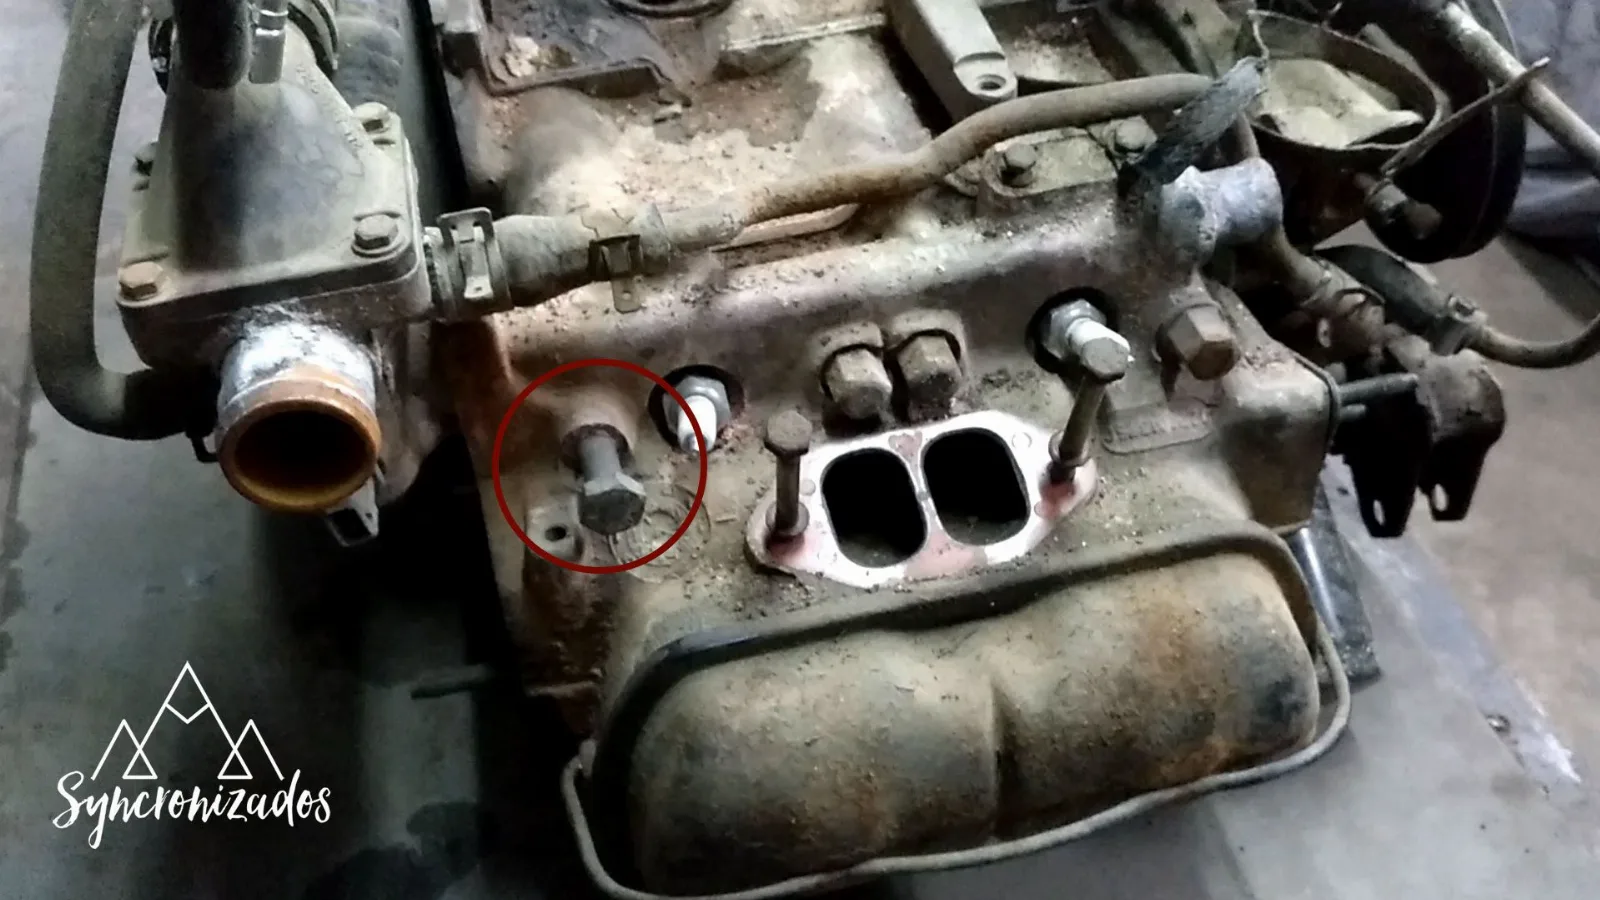
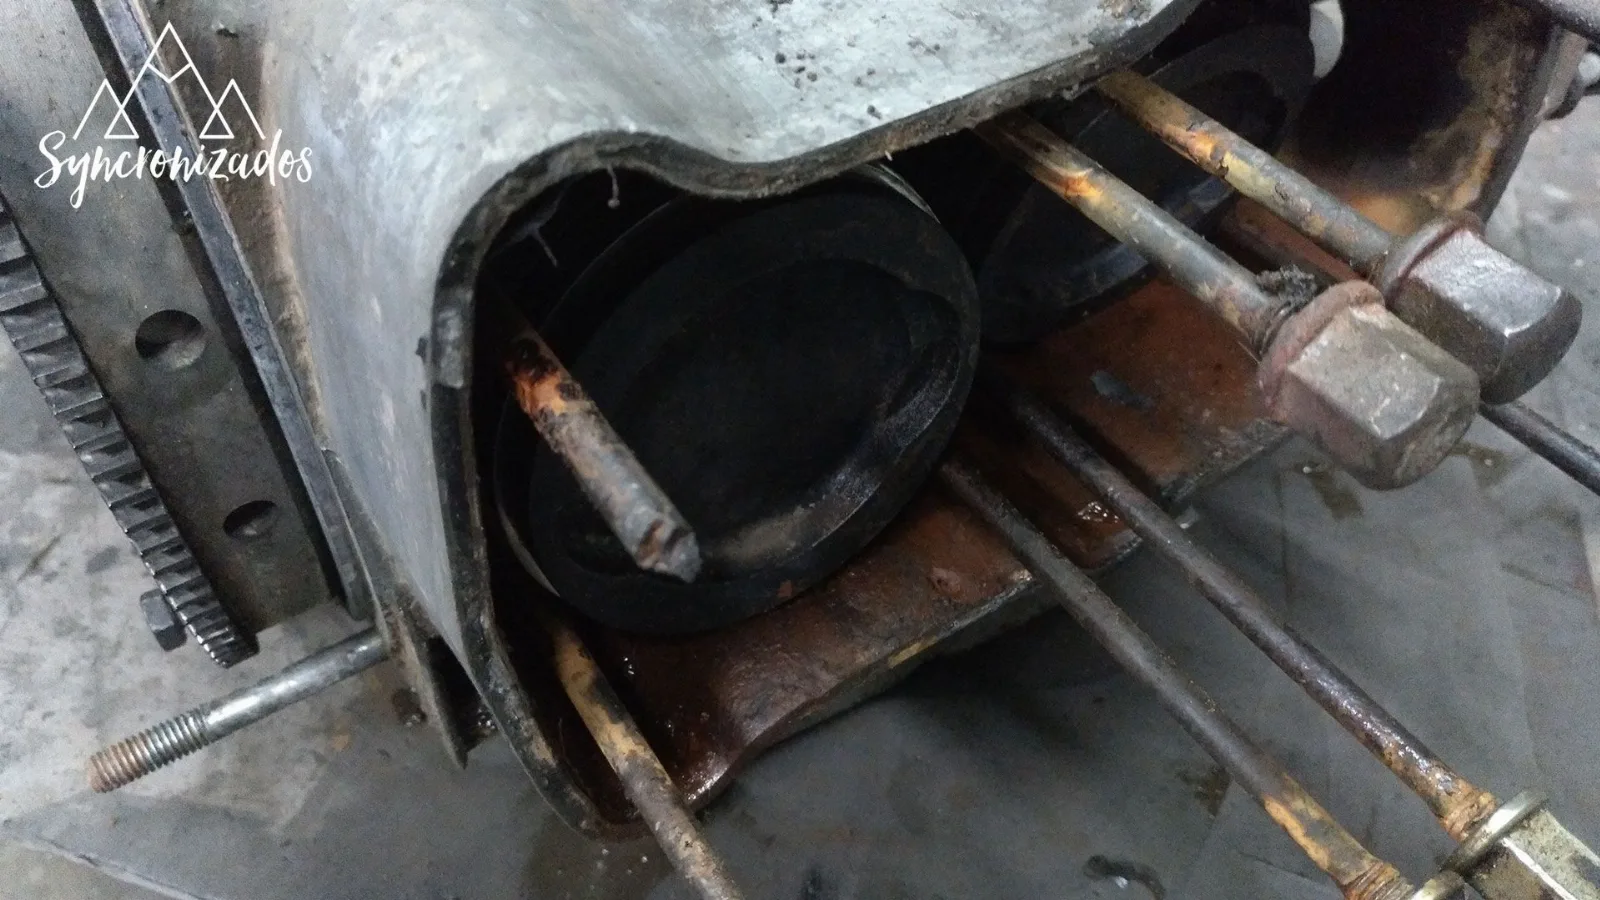
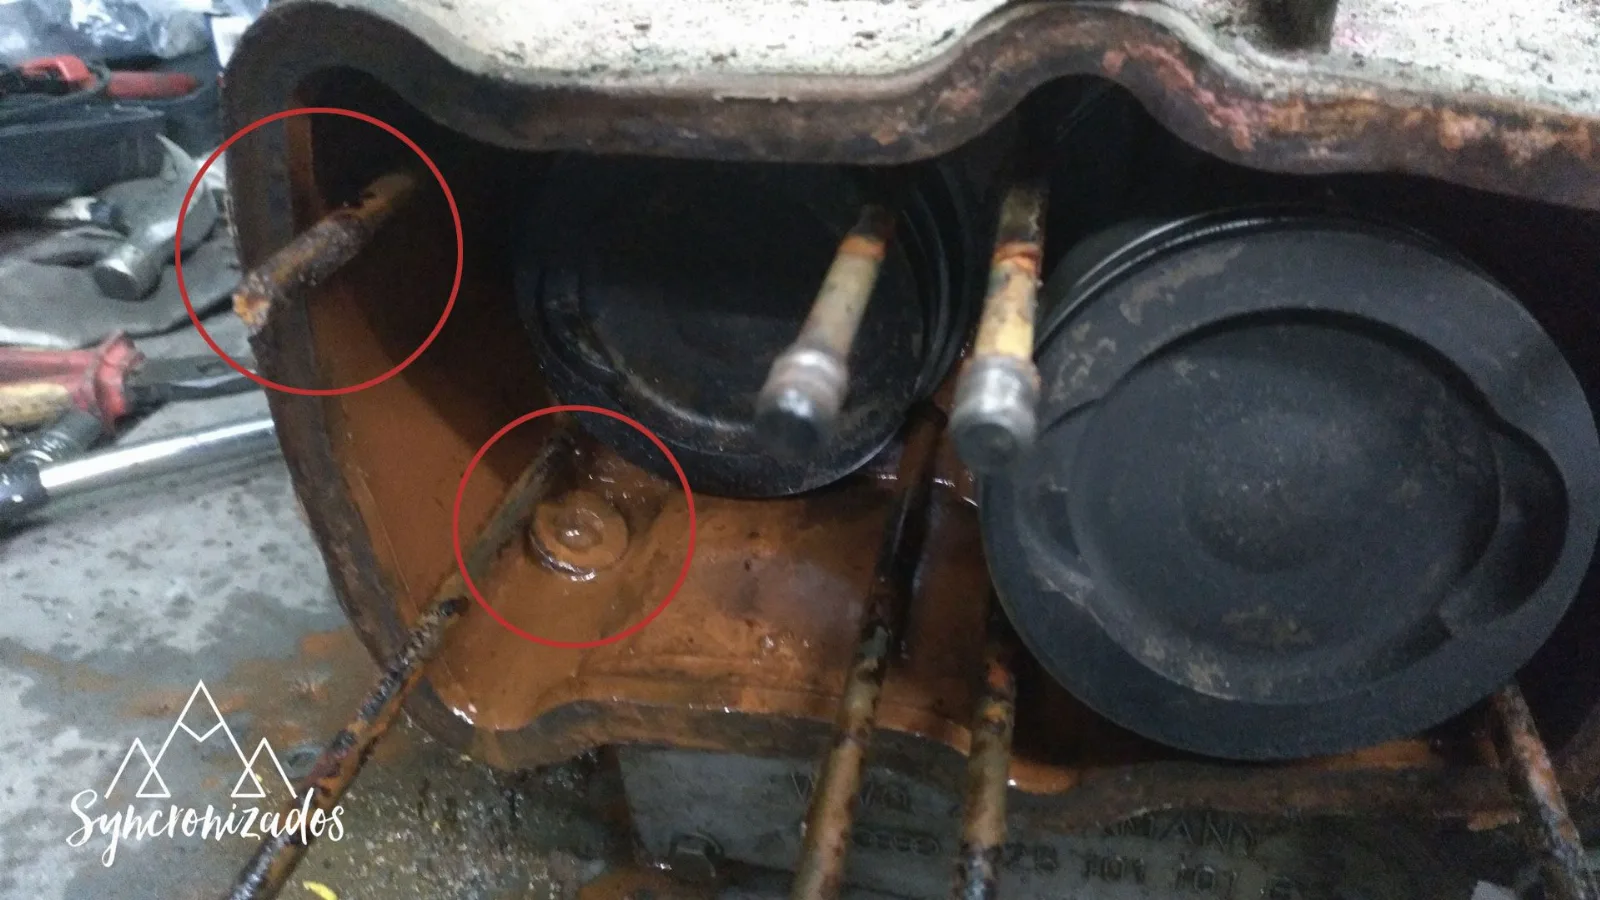
Once the cylinder head was free, I pulled it out and it came away (with the liners stuck to it). It was at this very moment that the mystery was solved. One of the studs is snapped, and instead of fixing it, they’ve fitted a threaded bolt to plug the hole. What a botched job!! Best of all, the same thing has happened on the other side.
But there’s more: look at the red circles – one of the broken studs, and I’ve found a nut inside!!
Well, after what happened with the front differential, I’m not really that surprised; I’ll sort it out – one less thing to worry about.
The thing is, I’ve taken apart every single part of the 2.1 DJ engine. I’m going to have a look now to see which parts need replacing and which ones don’t.
Removing the broken studs
The first task will be to remove those two studs that I’ve found broken.
To do this, I’ve bought a stud extractor – a highly recommended tool.
It’s a tool into which you insert the stud through a hole. It has a threaded section that grips onto the stud when pressure is applied.
I fitted the extractor and immediately realised this was going to be a struggle. Years and years of being immersed in coolant, combined with the shape of the stud – very long and with larger threads at either end – meant there was simply no way to remove it. In the end, the stud snapped.
After failing, I tried a spray that cools the area it’s applied to, causing the metal to contract and break through the rust barrier, but it had no effect. I also tried the opposite approach: using a gas torch on the area to try and expand it so I could remove it – a complete failure. The task was getting more complicated.
The next thing I did was to weld a long nut onto the base of the stud to try and loosen the assembly, but the nut wouldn’t grip properly and the whole thing wouldn’t budge. My spirits were at rock bottom.
My final attempt was to cut the stud back as far as possible and, using a fine drill bit, drill a hole in the centre to weaken the stud so I could loosen it. But this is a complex task and requires professional tools. In the end, I gave up and decided to take it to a motor repairer.
Rectitecnic, engine reconditioning specialists in Valencia
After a quick search online, I came across the Valencian company Rectitecnic. They specialise in reconditioning engines, cylinder heads and gearboxes.
So I put the engine back in the car and they took care of removing the studs from the engine block. After speaking to them, they told me the job had been a real headache and they’d really had their work cut out for them. But they managed it and it turned out perfectly.
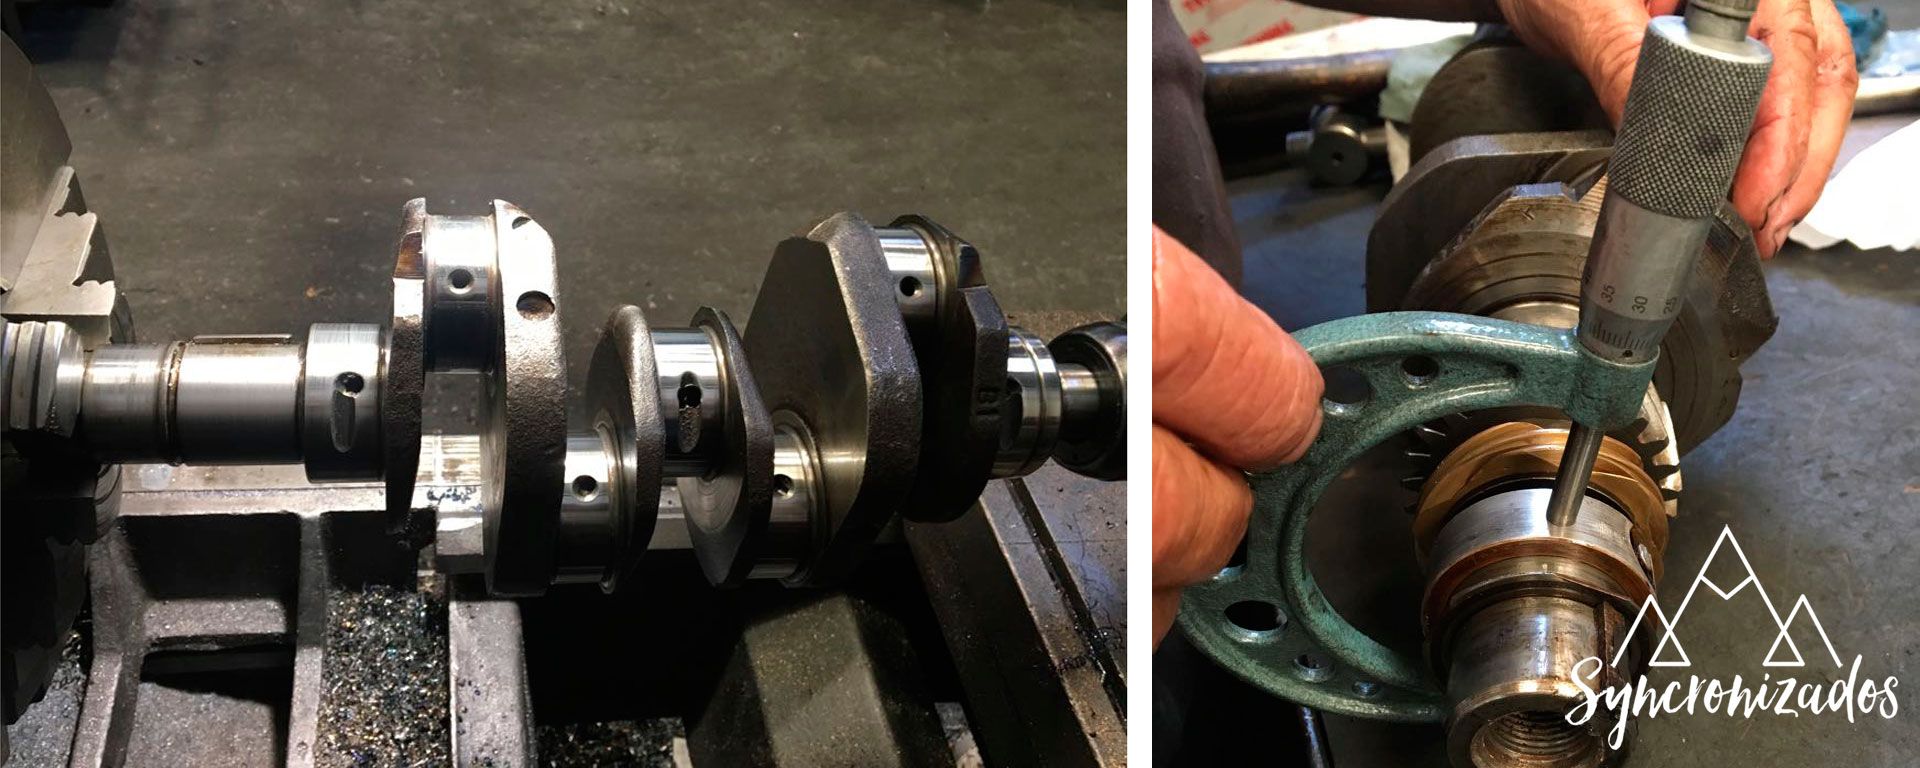
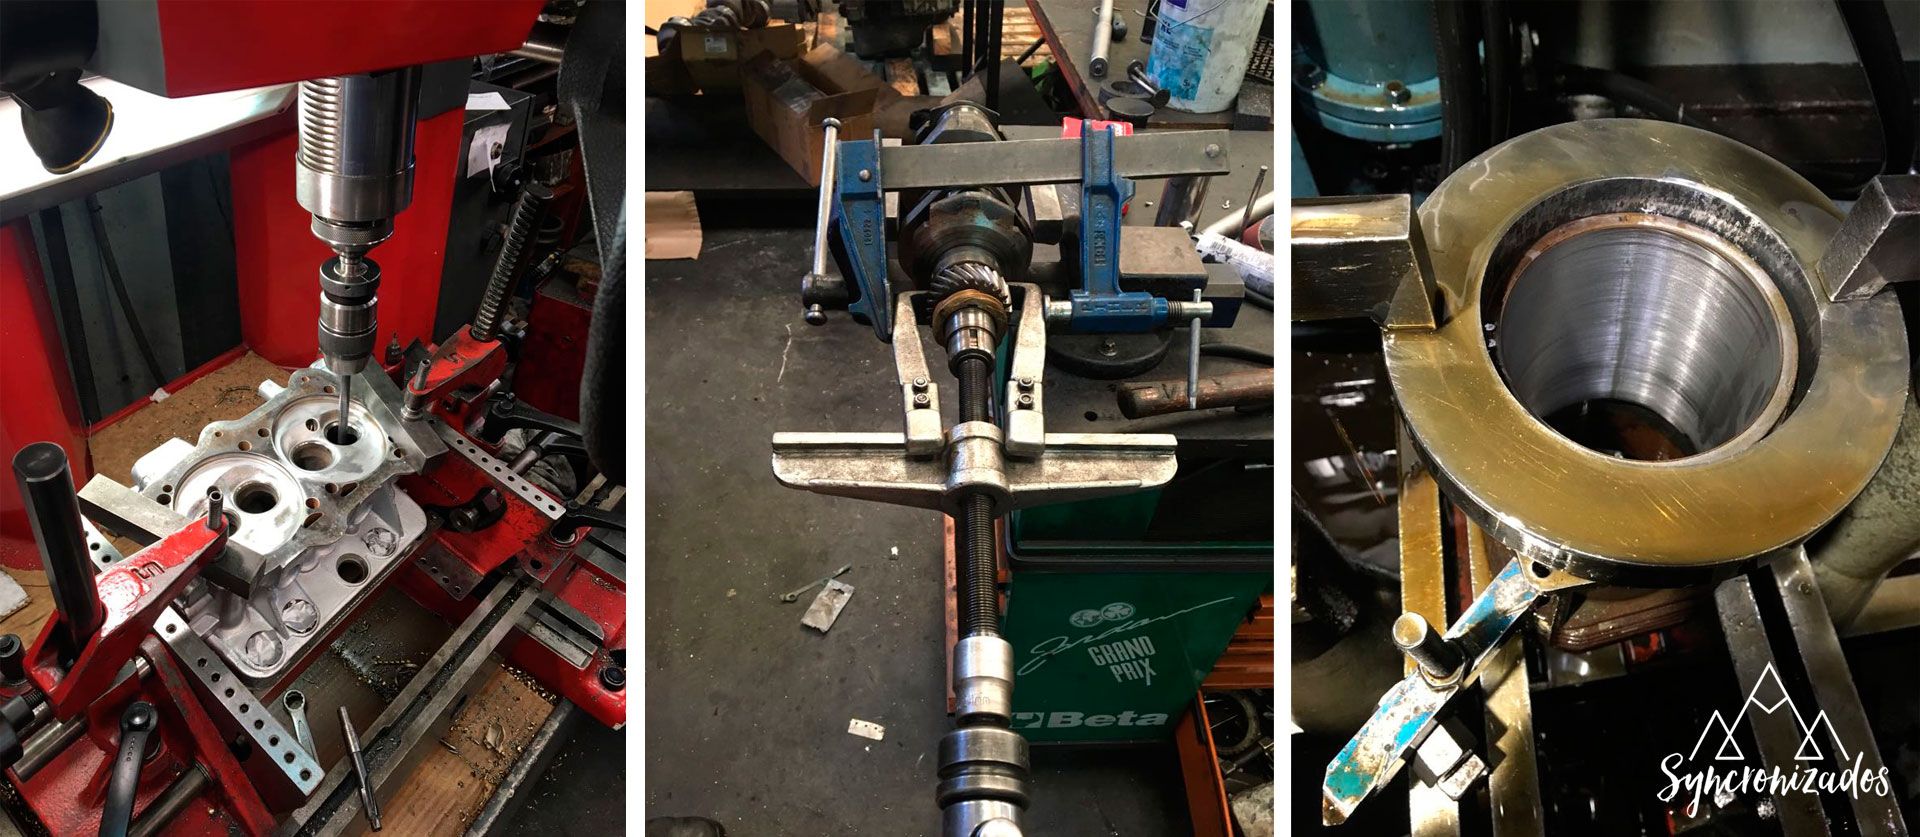
After speaking to Nacho, the manager, he offered to polish the crankshaft, measure the crankshaft bearings I’d bought to see if they fitted exactly (this is done with a micrometre), replace worn guides and valves, resurface the cylinder heads, hone the liners and pistons, and fit the piston rings. Here are a few photos of the different processes:
To be continued…