
How to replace the exhaust on a Volkswagen T3 Syncro
8 de enero de 2017
The time has come to replace one of the parts that was most badly affected: the exhaust. As I said, it was in a right state, with parts of the exhaust system badly rusted – they’d never been replaced. Instead, they’d been welded and patched up (and not very skilfully) just to make do.
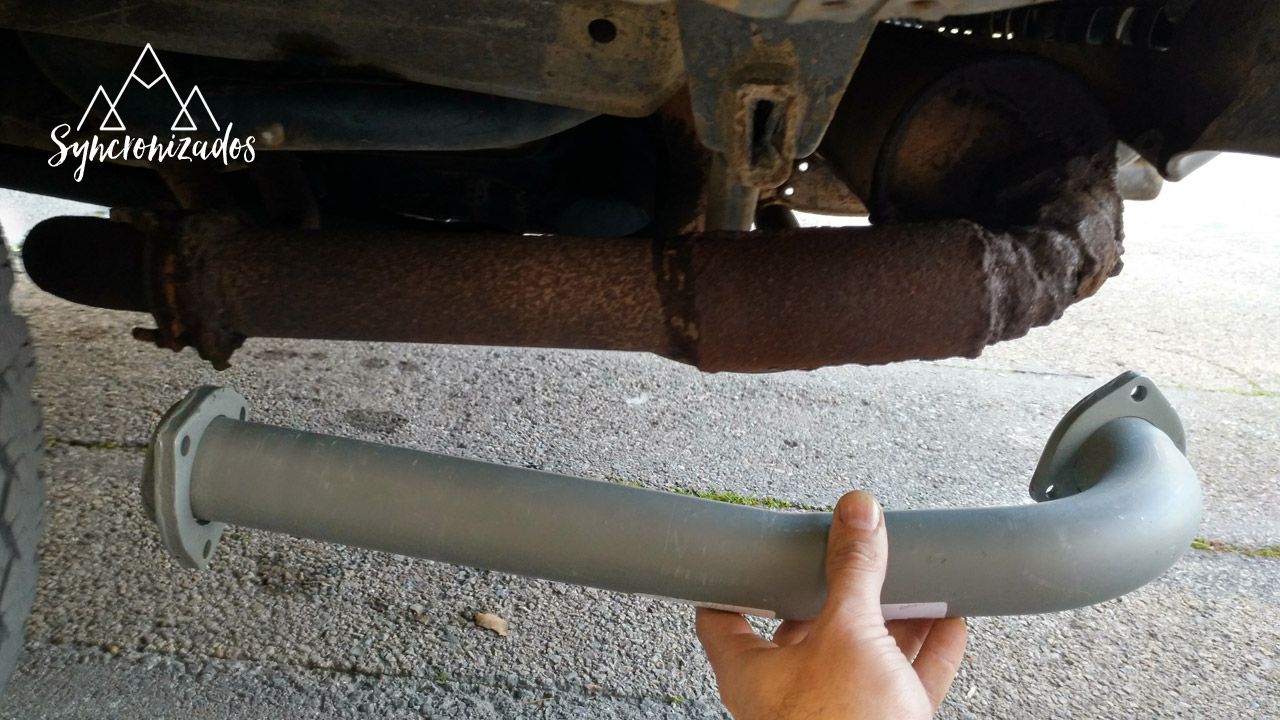
At first, I was only going to replace that section, but seeing how rusted it is, I don’t think it’s going to be easy to get it off. So I’ve taken the plunge and bought a whole new exhaust system. Let’s do things properly.
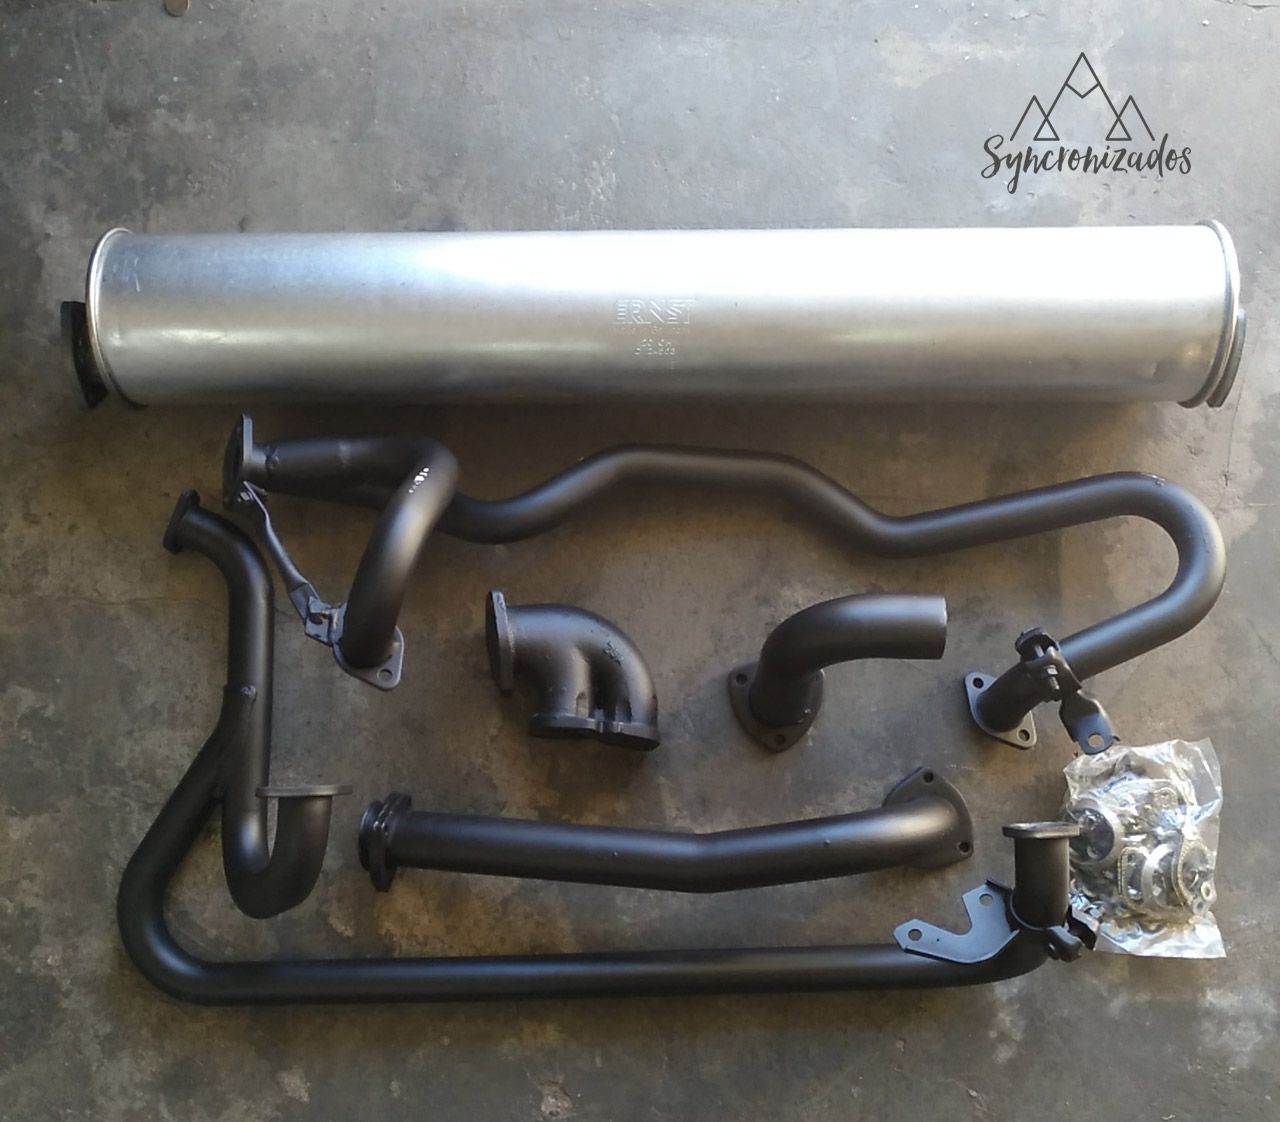
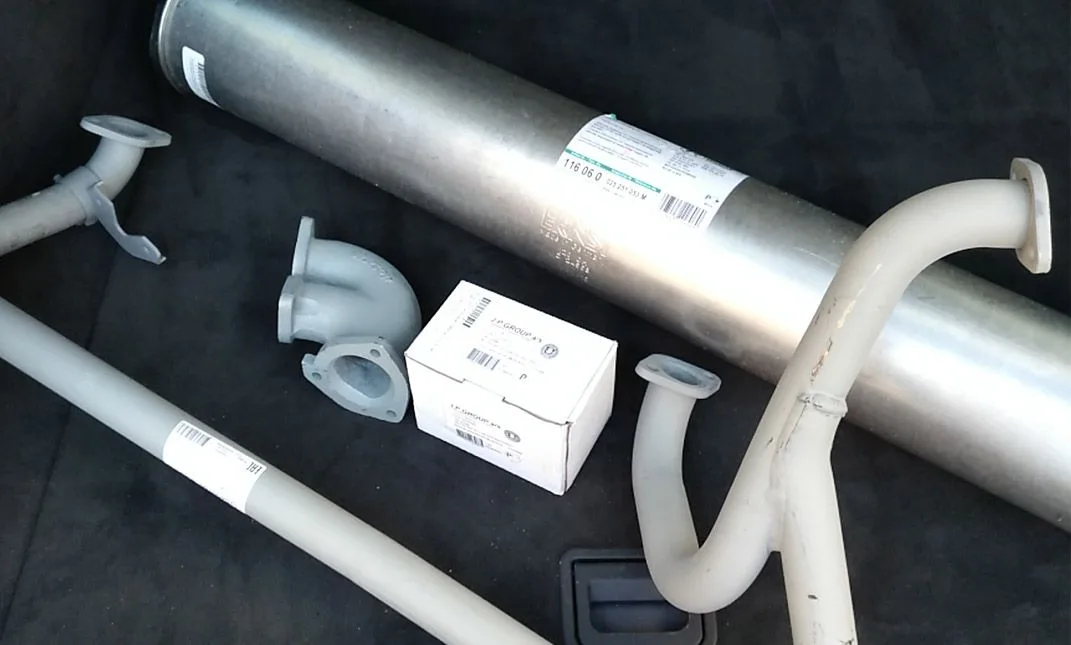
I bought the parts from Serial-Kombi and JustKampers. What I did was first find out which parts are suitable for the Syncro and then compare prices.
Parts, part numbers and prices
| Part number | Part | Price | Shop |
|---|---|---|---|
| J14031 | Exhaust manifold, near the gearbox, 2100cc MV/DJ 10/1984–7/1992 Syncro | €173.1 | JustKampers |
| 025251172R | Exhaust pipe, near the bumper, 1900cc and 2100, 8/1985–7/1992 and DJ Syncro | €107.53 | Serial-Kombi |
| J14030 | Pipe between elbow and silencer 8/1985–7/1992 1900cc DG, 2100cc DJ for Syncro | €55.52 | JustKampers |
| 025251053MKM | Exhaust silencer pipe for 1900cc and 2100cc, 8/1985–7/1992, ERNST | €144.08 | Serial-Kombi |
| 25251217 | Cast iron elbow for 1900cc and 2100cc, 8/1985–7/1992 | €69.5 | Serial-Kombi |
| J11141 | Silencer outlet pipe for 1900cc and 2100cc Syncro, 8/1985–7/1992 | €24.3 | JustKampers |
| SK35209 | Exhaust mounting kit for 1900cc and 2100cc models, 8/1985–7/1992 | €28 | Serial-Kombi |
Following on from this table, I’d like to say that both companies were quick with their deliveries, but Serial-Kombi came out on top in this respect.
Once I’d received the parts, I removed the stickers they came with and gave them a coat of black heat-resistant paint.
Removing the exhaust
Now it’s time to remove the old exhaust and fit the new parts. You might not think so, but replacing the entire exhaust system takes time.
The first step is to try and remove the tailpipe – the bulkiest part – to improve access. To do this, you need to loosen the two clamps holding it in place. They come off without any trouble, but as it’s attached to the next section, it won’t budge. Luckily, that section is the most rusted; a couple of taps and wiggles and it comes away quickly. Now it can be removed without any major problems.
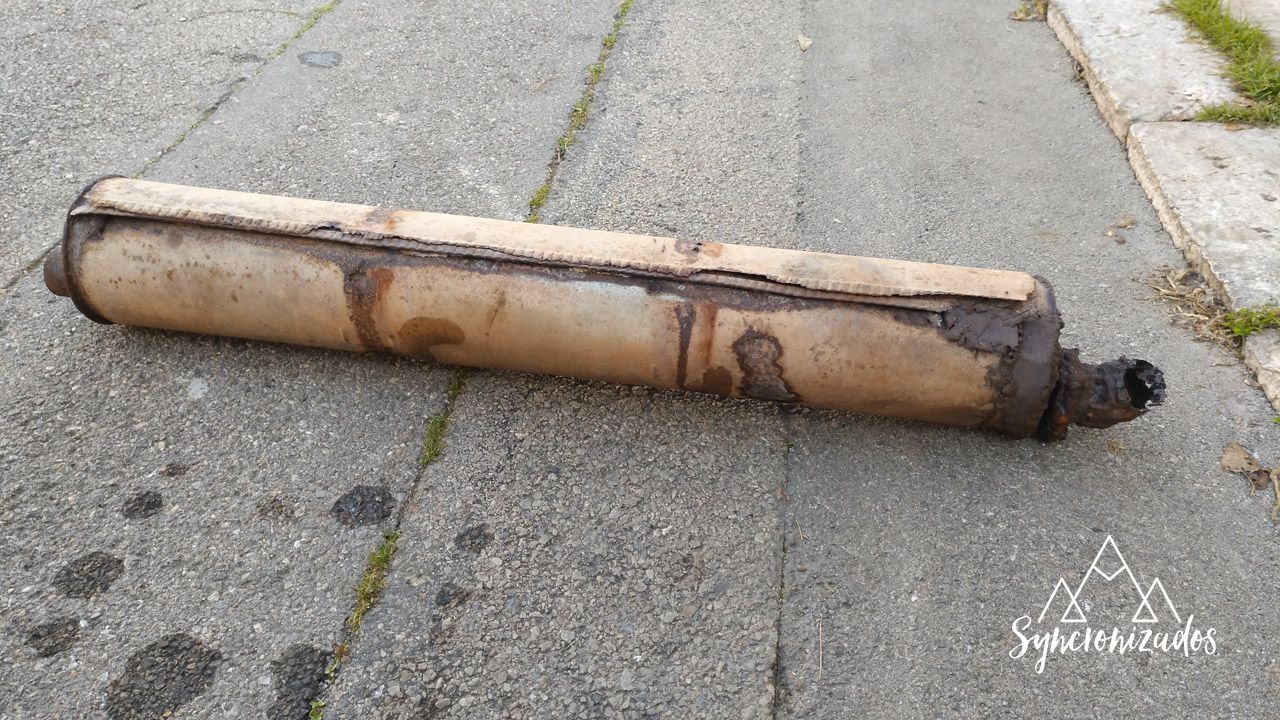
We carry on, loosening the nuts on the manifolds, but at the other end it’s attached to an elbow with very rusted bolts. Time to get the hacksaw out to tackle the problem and cut the pipe straight through. After a clean cut, another three sections are out.
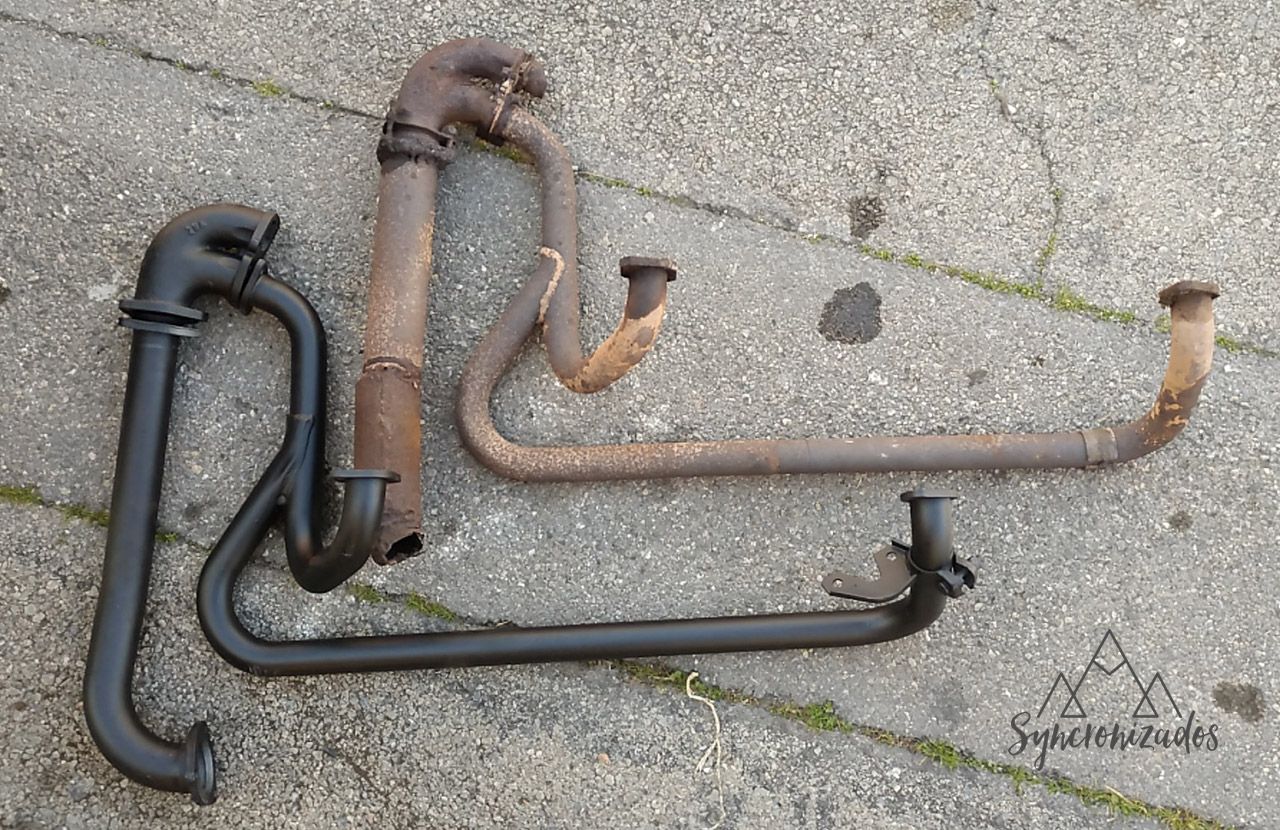
We take the opportunity to remove the part that surrounds the exhaust. With each step, more of the engine is revealed. There’s just one section left. To remove it, we need to take off the engine and gearbox guard. I can see that one part is bent and that the exhaust is actually resting on it. I’ll take this opportunity to try and straighten it out. For now, I’m removing all the oil, mud and stones that have built up over the years.
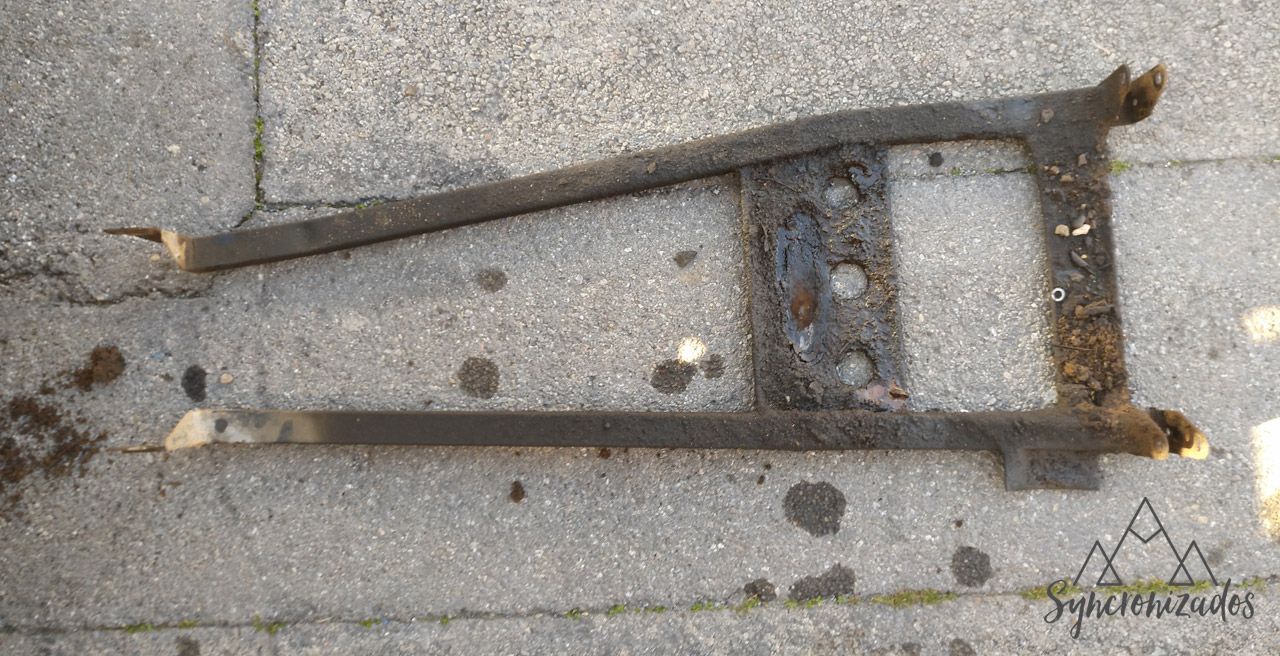
Once this part is removed, it’s just a matter of loosening the nuts on the final section, and the entire old exhaust system is out.
Over the next few days, we’ll fit the new exhaust system to the Syncro. To be continued…
Fitting the exhaust
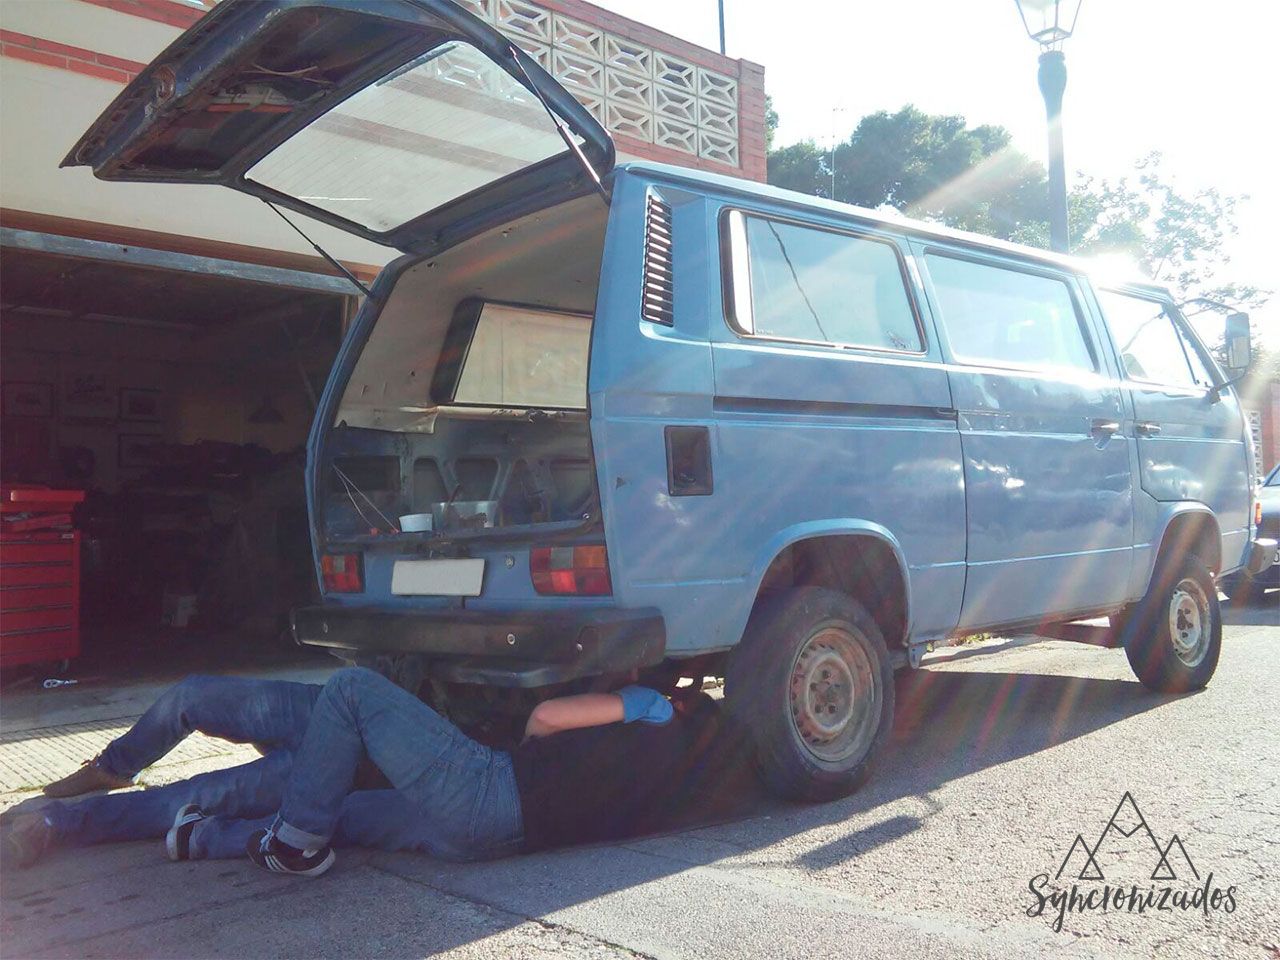
After a few weeks unable to continue with the exhaust system replacement, we’re finally getting round to it. The exhaust mounting kit included some bolts for the cylinder heads, which we’ve decided to replace with studs. So the first step will be to screw in the studs so that, once the gasket is in place, we can align the manifolds.
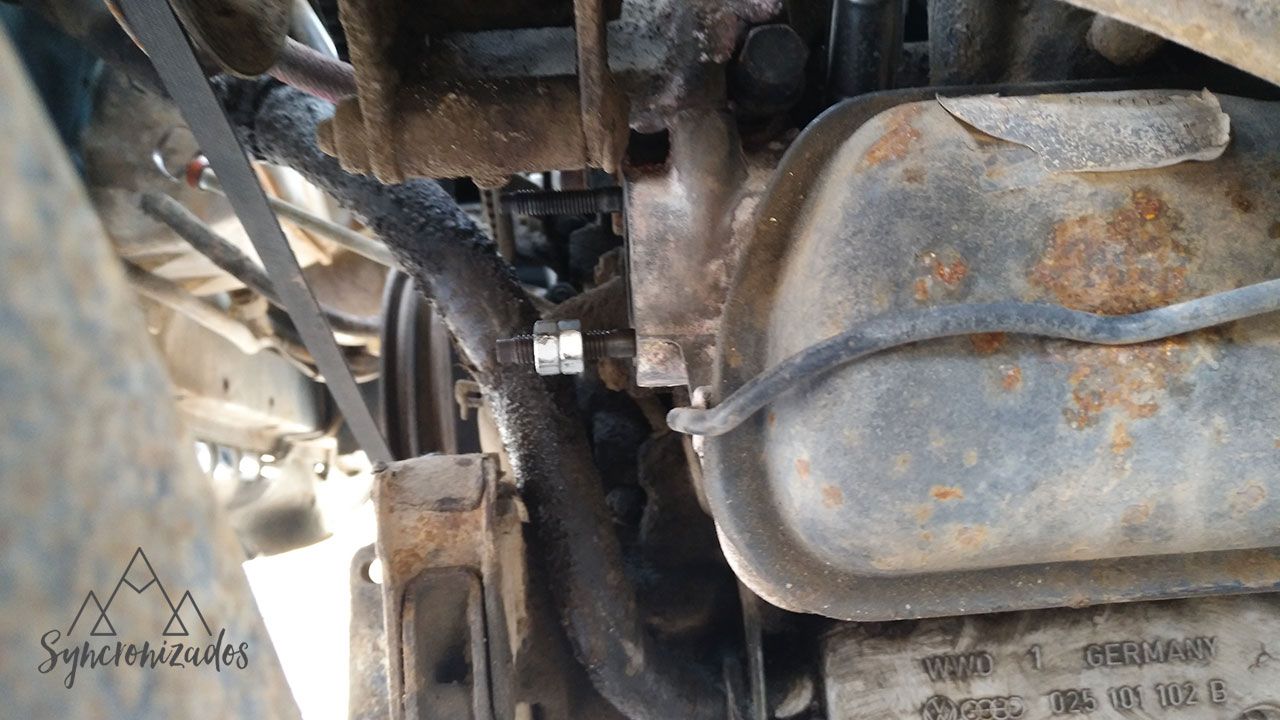
Next, we’ll fit the first of the manifolds – the one furthest away – along with the protective cover for the pushrod tubes, as these are secured to the stud.
You also need to fit a bracket which, as I understood it, was attached to one of the gearbox bolts, as the previous manifold didn’t have one.
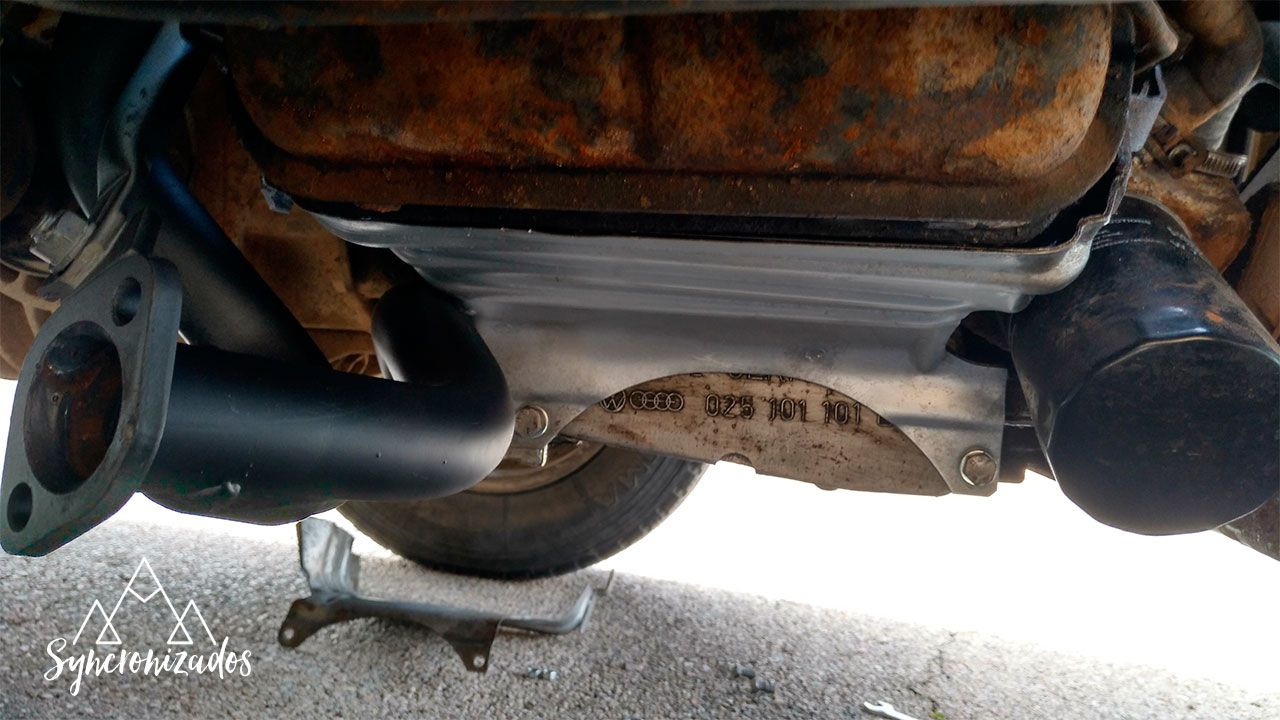
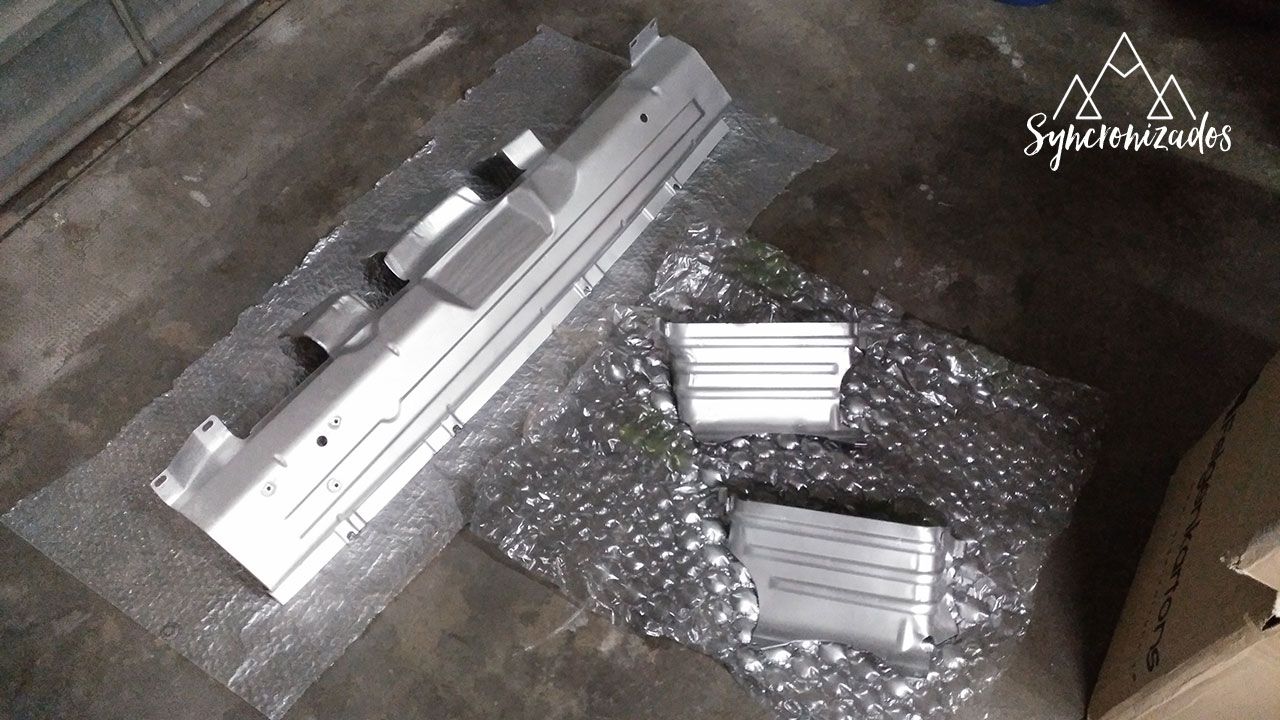
As you can see, I restored the covers and the large spacer plate they come with by cleaning them and giving them a coat of paint.
After a bit of a struggle, I managed to fit the manifold and moved on to the next one. Same process: fit the studs, gaskets and align the parts. It’s a bit tricky to get it into place because of its unusual layout and because it clashes with the oil filter. We secured the manifold but didn’t tighten it fully, leaving some play to align the next sections, and moved on to the next part.
We’ve fitted both manifolds, so they now join to form a single piece with two inlets and one outlet leading to a straight pipe that connects to the silencer. I prefer to assemble this part on the workbench to make the job easier. Time to get down on the floor and bolt the part in place.
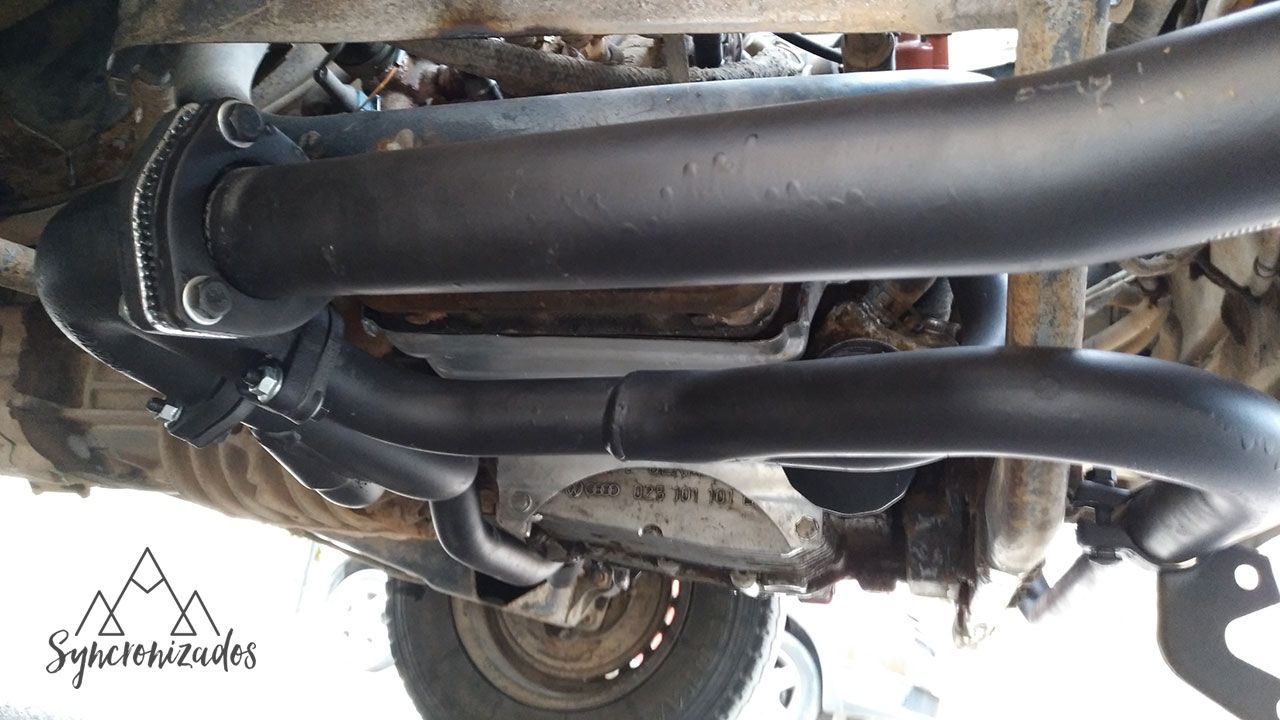
Next, fit the engine guard. In my case, it has a dent that causes the guard to rub against the manifold. I need to straighten it out, give it a good clean and take the opportunity to give it a coat of paint. What a difference!!
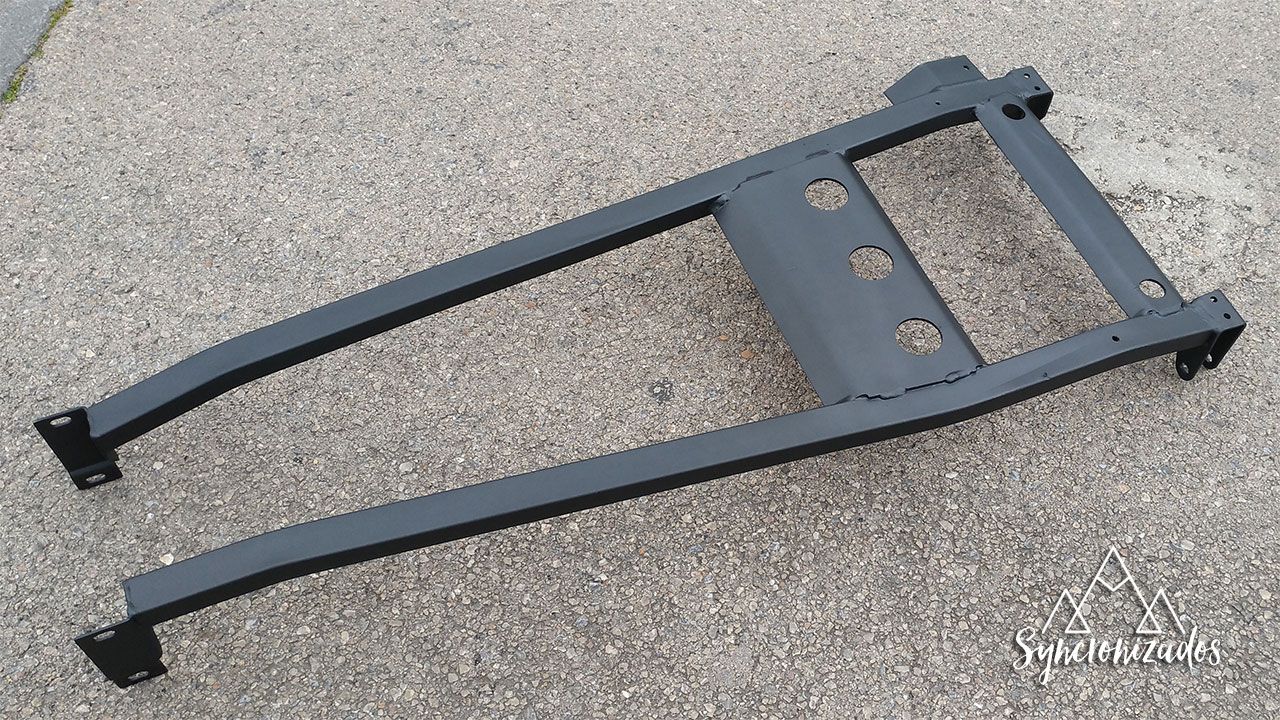
With the guard in place, we move on to fitting the silencer with its brackets. With the exhaust pipe, you need to tighten all the bolts gradually to get it into position.
Once the silencer is fitted, all that’s left is to bolt on the final section. Very simple: one gasket and three bolts, and voilà – I’ve got a brand-new exhaust system!!
