
Mud flaps for the T3 Syncro
8 de enero de 2023
After fitting the footrests, I’ve decided to buy and fit some mud flaps for the T3 Syncro, but only at the rear. In this post, I’ll explain how to fit them and why I’m fitting them.
What are mud flaps?
Mud flaps (also known as mud guards) are parts fitted behind the tyres to protect the van’s bodywork from splashes and mud kicked up whilst driving off-road. Obviously, they also serve to protect the bodywork from debris kicked up whilst driving on tarmac roads, such as small stones, and/or to prevent water from splashing onto the vehicle behind if it’s raining or has rained.
Finally, they can also serve an aesthetic purpose, as they give the vehicle a more 4×4 or rally-style look.
Mud flaps for the T3 Syncro
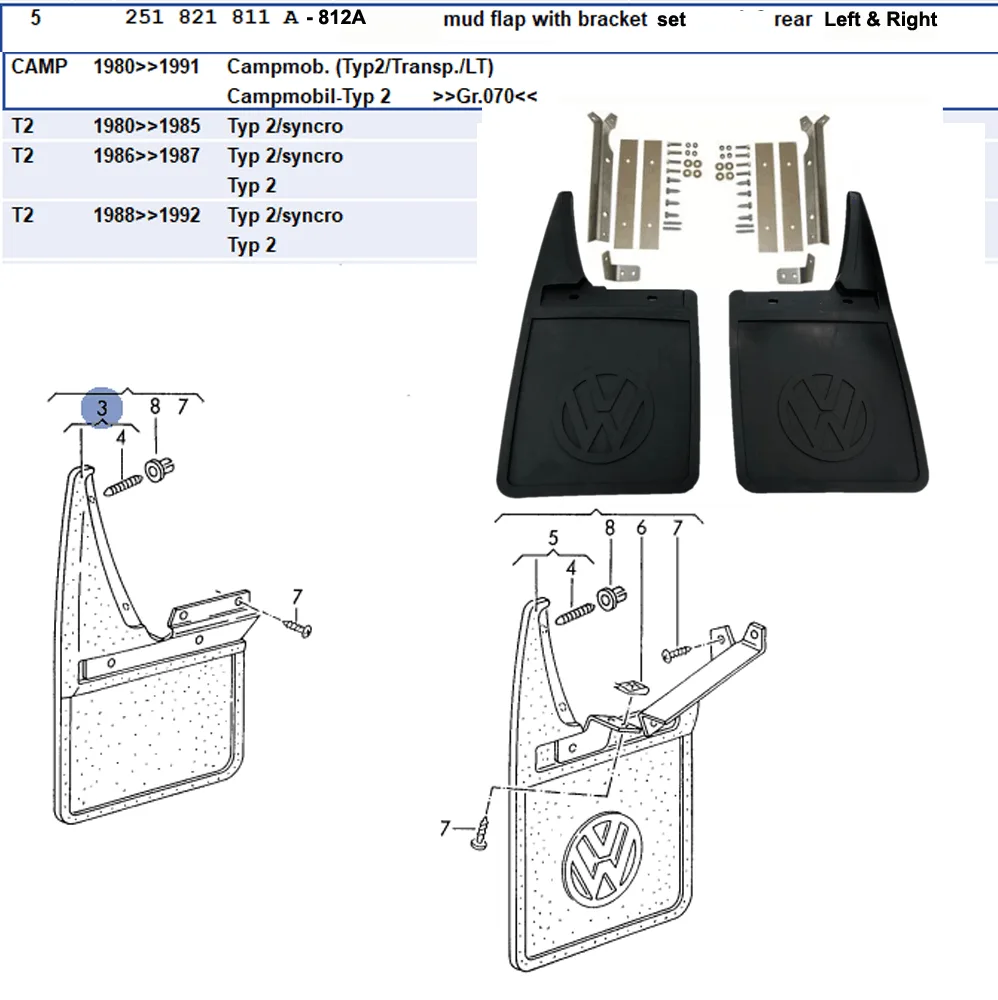
There aren’t actually many options for mud flaps for the T3 Syncro. The most common ones are plain, made of rubber and manufactured in Germany. You can find them under the reference number 251821811A. Incidentally, in German they’re called ‘T3 Schmutzfänger’.
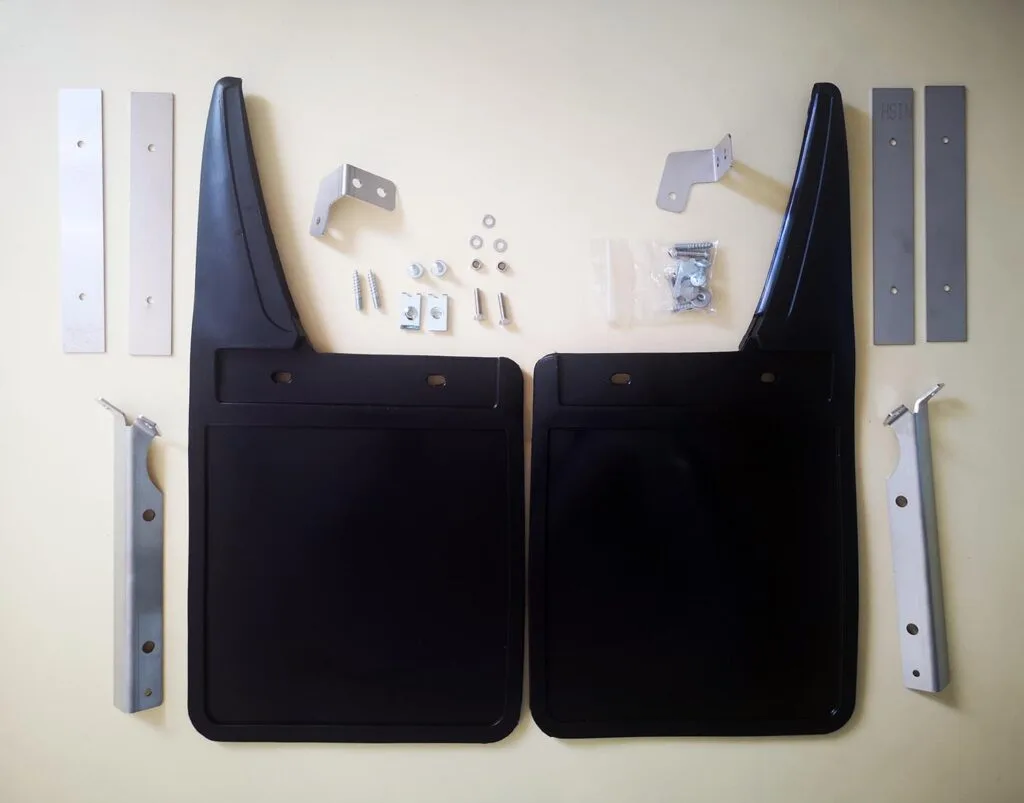
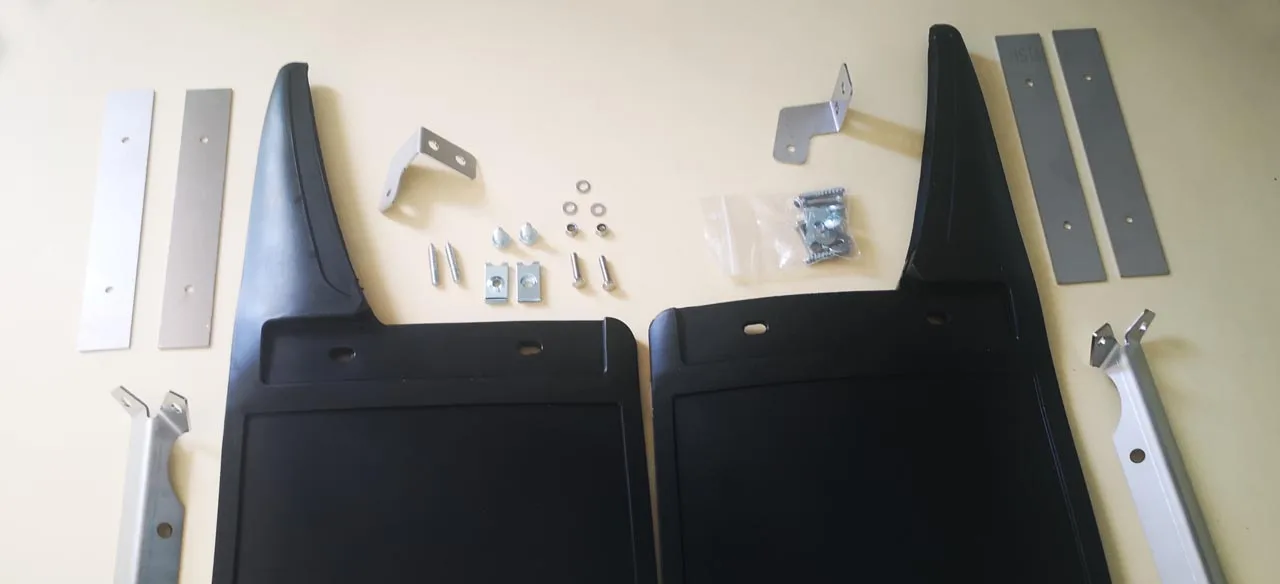
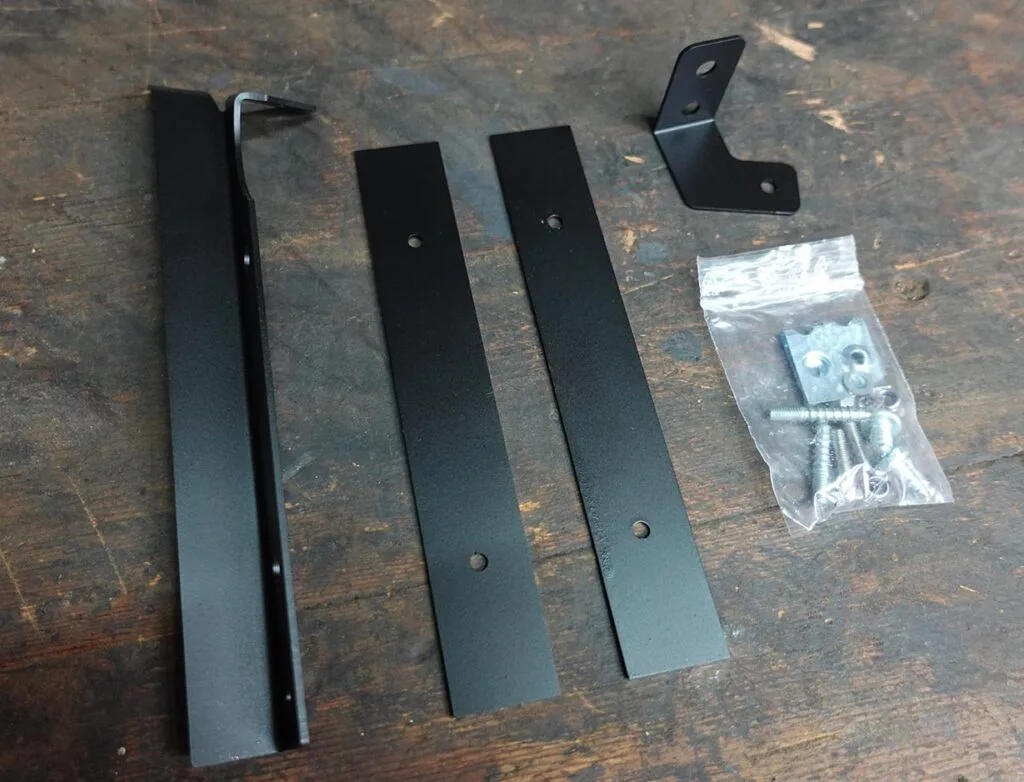
As you can see, they’re made from good-quality, fairly thick rubber and come with a set of stainless steel brackets and a set of screws.
Fitting the mud flaps
One curious thing is that these come without any fitting instructions. Perhaps this is because they’re designed to replace the original mud flaps on the VW T3 Syncro, so you can see how they’re fitted and the necessary holes are already there. And although this isn’t the case for me, I have to say that they have been fitted to my van at some point.
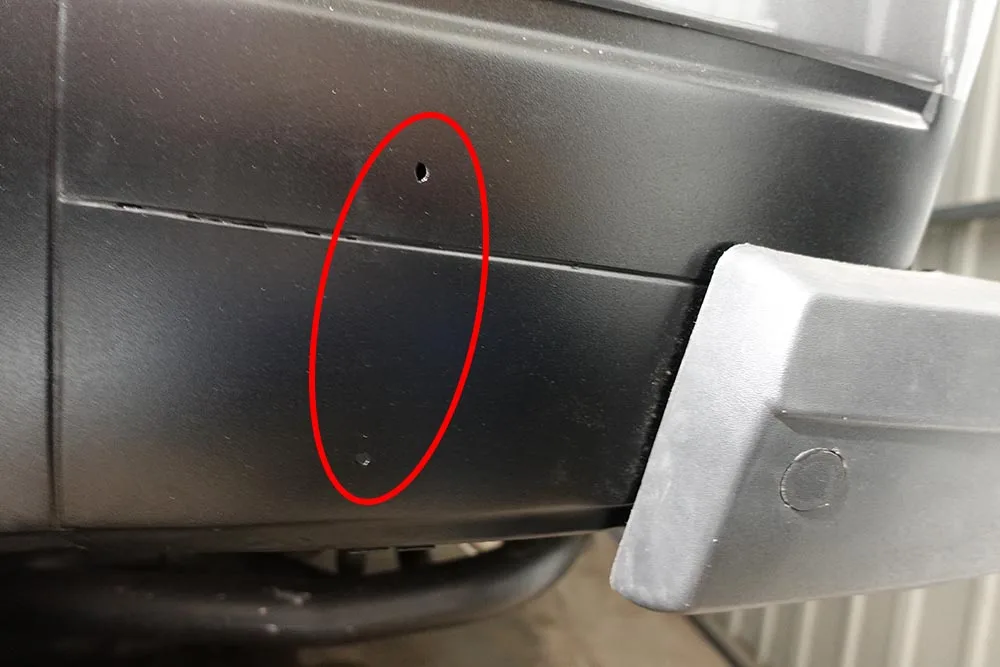
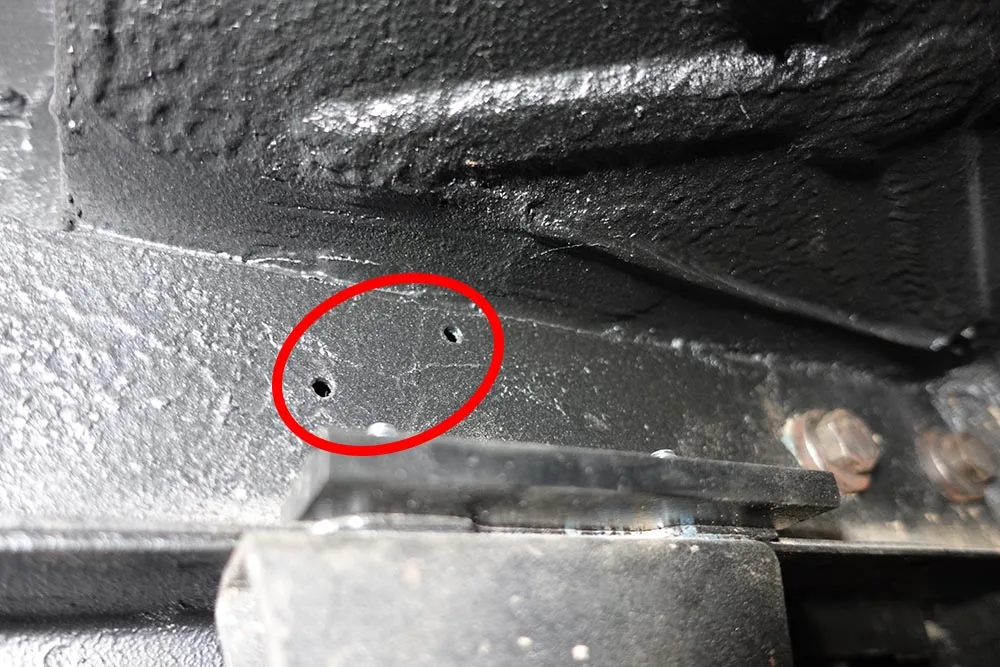
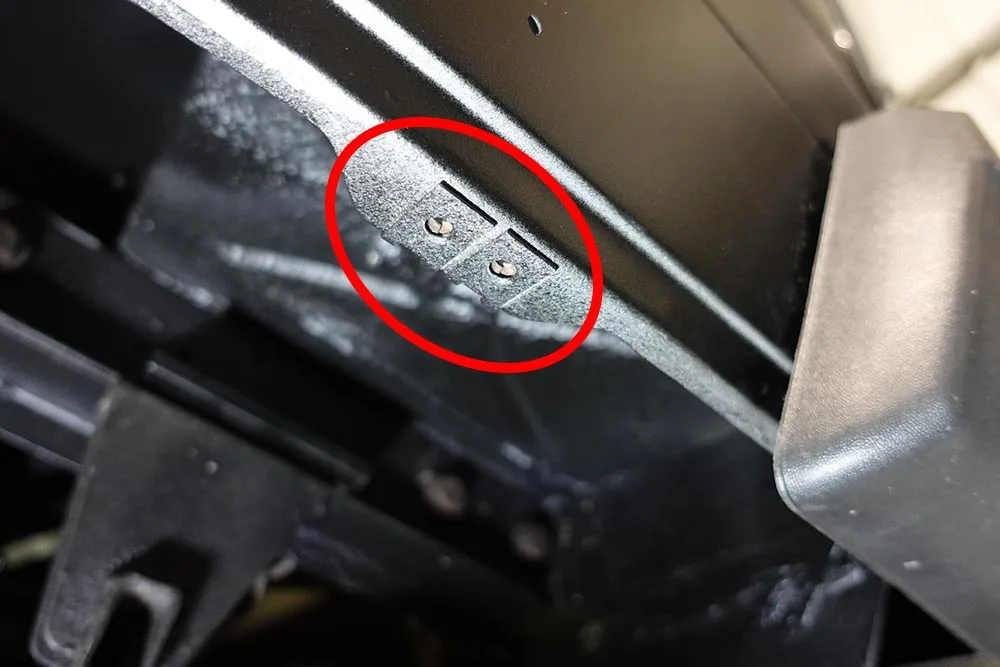
What I’m not sure about now is whether, as this is a T3 Syncro Caravelle GL, the side skirts came as standard on this model. Be that as it may, the fact is that the holes in the panel are already there and I’m going to make use of them. Another reason why there are no instructions might be that they aren’t particularly difficult to fit. Although, in my opinion, you do need to have some idea of how they’re fitted.
Fitting process
1- The first thing I did was paint the metal parts black so they wouldn’t stand out so much.
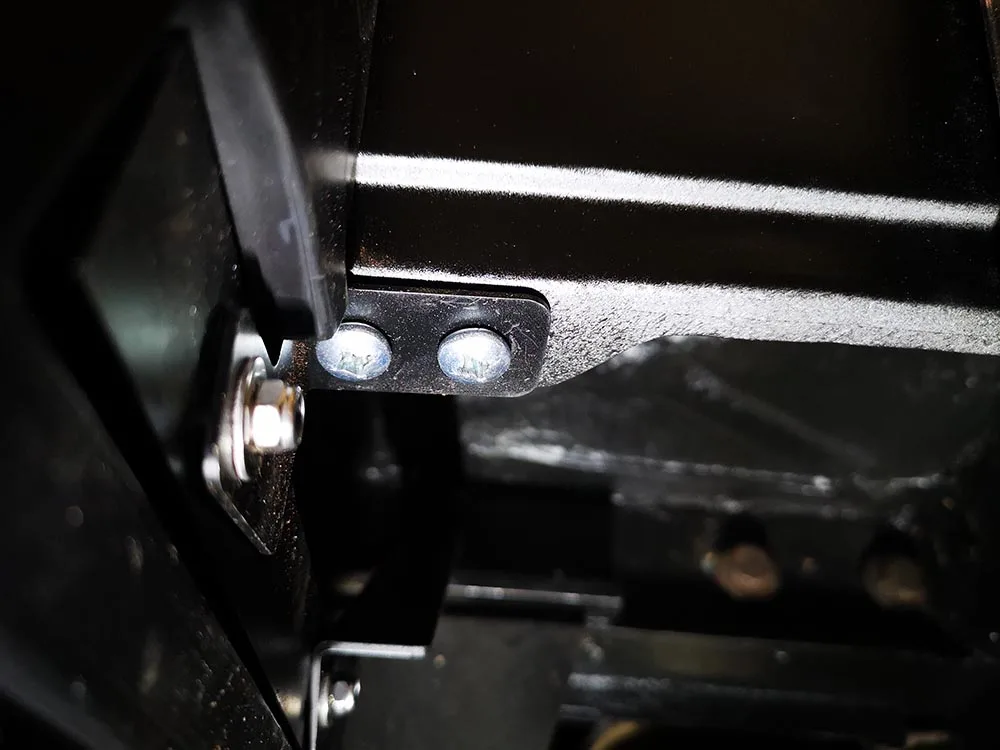
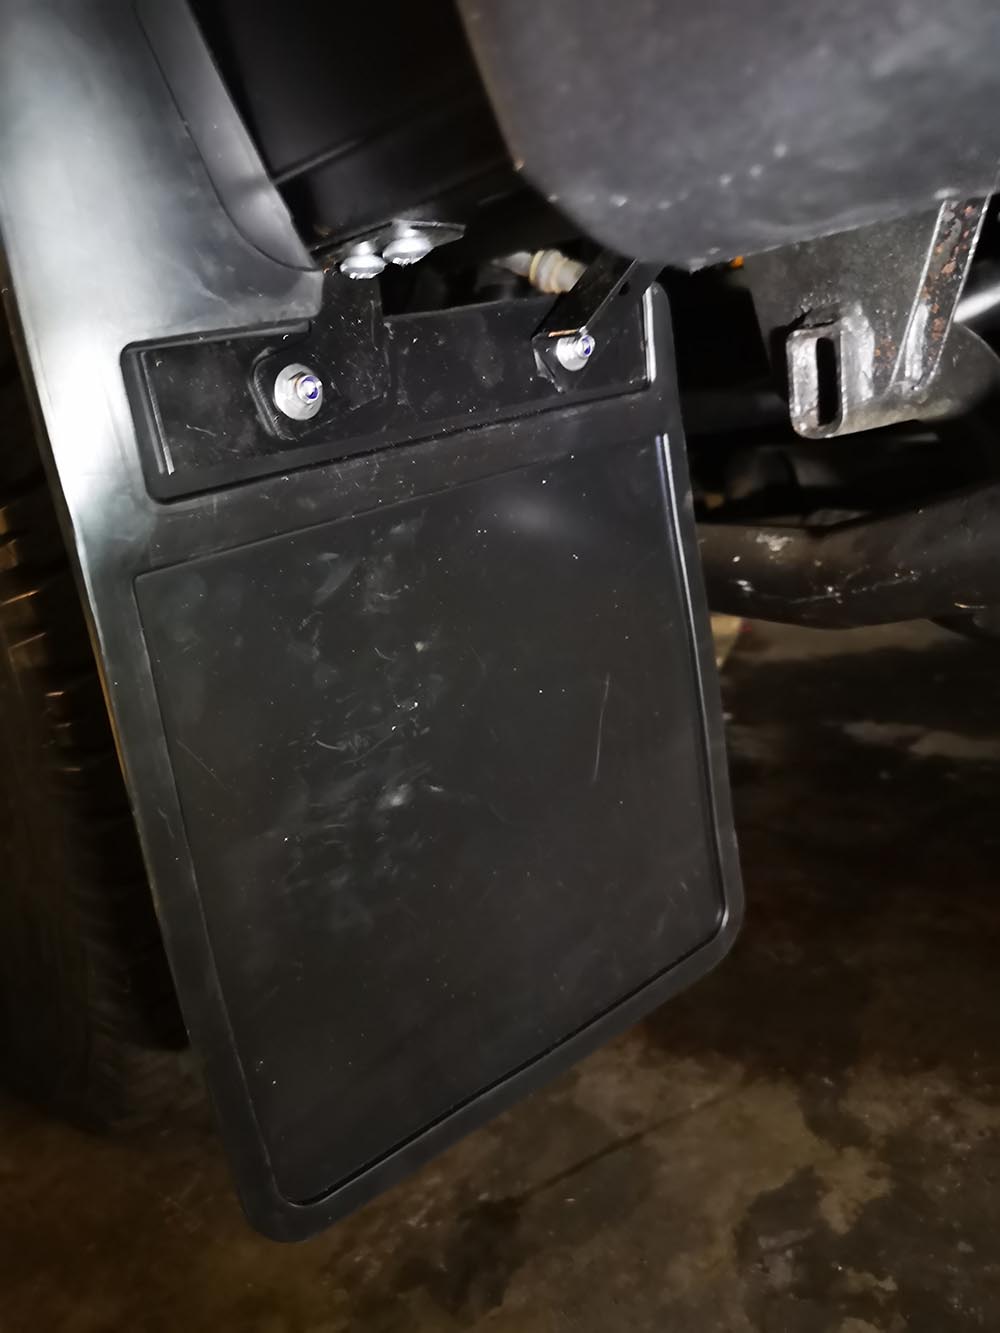
2- Once painted, I fitted them but didn’t tighten them fully so that there’d be a bit of play and I could position them correctly.
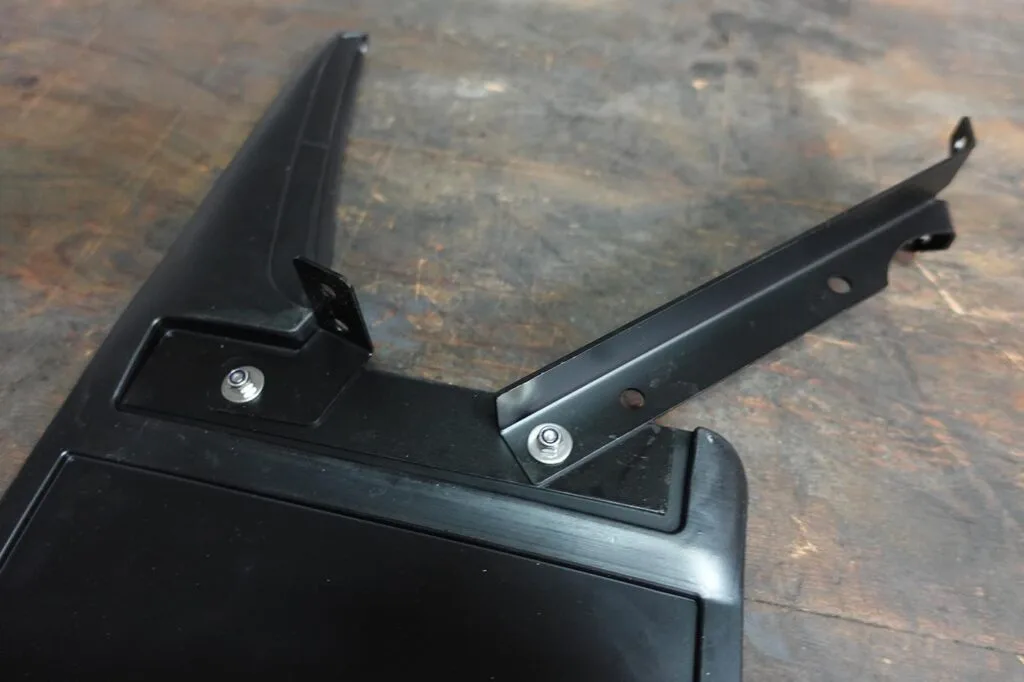
Take a good look at how it’s put together. The parts go on the back side, that is, the side opposite the wheel. Even the bolts have their heads on the tyre side. It won’t rub as it’s set back, but that’s how it’s fitted.
3- As I happen to have a nut riveter, I fitted some M5 nuts instead of using sheet metal screws.
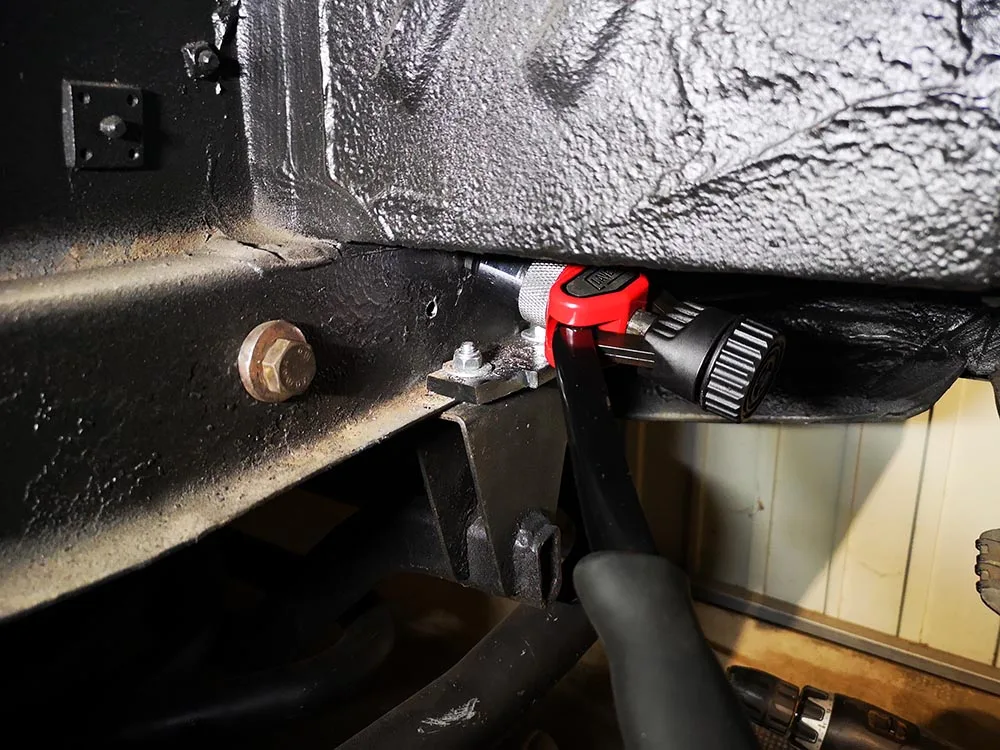
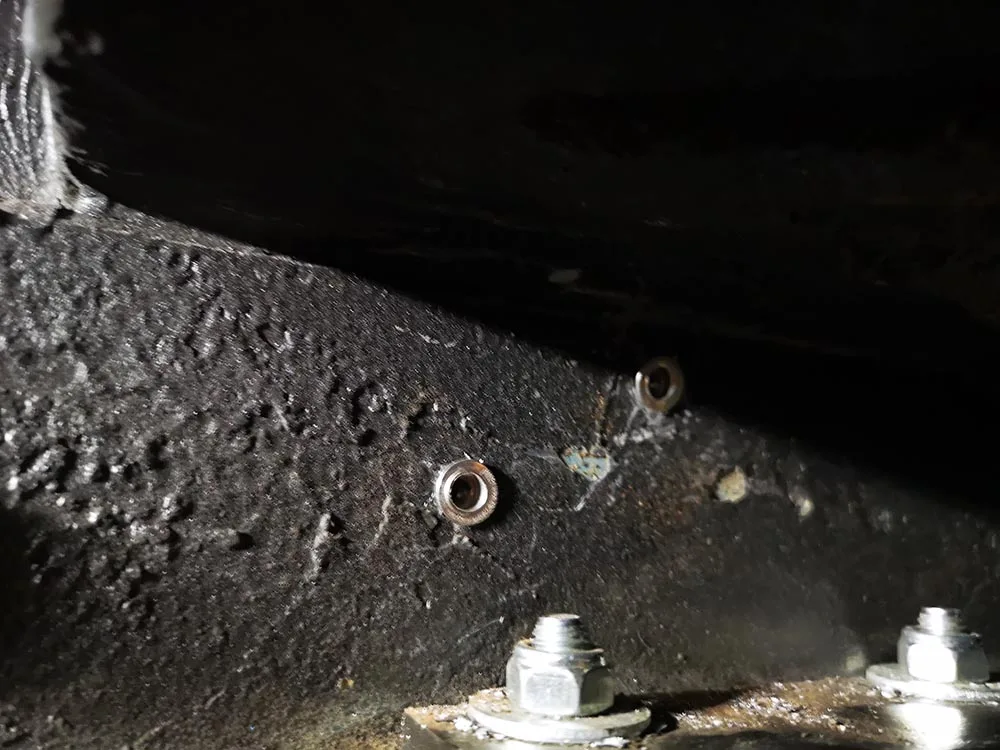
4- Now position the mudflap and mark where the nuts will be screwed directly into the rubber. To make screwing them in easier, you can drill some pilot holes with a finer drill bit.
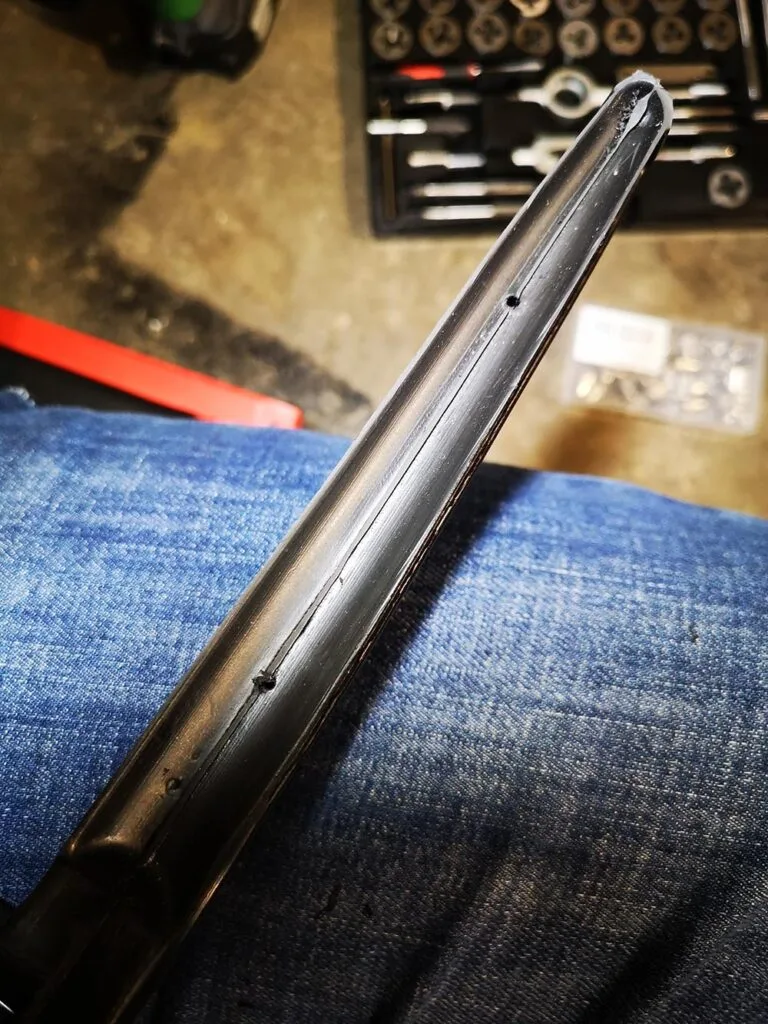
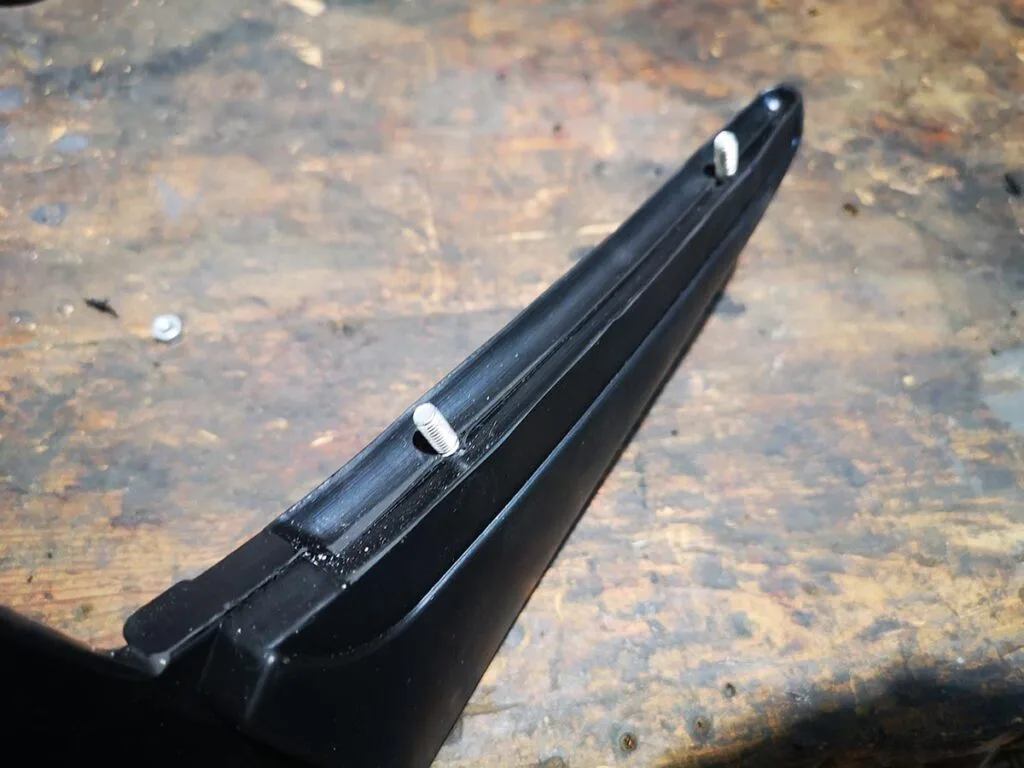
5- Once the screws are in place, we take it to the installation site and start tightening everything: the strut, the metal plate secured with the clips, and we fasten the side panels we’ve just screwed in place with some nuts. It’s no easy task, as everything has to line up perfectly, and you’ll find it a bit tricky. At least, I did. But with a bit of skill, you’ll get there.
Where can you buy mud flaps for the T3 Syncro?
As I’ve said, there aren’t many options for mud flaps. The ones I bought can be found in various shops, both here and abroad. Mine are from Areacamper, but you can also find them at Heritage Parts Centre or TK-Carparts.