
Painting the Syncro’s plastic grille
28 de diciembre de 2016
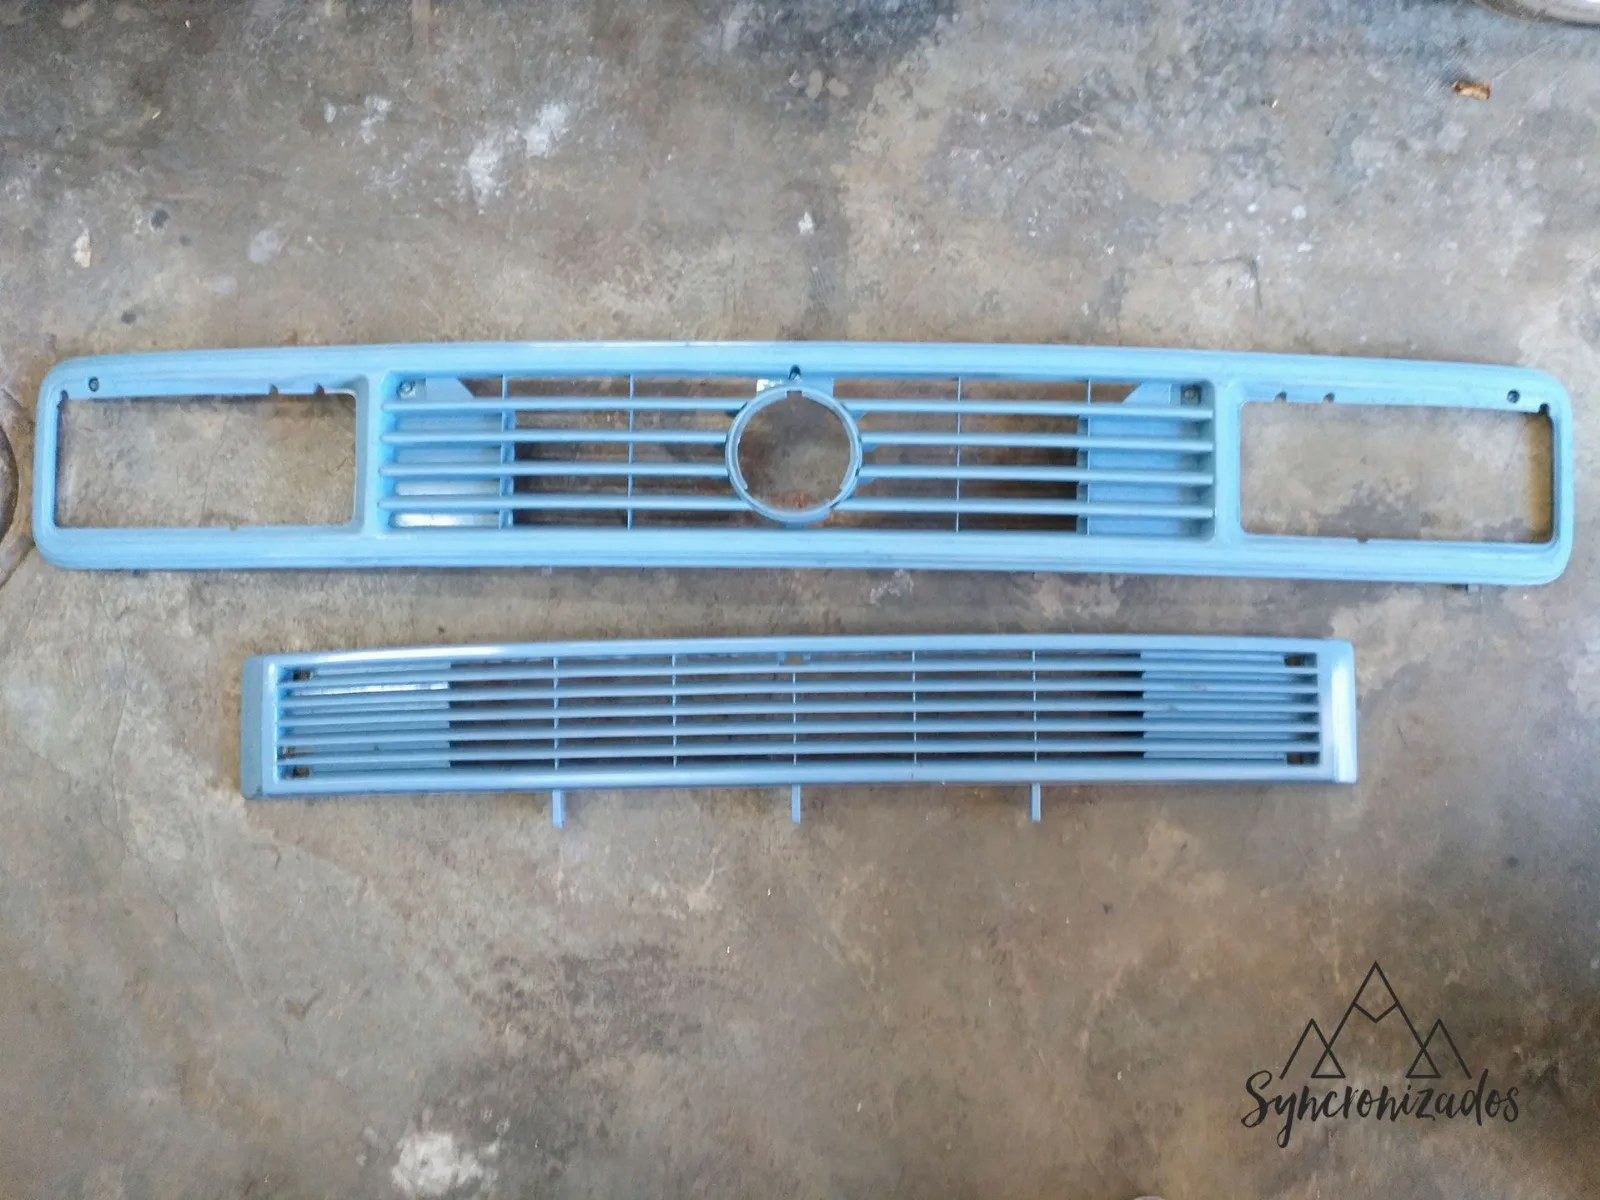
As I’ve mentioned before, my Volkswagen T3 Syncro is painted a shade of blue that’s a bit of a sight to behold up close. It was originally a metallic blue called Medium Blue, but someone decided to change it to a different shade of blue. The botched job can’t have cost much, as they didn’t use masking tape, applied body filler without sanding it down, and didn’t even bother to avoid painting parts of the interior.
Of course, the plastic front grille didn’t escape this coat of paint. There are even areas inside the van that were splattered with this ‘beautiful’ paint. Its hideous appearance made me prioritise repainting it black. So, let’s get started…
The grille painting process
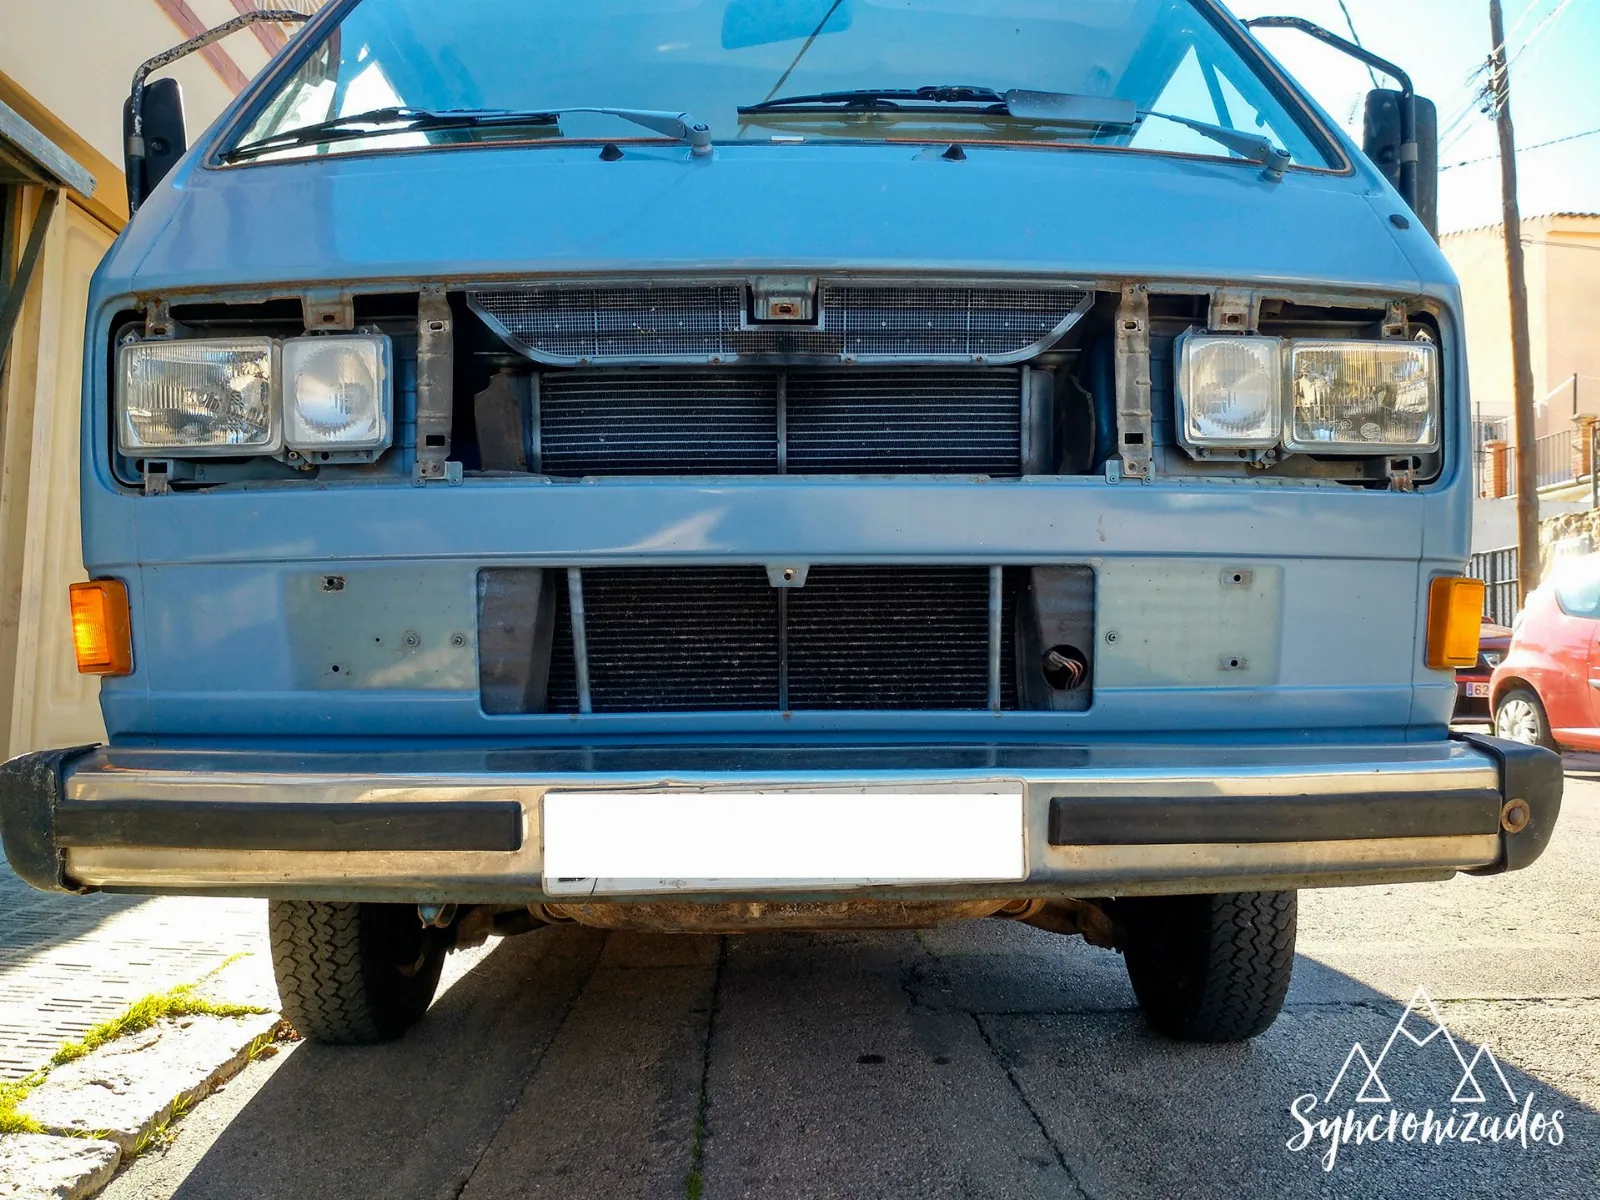
The first thing, of course, is to remove the grille. It’s not at all complicated; it has a sort of plastic screw that you need to turn about 90 degrees to release. I seem to recall there are five of them. The only thing you need to be careful about is not trying to remove them completely. Just turn them.
Once removed, we sand the surface to open the pores.
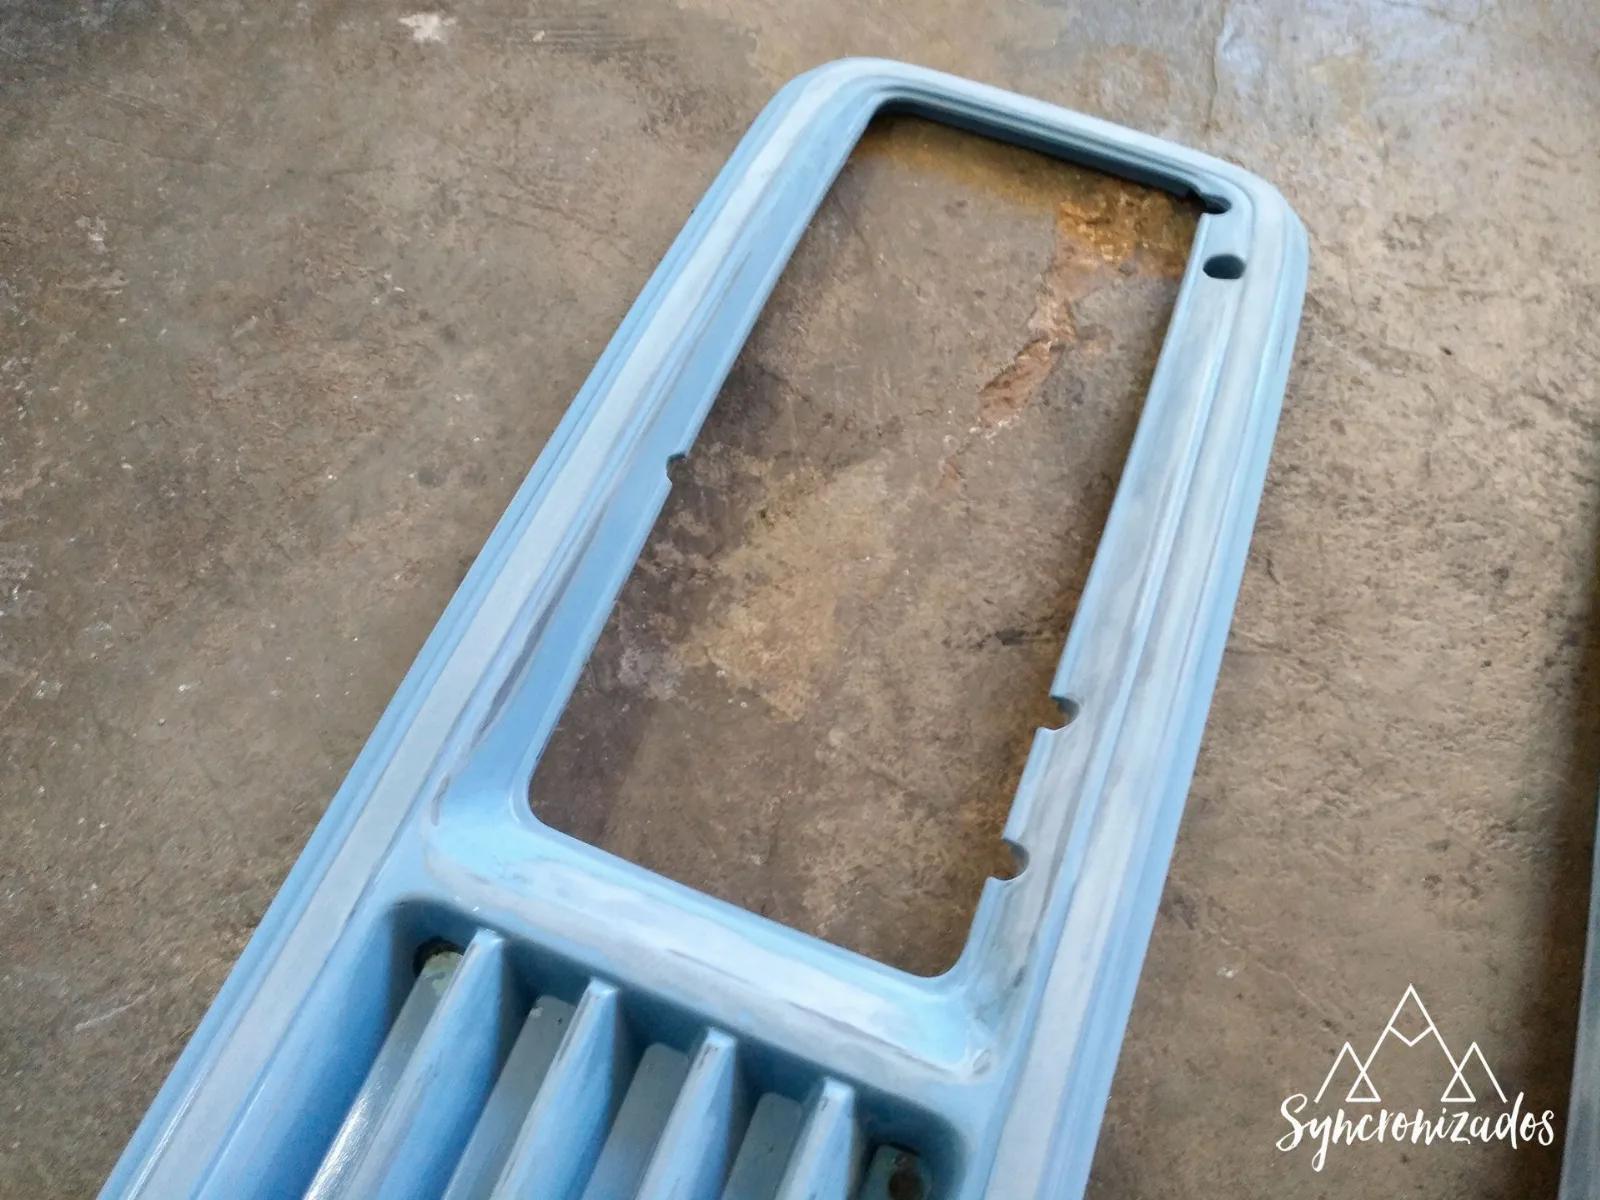
Once you’ve finished sanding, use an air gun to remove any debris left on the surface. Then start applying coats of paint. In my case, as I’ve already mentioned, I used RAL9005 matt black spray paint.
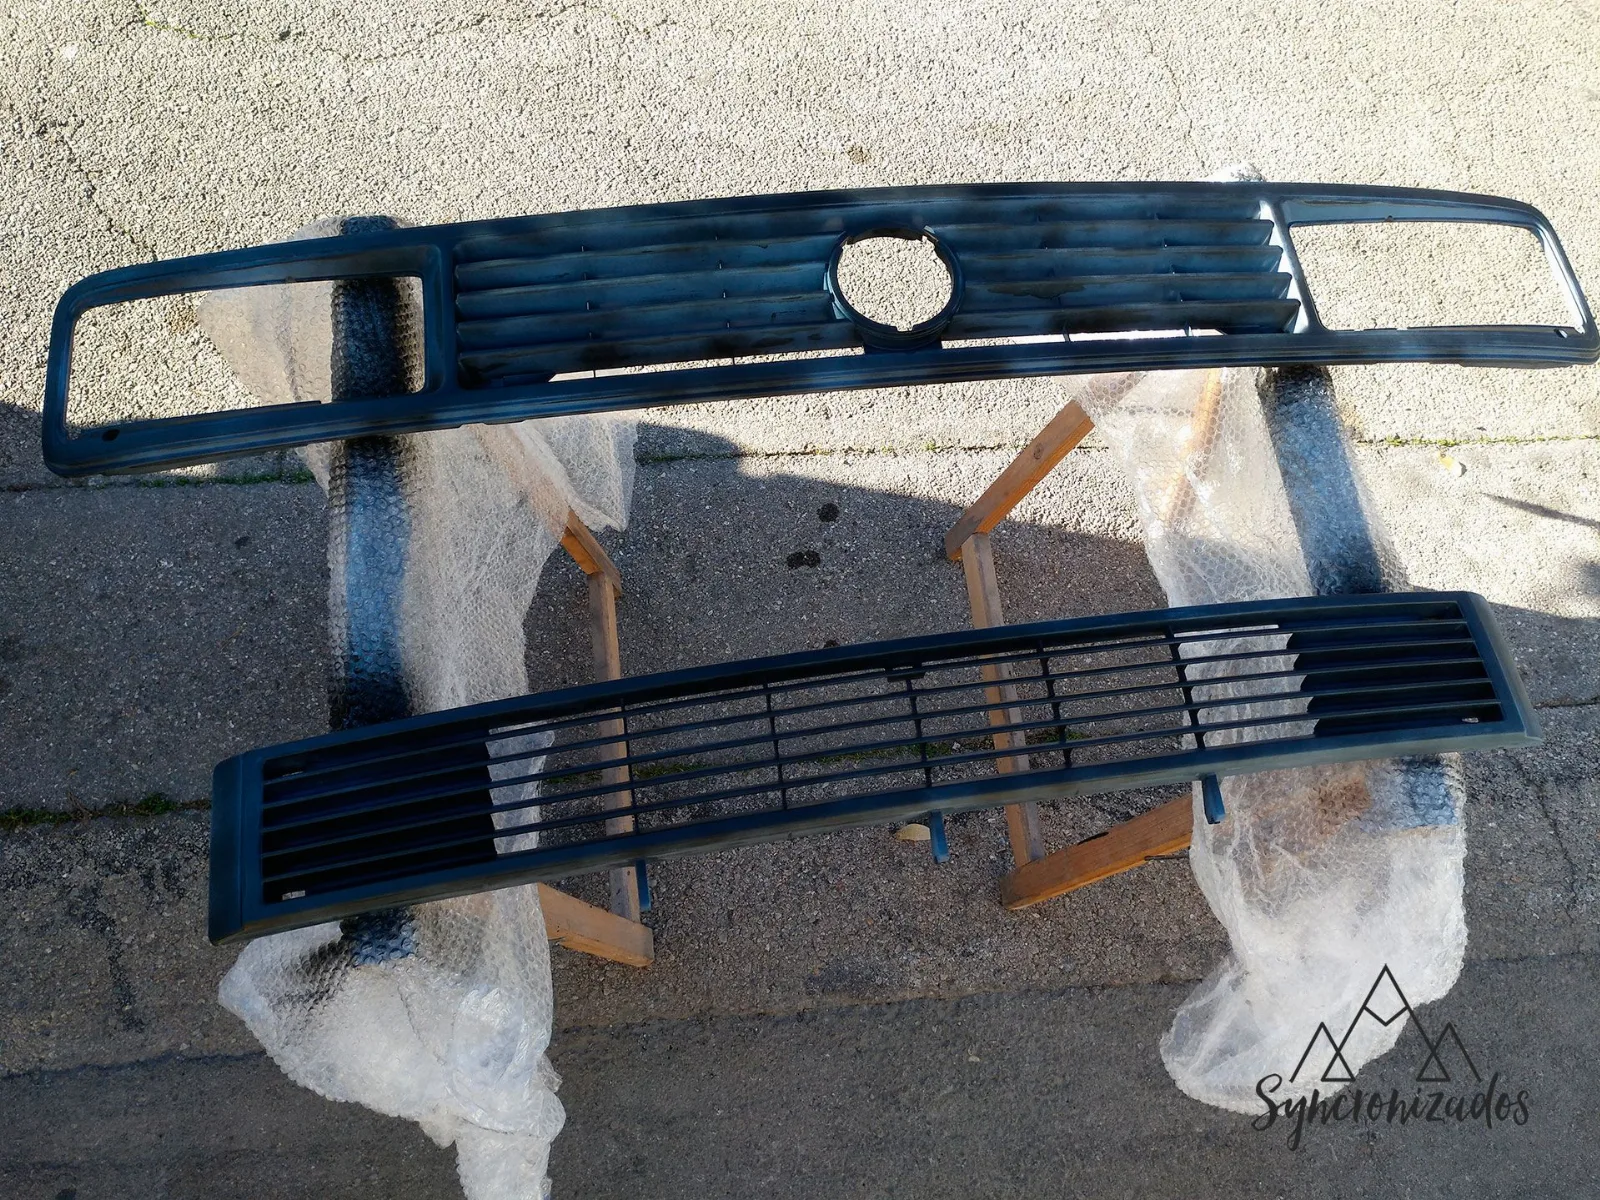
Apply thin coats until the entire surface is covered. In other words, there’s no need for the first coat to cover the surface completely. You’ll achieve full coverage with the second or third coat.
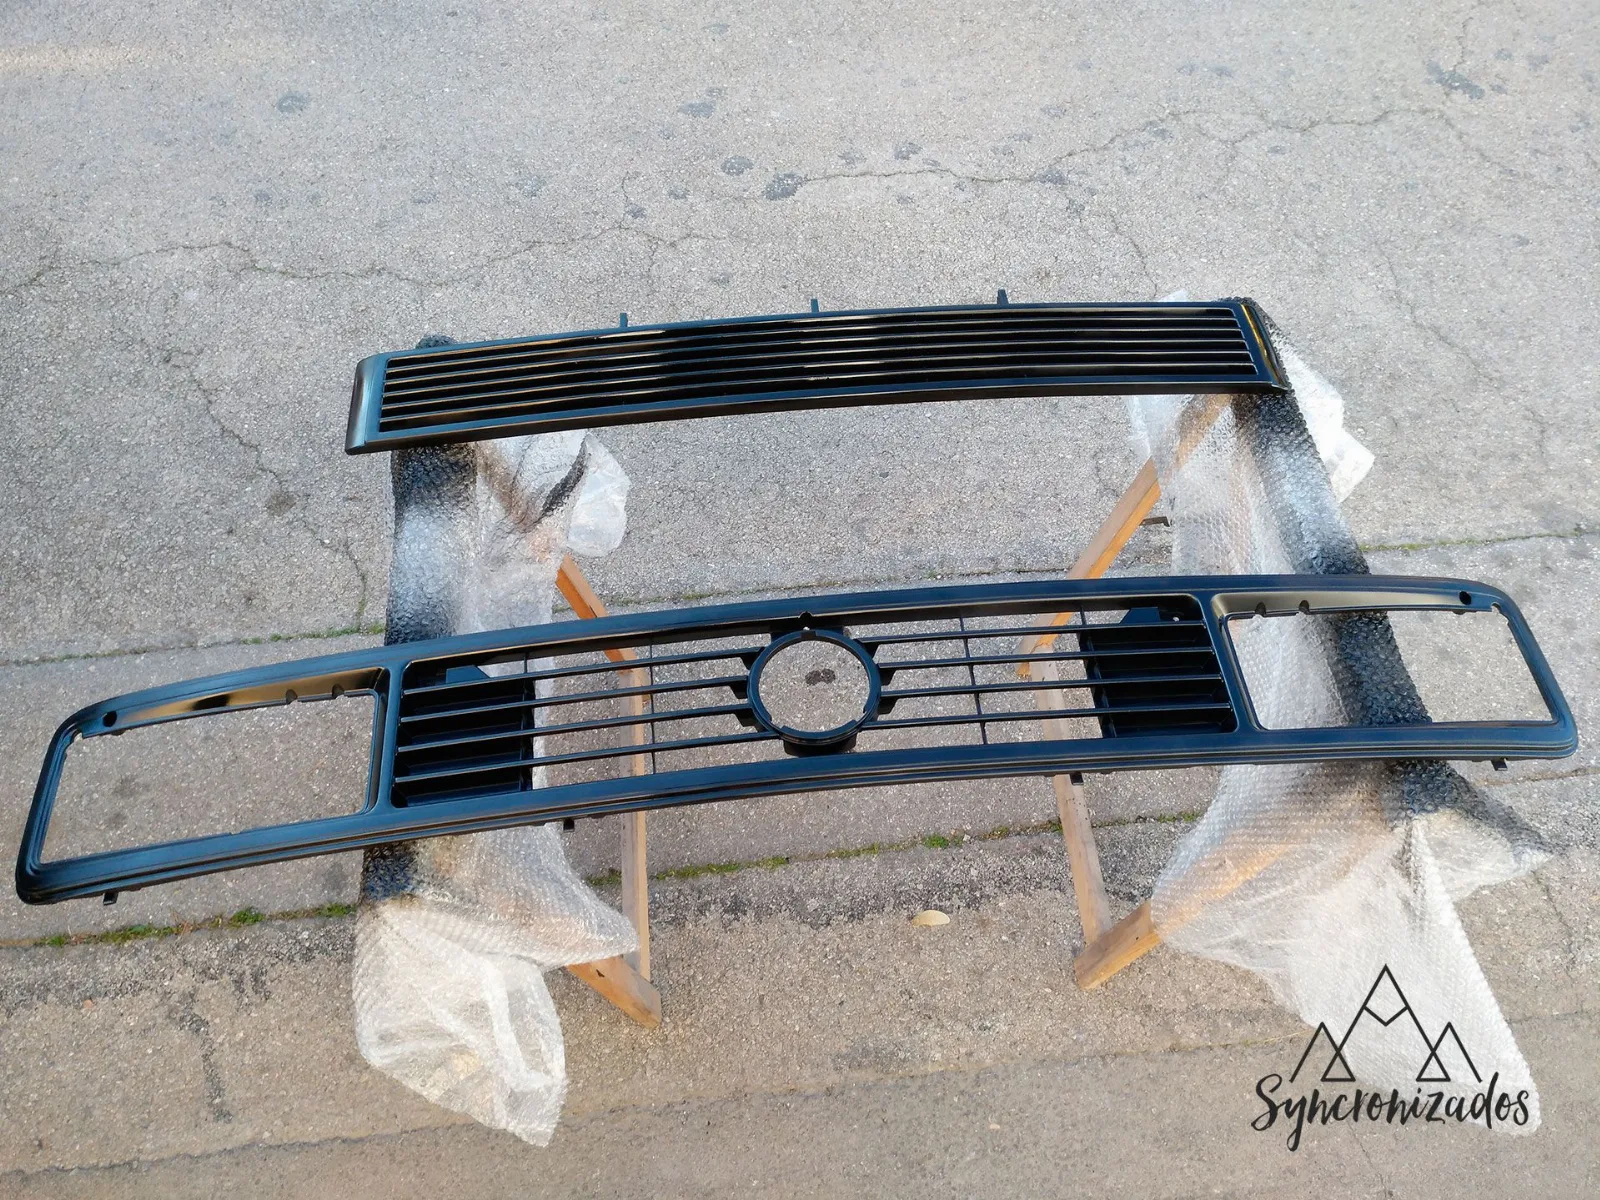
We wait, allowing for the drying times recommended by the manufacturer. Once dry, we can put it back in place and see how it looks.
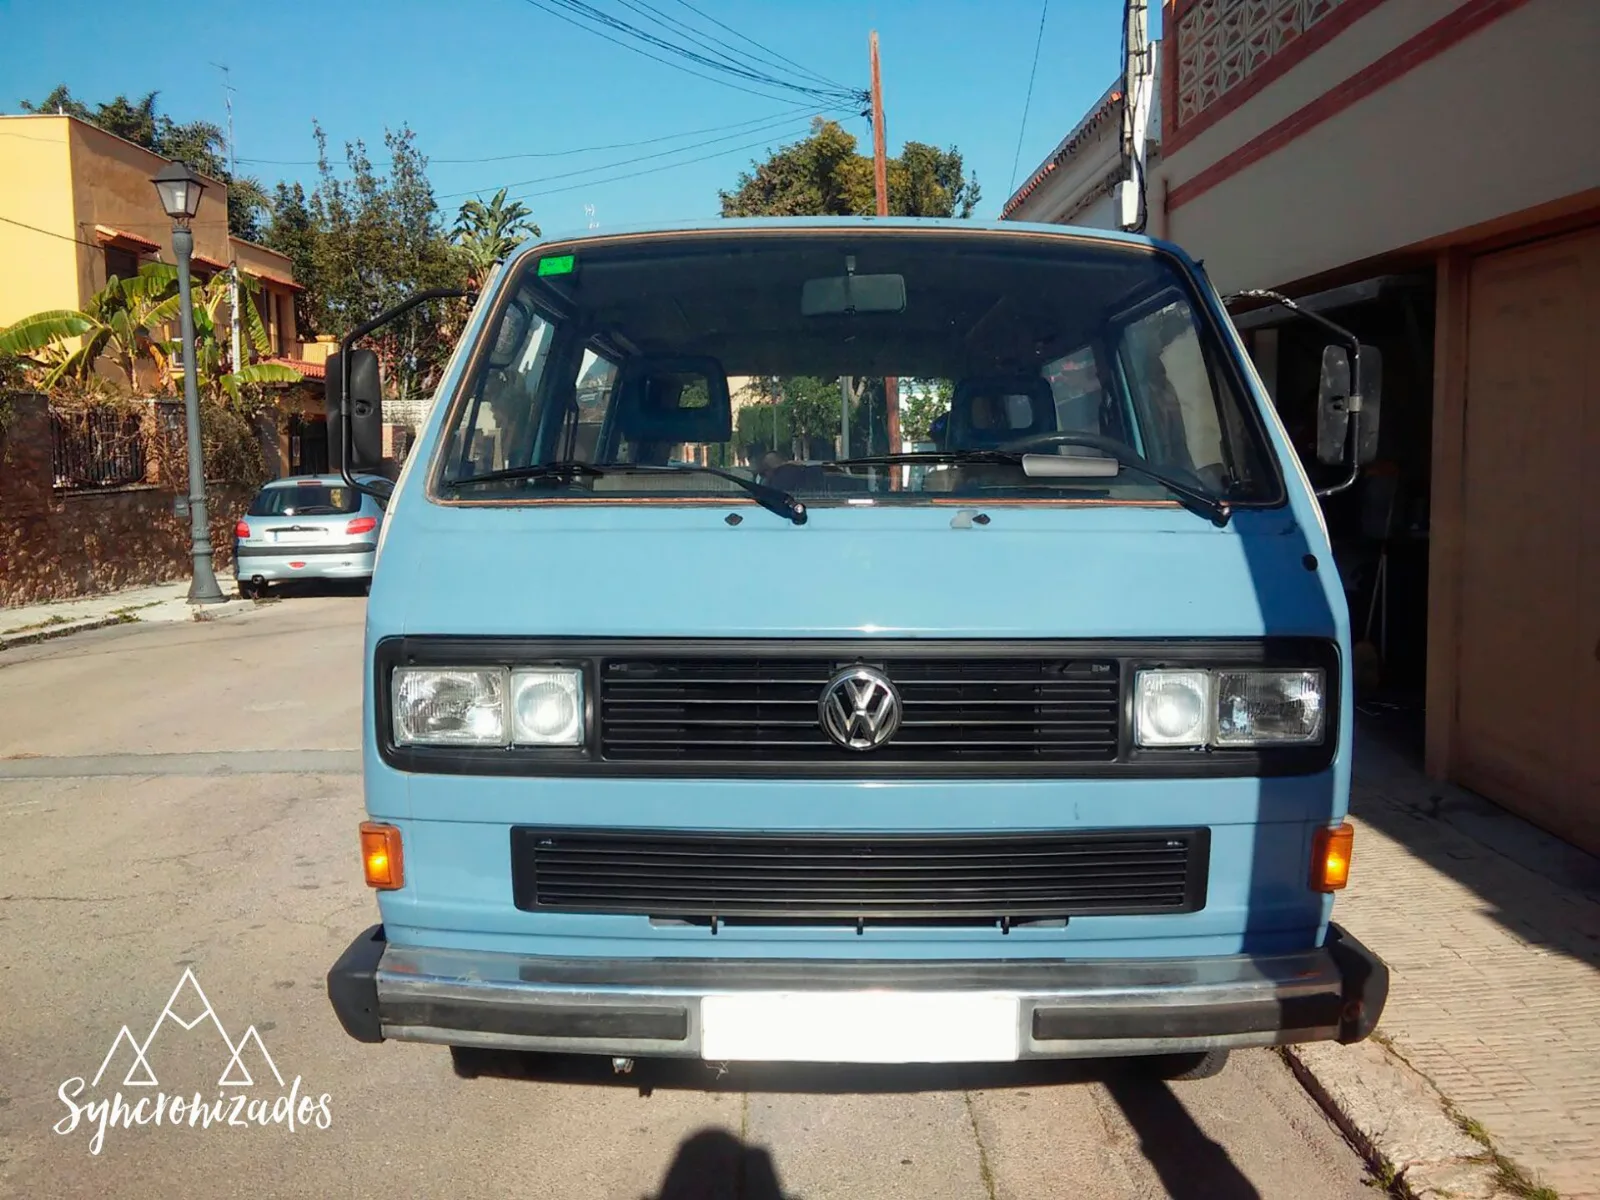
To be honest, the transformation is incredible. You really have to see how much it changes just by painting the grille.
Next, I’ll be painting the rear-view mirrors, which are peeling. It’ll also be the turn of the front bumper, as it comes chrome-plated and I don’t like it that way.