Side steps for 4×4 vans
30 de diciembre de 2022
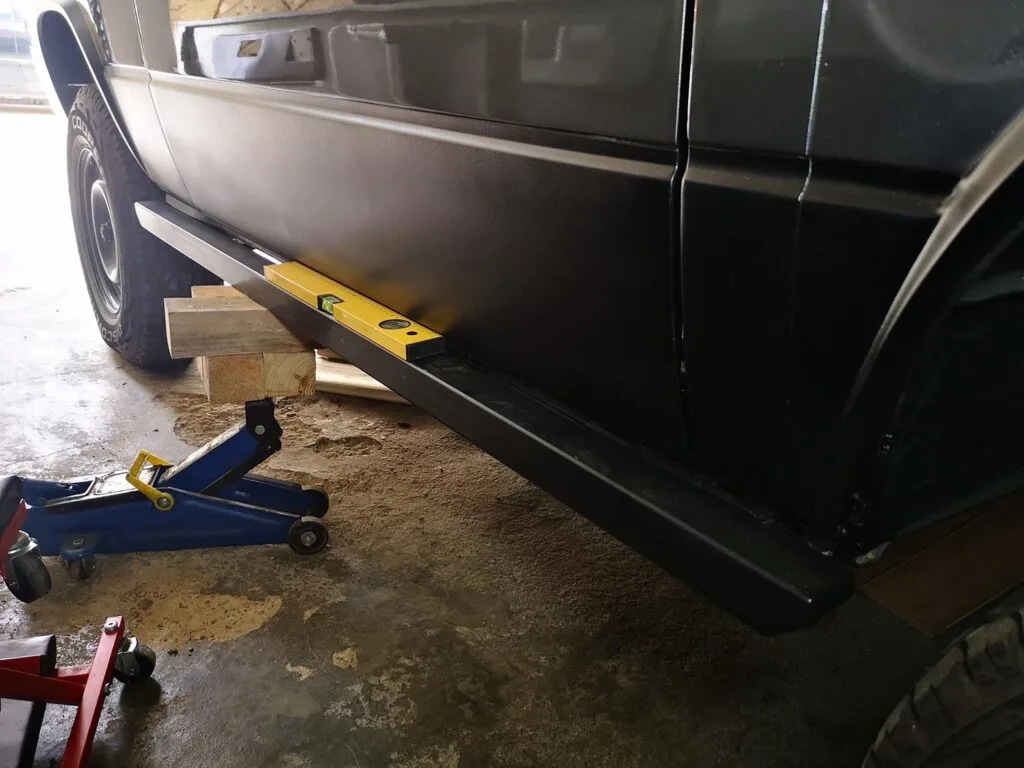
We’re still fitting bits and pieces and getting the VW T3 Syncro ready. In this case, I’ve bought some side steps for a 4×4 van, with the aim of protecting it from any knocks and providing a solid base for jacking up the van.
Yes, those are pretty much the objectives I’m aiming for with this additional upgrade. On the one hand, the side steps will protect the bodywork on the sides in case, whilst off-roading, the van hits a stone or something similar. They’ll also prevent the rear wheel from catching on any objects. On the other hand, the side steps provide a flat surface on which to safely jack up the van using a Hi-Lift or a standard jack. Finally, they also improve the vehicle’s appearance.
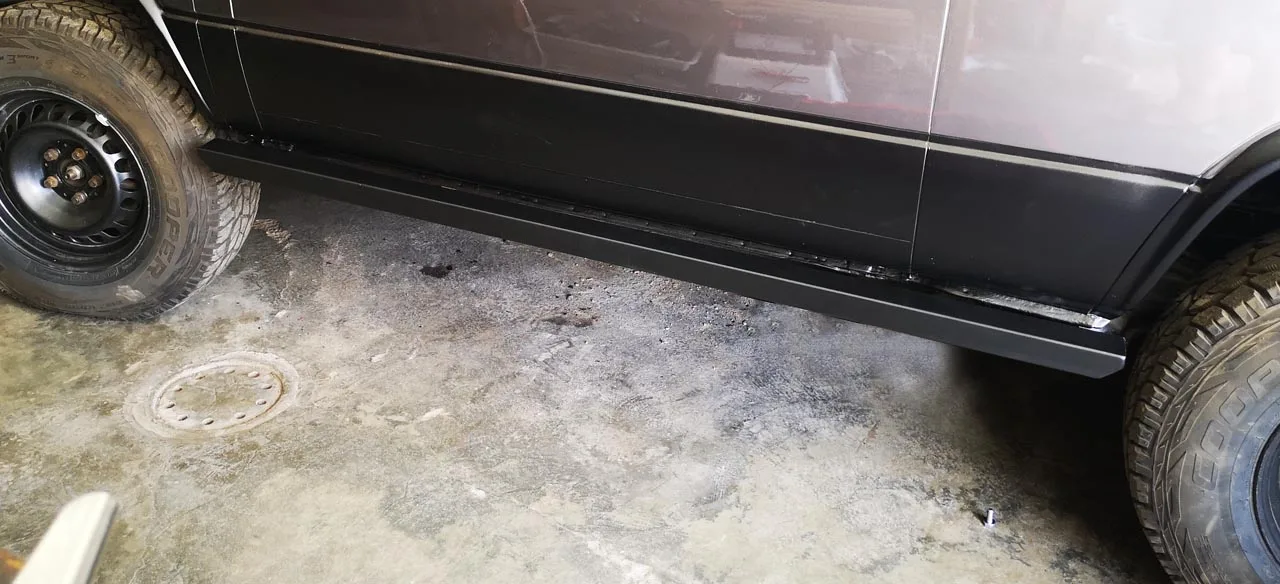
I’ve chosen square-section side steps made by SlowWorks. They’re 50mm wide with a 3mm-thick wall, and to be honest, they look really well made. They’re powder-coated and the welds are very neat. I’d 100 per cent recommend them.
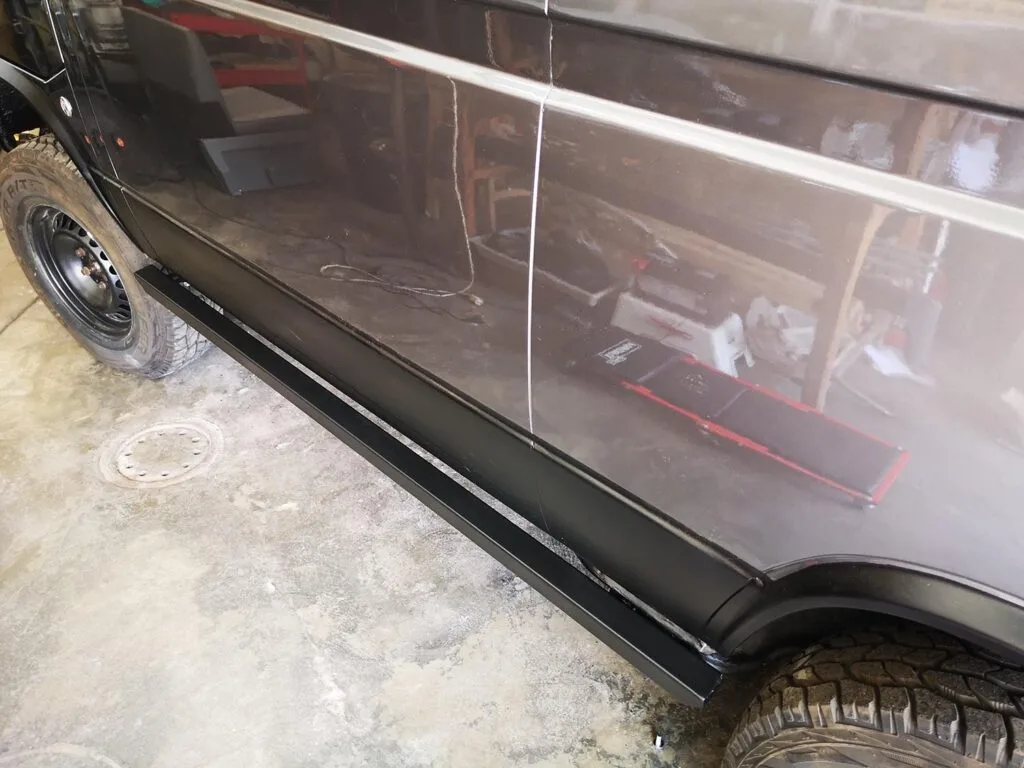
By the way, side steps for 4×4 vans must be type-approved; otherwise, if they aren’t listed on the vehicle registration document, you won’t pass the MOT.
How do you fit footrests to a 4×4 van?
Well, it looks simple and it is, but if you want to fit them properly, you’ll need to put in the effort and take your time. Let me explain why. These side steps have three bolts: one at the rear and two at the front, along with a mounting plate. The thing is, they go into the holes already in the van for the jack; you fit the front bolts along with the metal plate, and you’d just need to drill a hole to secure the rear bolt. But that doesn’t guarantee the side steps will be level. They’ll most likely end up tilting downwards, as I, at least, had to make the hole bigger to be able to raise them and level them out as much as possible. And that’s where the hard work comes in, as you have to gradually chip away at the material. I tried using a half-moon file, a Dremel with its thousand and one attachments, and in the end what worked best for me was a drill, a 10mm drill bit, and running it through the material so that the sides of the bit would file it down.
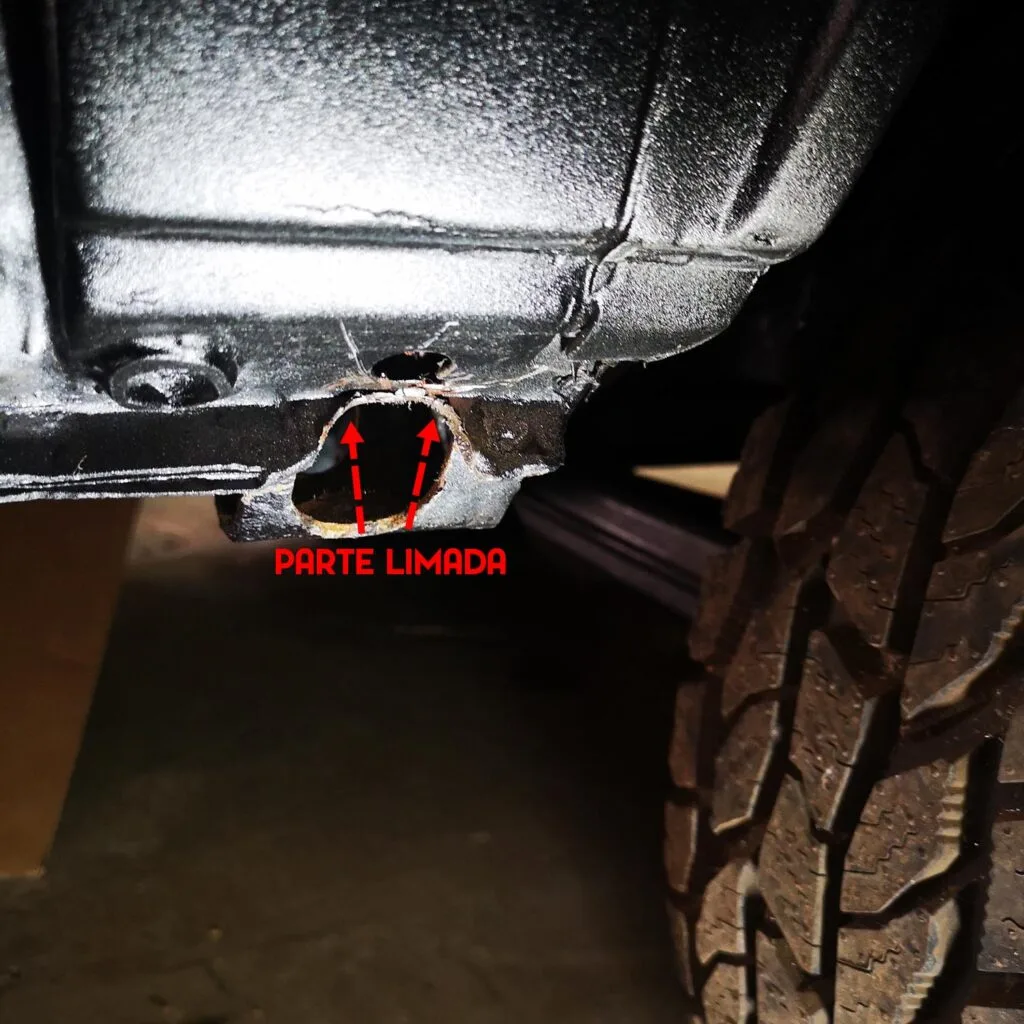
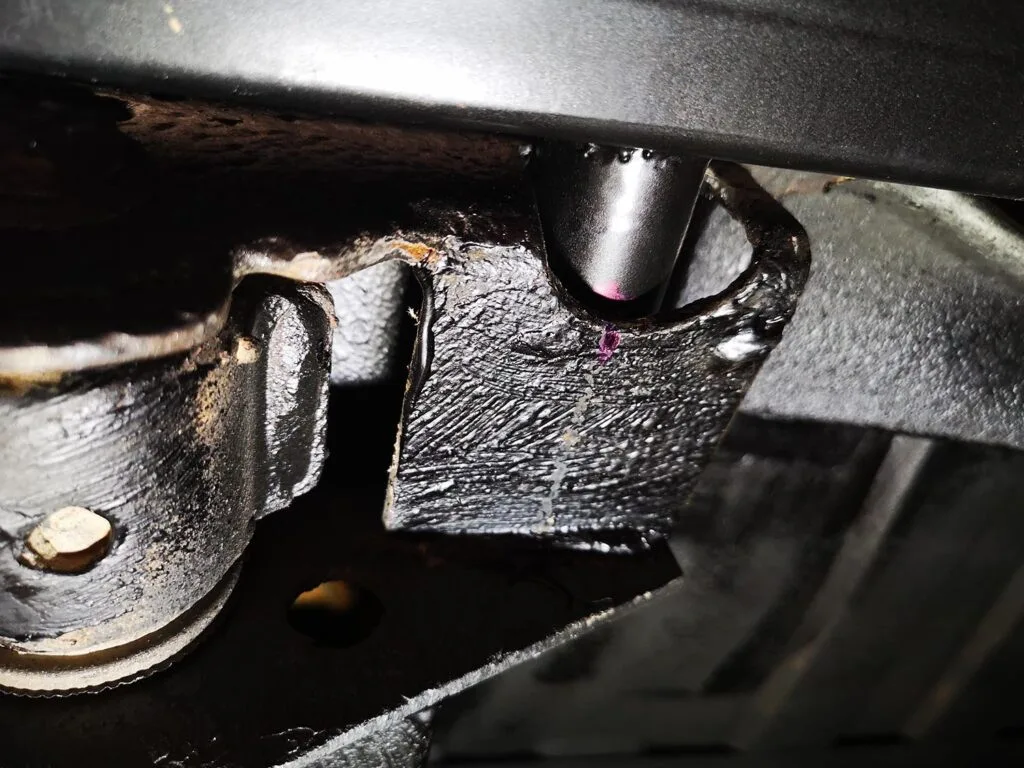
As you can see in the photo, I removed as much material as possible from both the front and the back so that they’d be as straight as possible.
Once the pieces have been filed down, we still need to drill the rear mounting hole. To do this, position the footrest and mark the tube that fits into it.
Now remove the footrest and, using a vernier calliper, measure the distance to the centre of the hole, then transfer that measurement to the exact depth required.
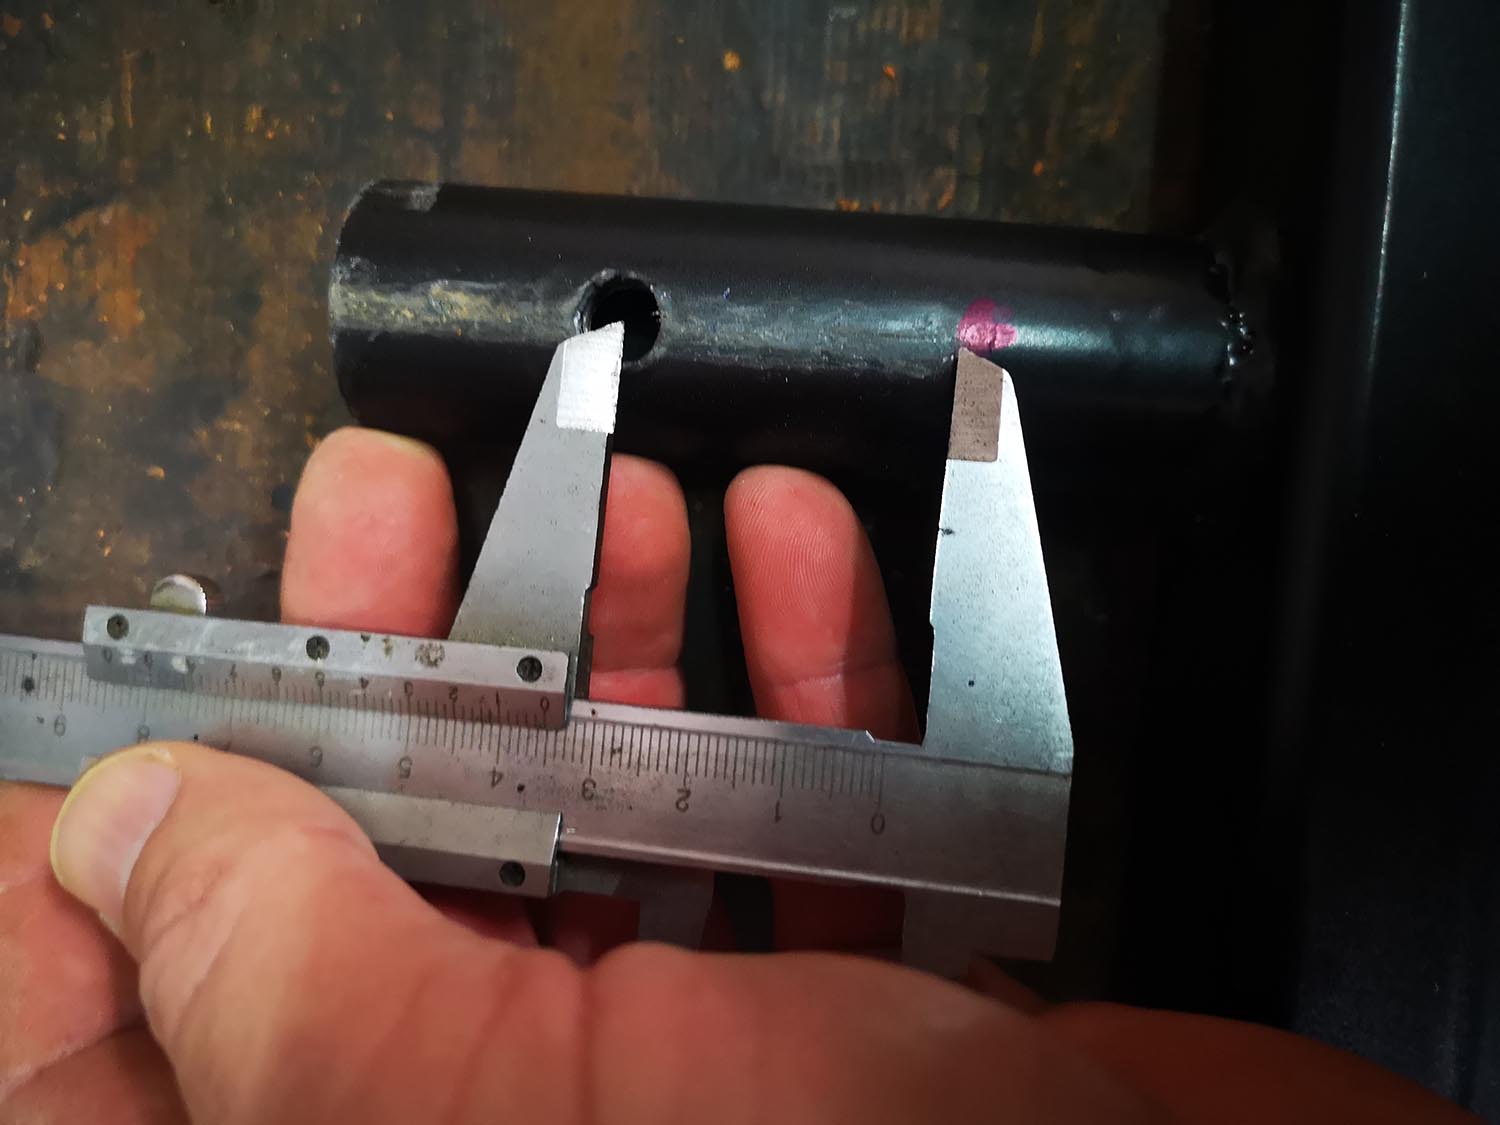
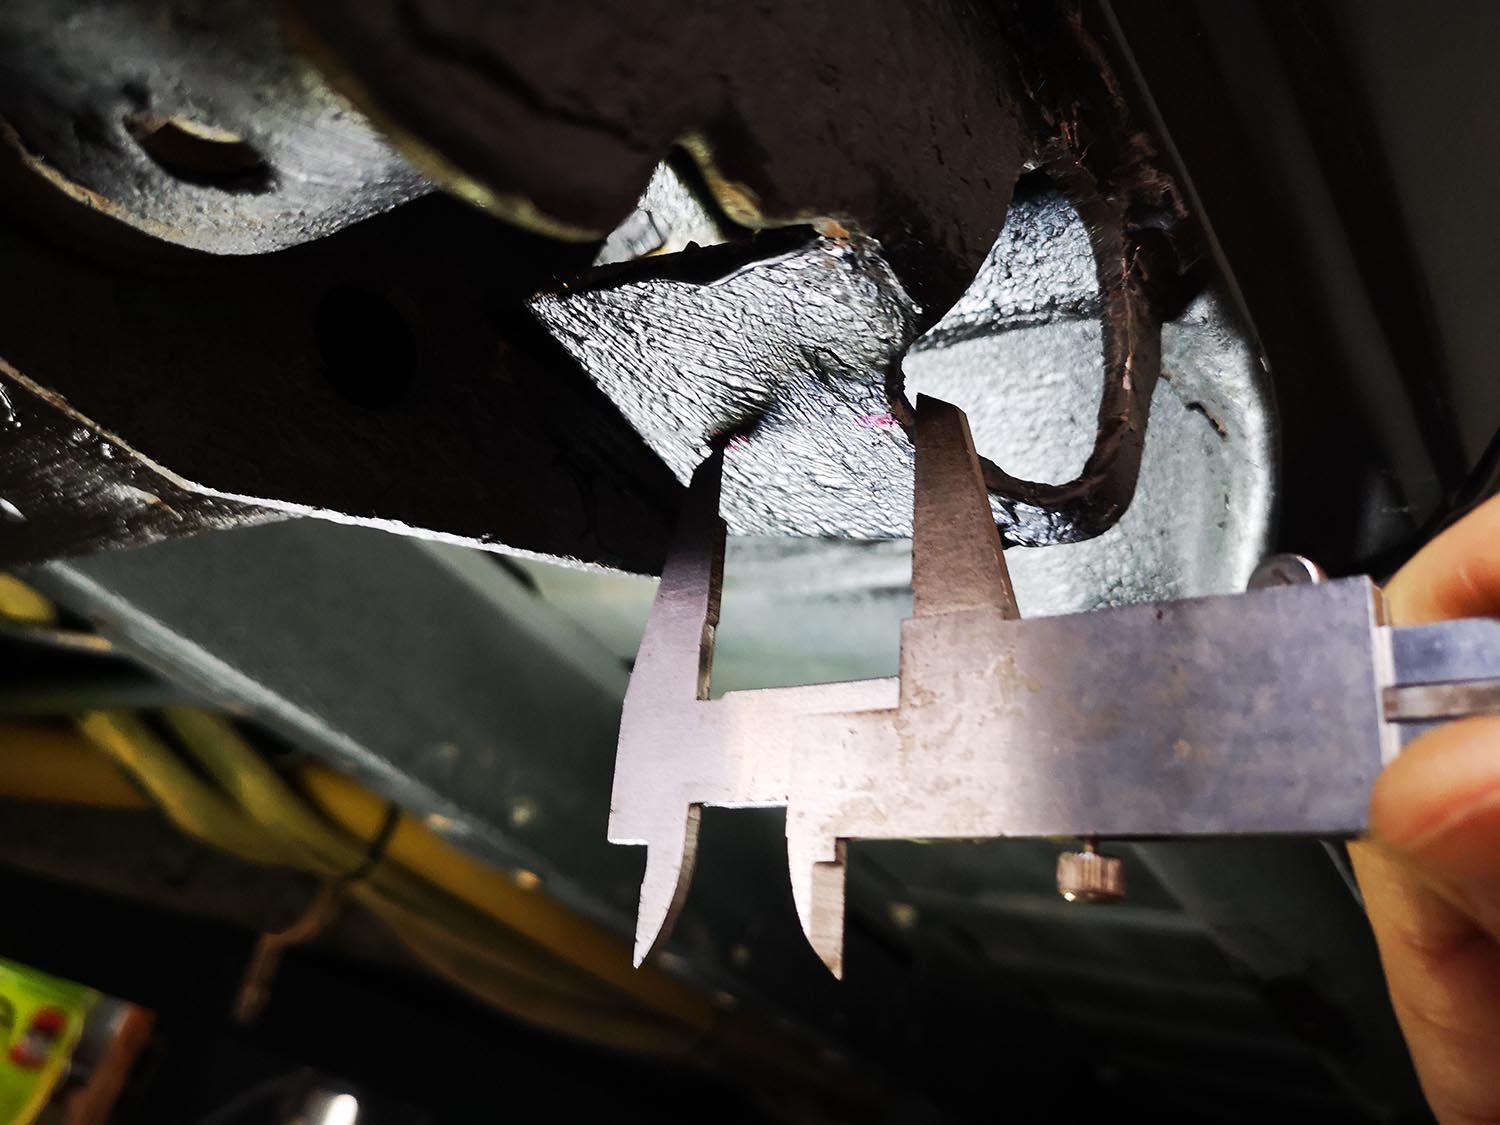
We mark the spot with an awl to stop the drill bit from wobbling, and gradually enlarge the hole until we’re using a 10 drill bit.

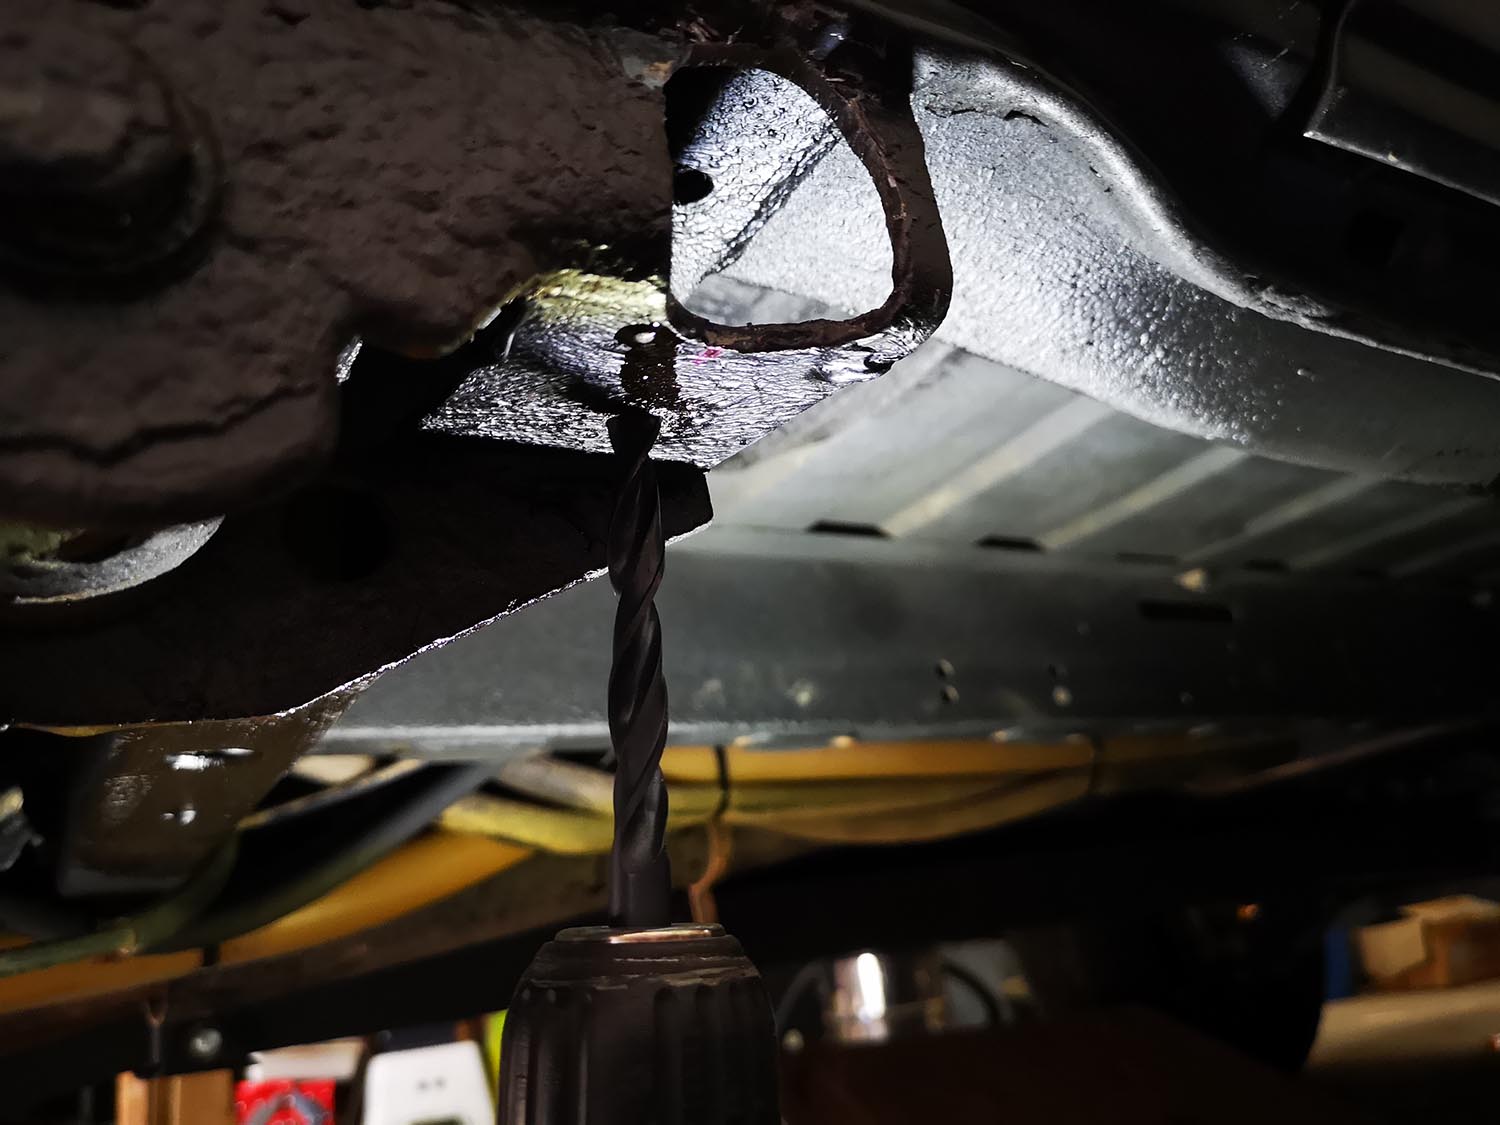
With that, the rear hole is now complete and we can fit the footrest.