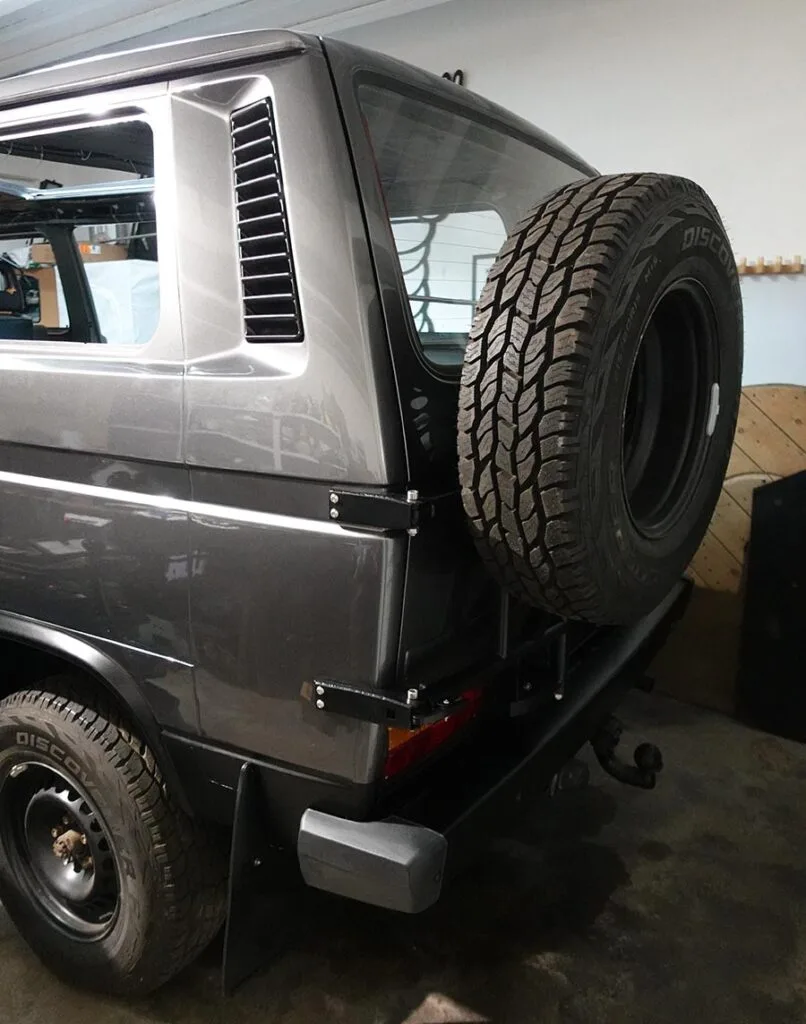
Fitting a rear wheel holder on a VW T3 Syncro
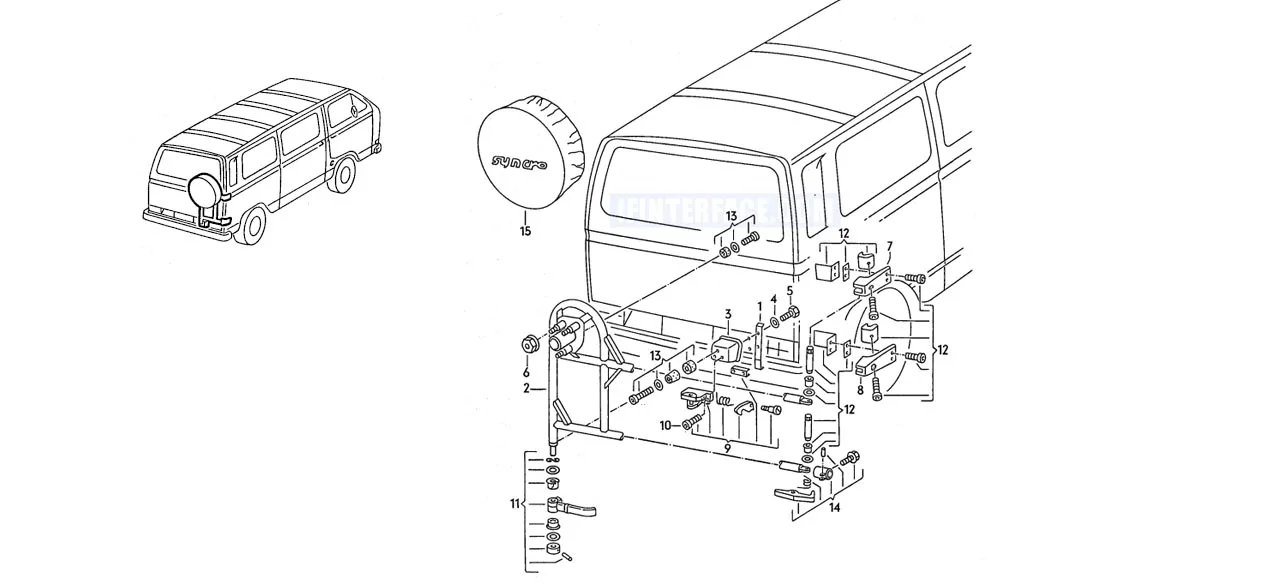
25 de enero de 2023
I mentioned earlier that I wanted a spare wheel holder for my VW T3 Syncro. Now that I’ve settled on a specific one, it’s time to explain how to fit the wheel holder.
I’ve bought my wheel holder for the driver’s side because my plan is to fit another one on the right-hand side – not to carry another wheel, but to mount a box where I can store things.
Spare wheel holder installation process
- Step 1: Fitting the upper bracket
- Step 2: Fitting the lower bracket
- Step 3: Fitting the wheel holder
- Step 4: Fitting the clamping bracket
Let’s go through the wheel holder installation process step by step:
Step 1: Fitting the upper bracket
Of the two parts, the top one is the shorter. We need to position it in the recess in the bodywork as centrally as possible and use a marker pen to make some marks on the panel. Two on the side and one at the back.
It’s advisable to mark a spot with a centre punch so that the drill bit doesn’t slip and scratch the paintwork.
Now take a 2/3 mm drill bit and drill the first hole in the panel. Next, gradually increase the drill bit size until you reach 8.5 mm.
Once the three holes have been drilled, use a file to remove any burrs and, using a small brush or a cotton bud, protect the metal sheet with paint or primer.
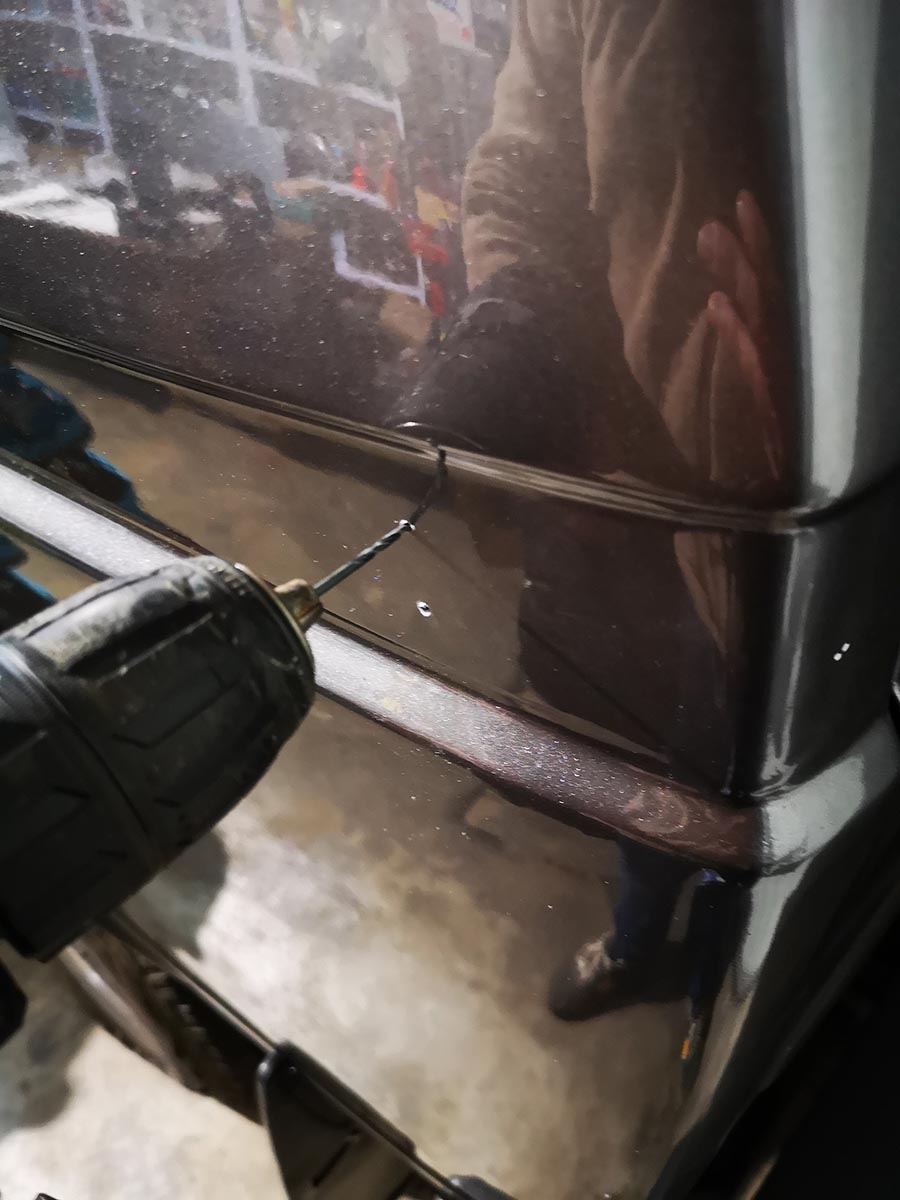
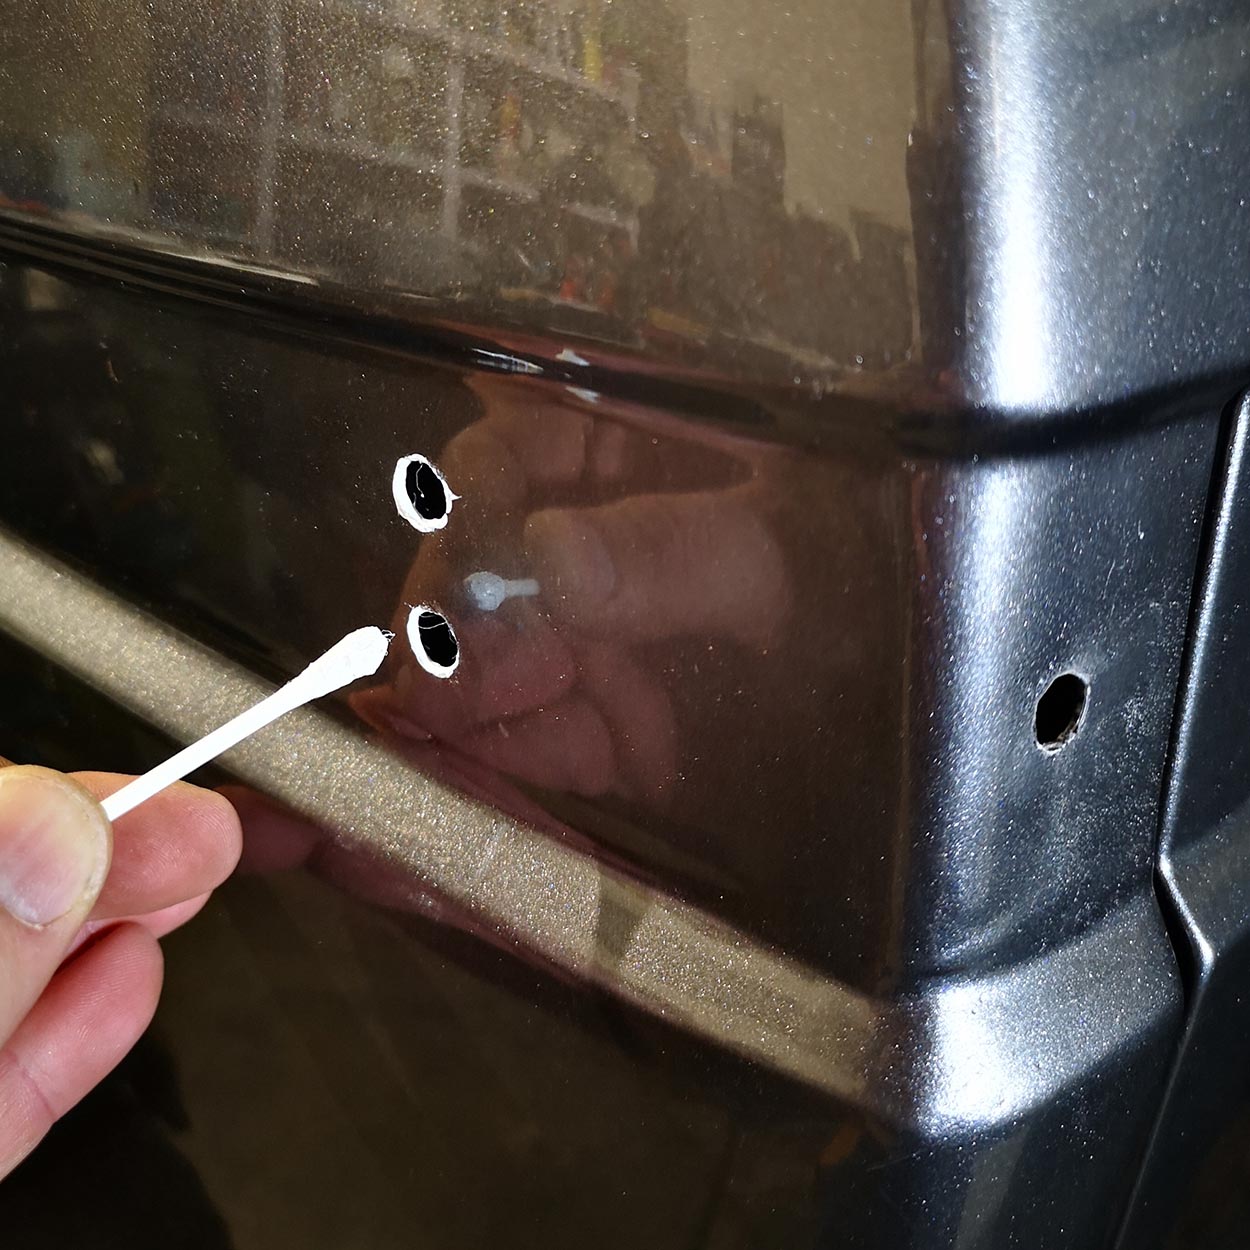
Whilst it’s drying, I’ve taken the opportunity to cut a strip from a bicycle inner tube to place between the bracket and the metal panel.
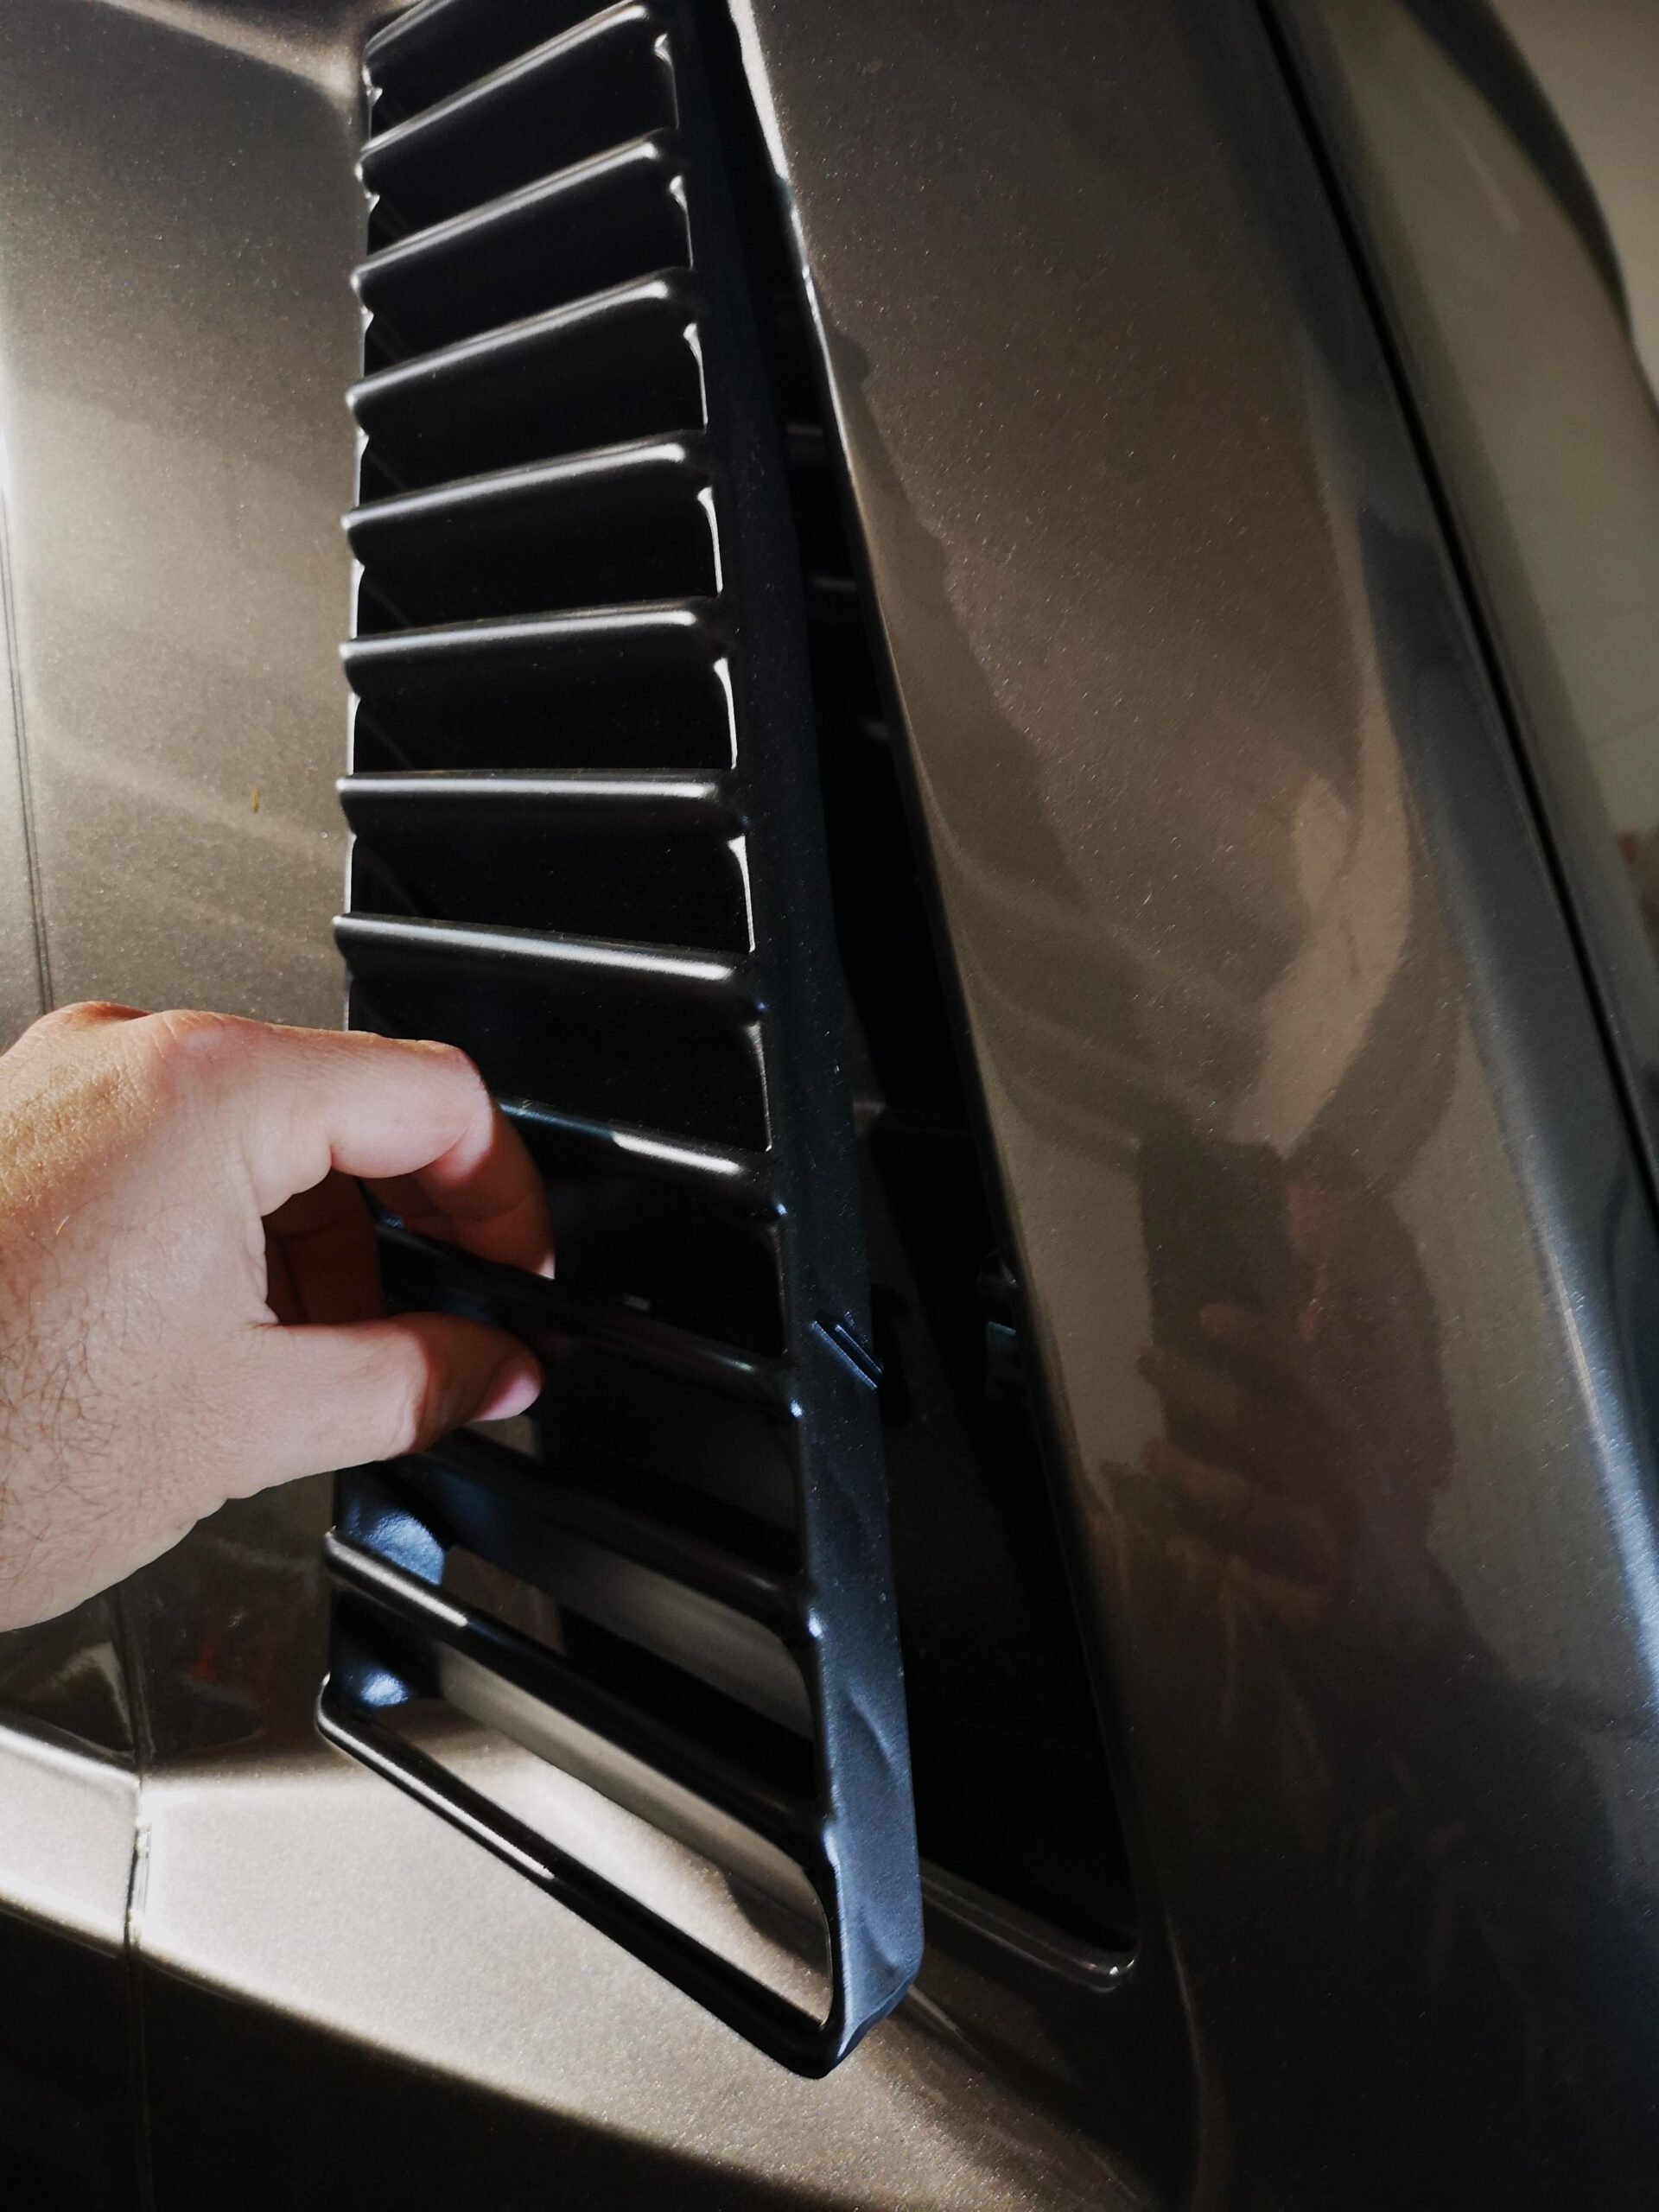
All that remains is to put the bracket in place and tighten it. To do this, we remove the top grille, which will give us access to the inside of the panel. There are two screws which we remove and pull downwards so that the plastic part with two lugs on the top comes out.
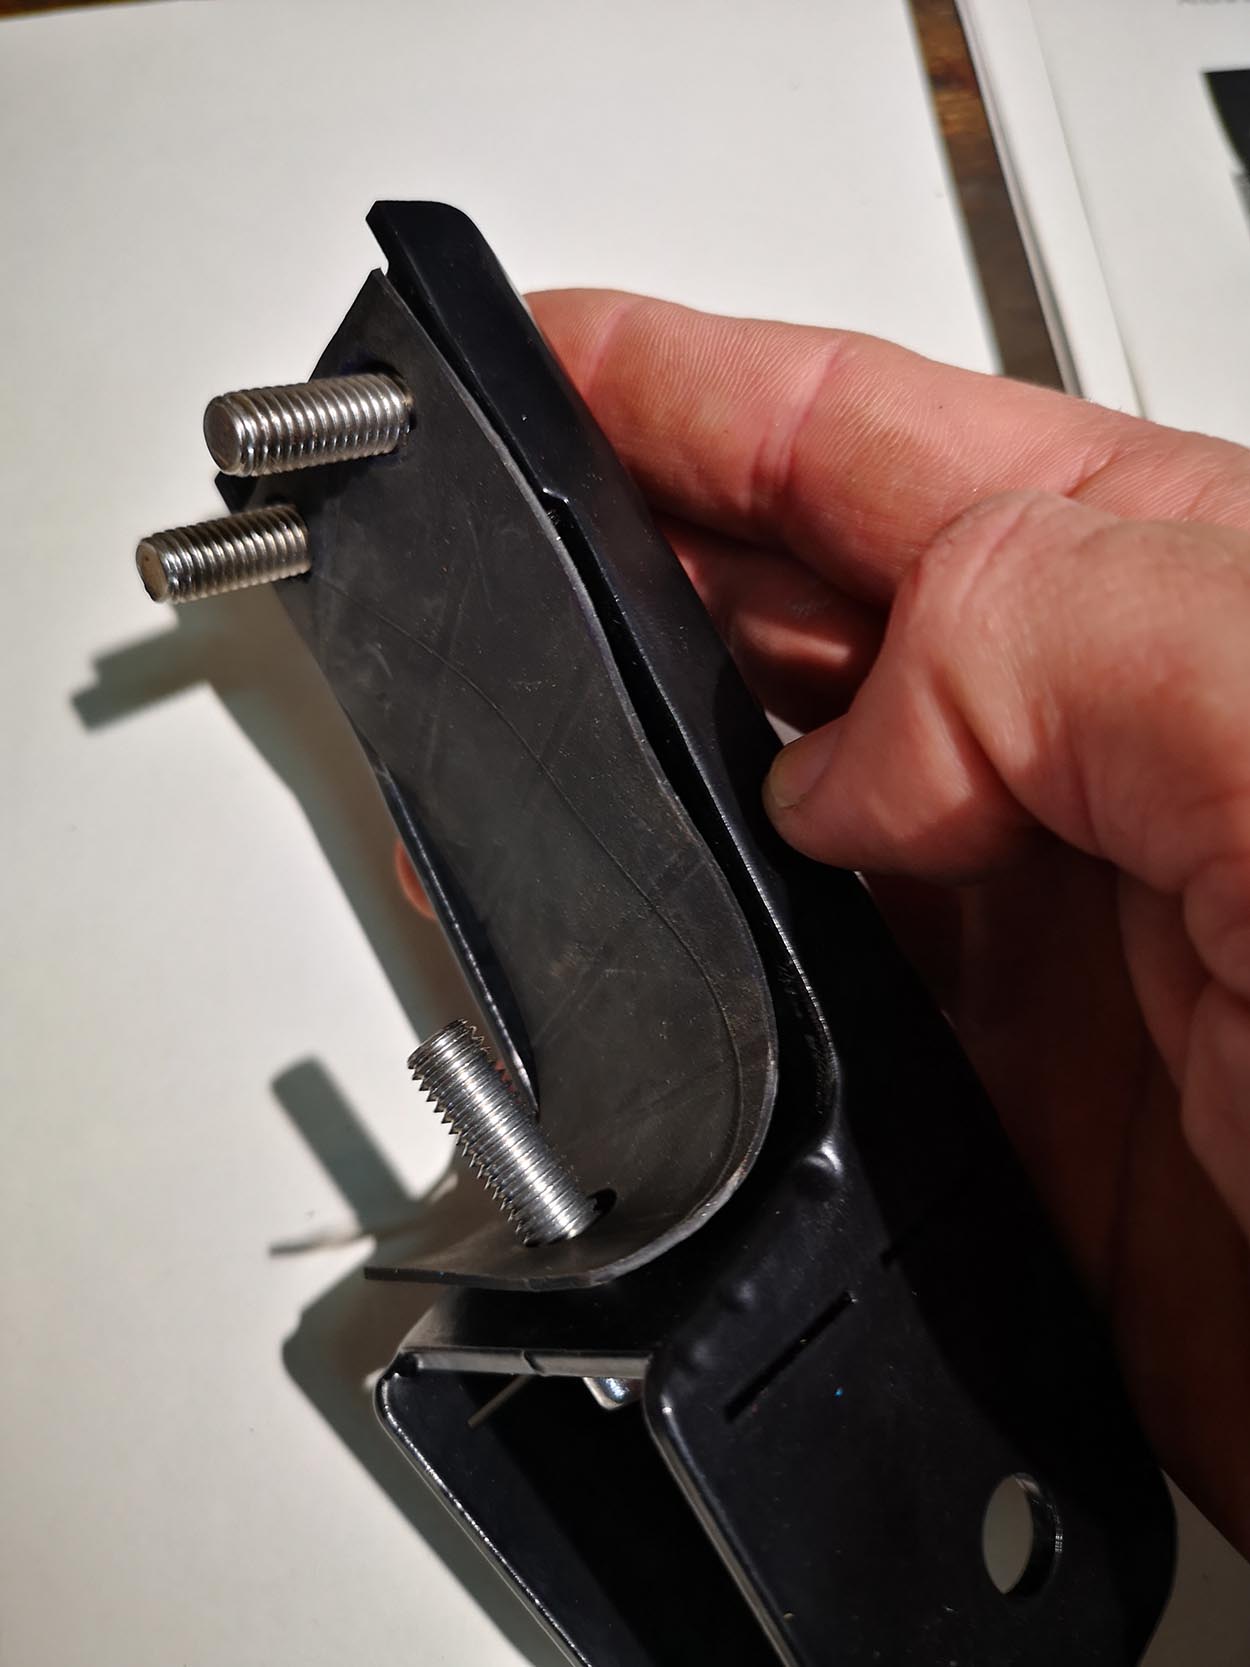
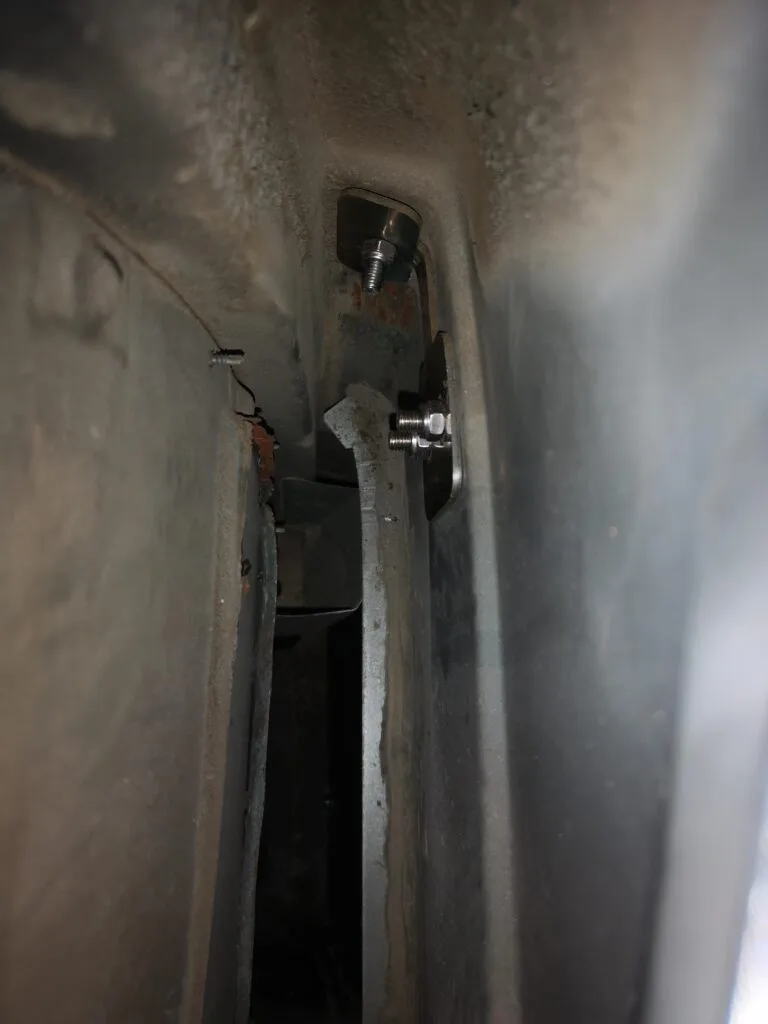
To tighten it, position the metal plate from the inside, fit the nuts and tighten them securely.
Some Amazon products you’ll need
Step 2: Fitting the lower bracket
To fit this part, the first thing you’ll need to do is screw it onto the bracket itself. Then, take it to the van and attach it to the top bracket. This will help you clearly see where it should be positioned on the bodywork. We make sure it’s parallel and straight, then mark the holes with a marker pen. Here, we can only mark the two side holes, as the wheel holder will be in the way and block our view when marking the rear hole.
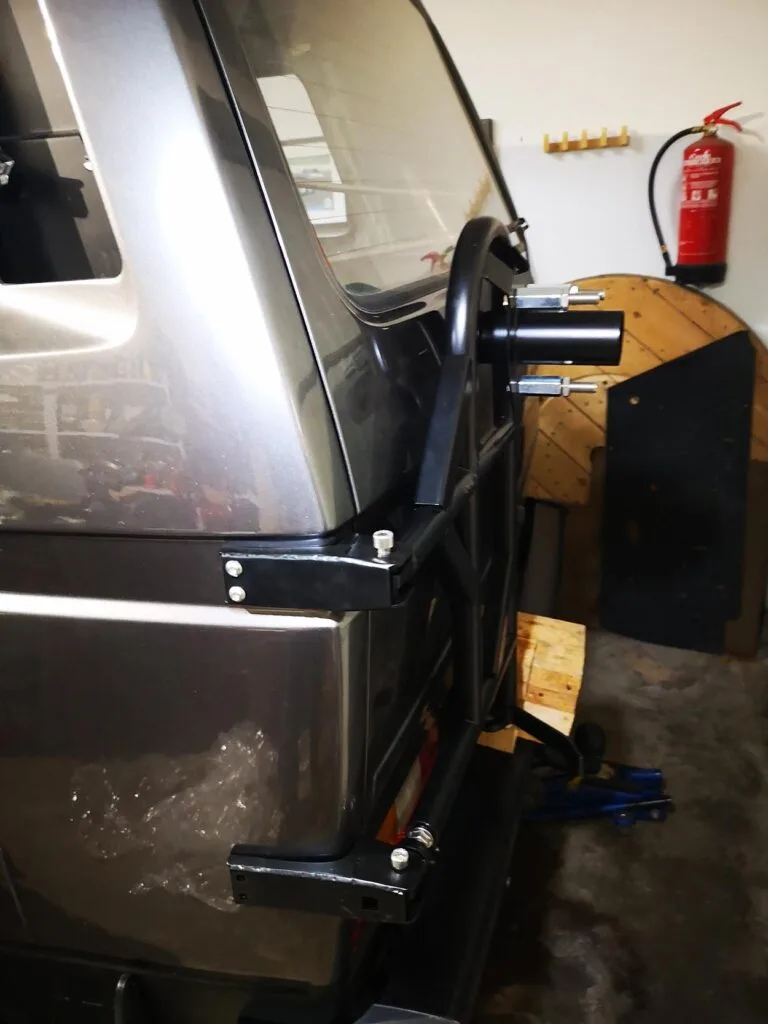
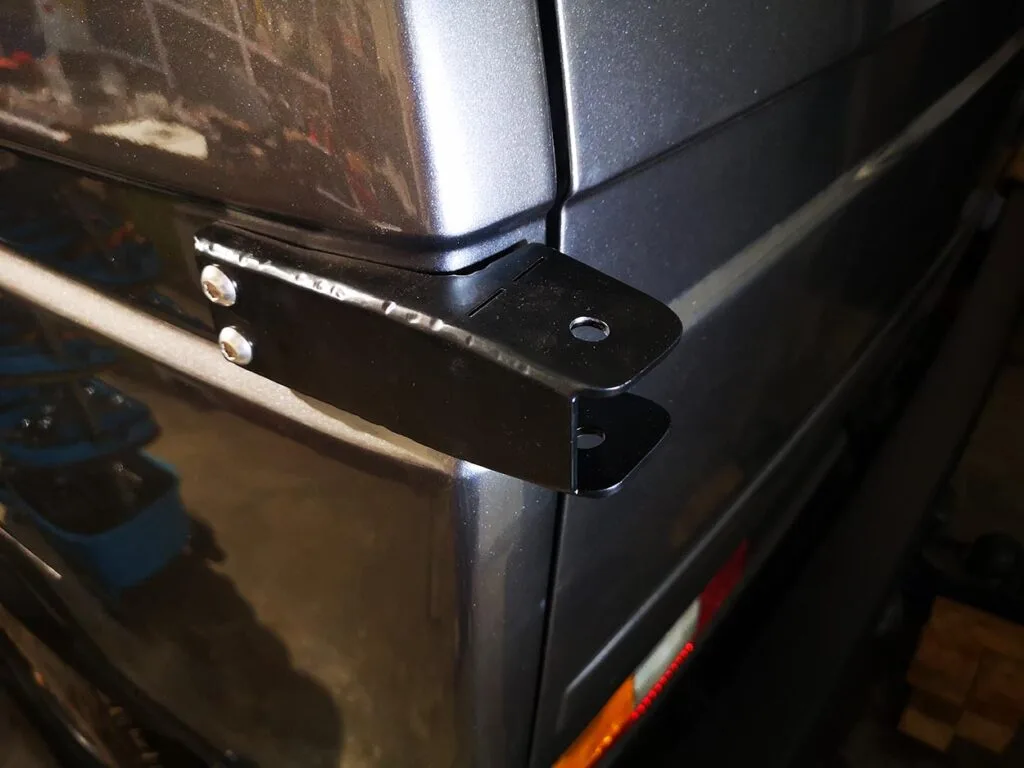
Once the two holes have been marked, we remove the wheel holder again and drill using the same procedure as before. Now we position the lower bracket in place by fitting the two screws, align it parallel to the bodywork, and mark the remaining hole.
Drill the hole, file down the three holes and prime or paint them. You can also take this opportunity, if you wish, to cut the rubber strip to fit between the bodywork and the bracket.
Now it’s time to screw it to the panel and secure it in place. Here’s where the problem lies, at least in my petrol-powered Volkswagen T3 Syncro. In theory, removing the rear light should give us access, but when I took it off, I found it was very tricky. Luckily, in my van, a previous owner had drilled a hole from the inside (I don’t know why). And that really saved me (although it was still tricky) when it came to screwing it in.
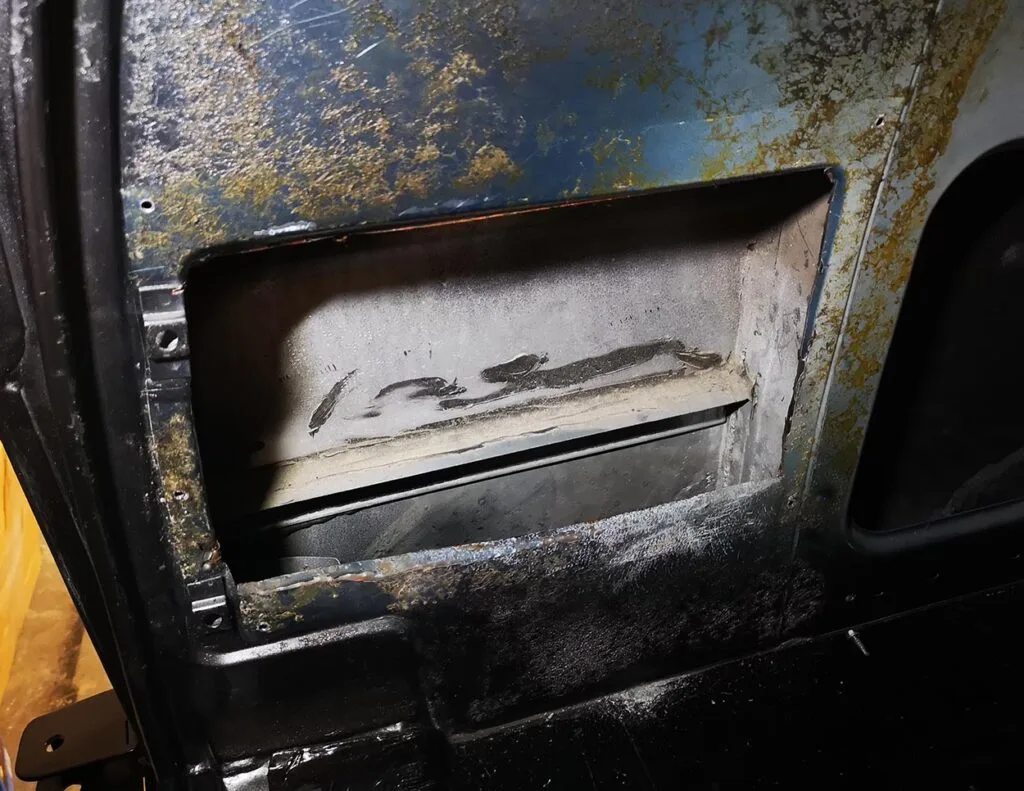
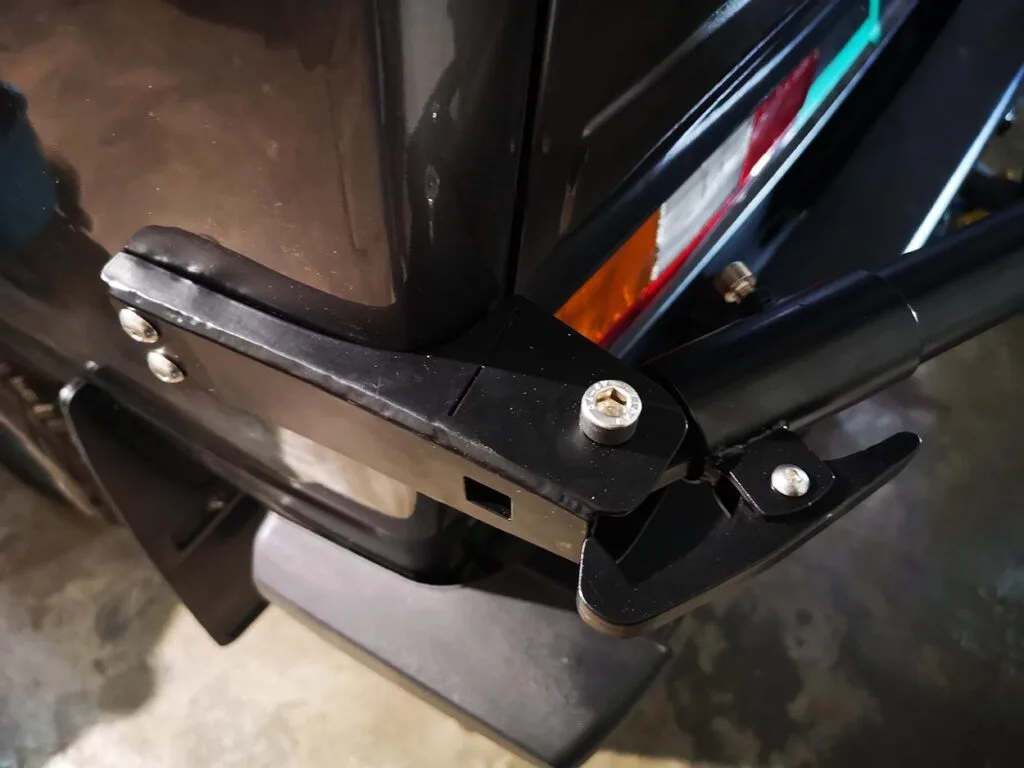
Step 3: Fitting the bike rack
With the two brackets screwed in place, it’s time to secure the wheel holder and check that everything fits properly.
To secure it, we insert the bolt from above, add a plastic washer, the wheel bracket, another plastic washer and, underneath, a lock nut. All of this is included in the kit.
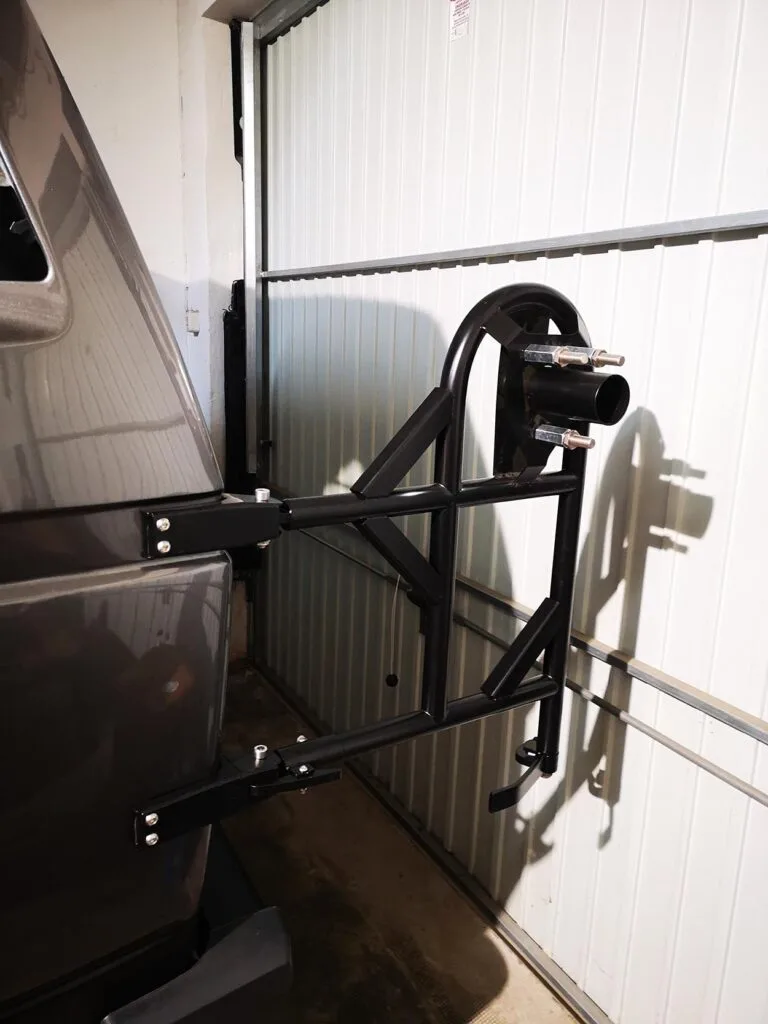
Also, and very importantly for the next step, we’ll check to see if it’s level horizontally. We can check this by aligning it with the rear lights and the lines of the tailgate. To adjust it, loosen the screw on the hook that locks the wheel holder in place and move it backwards. This will reveal an 18 mm nut, which you should loosen.
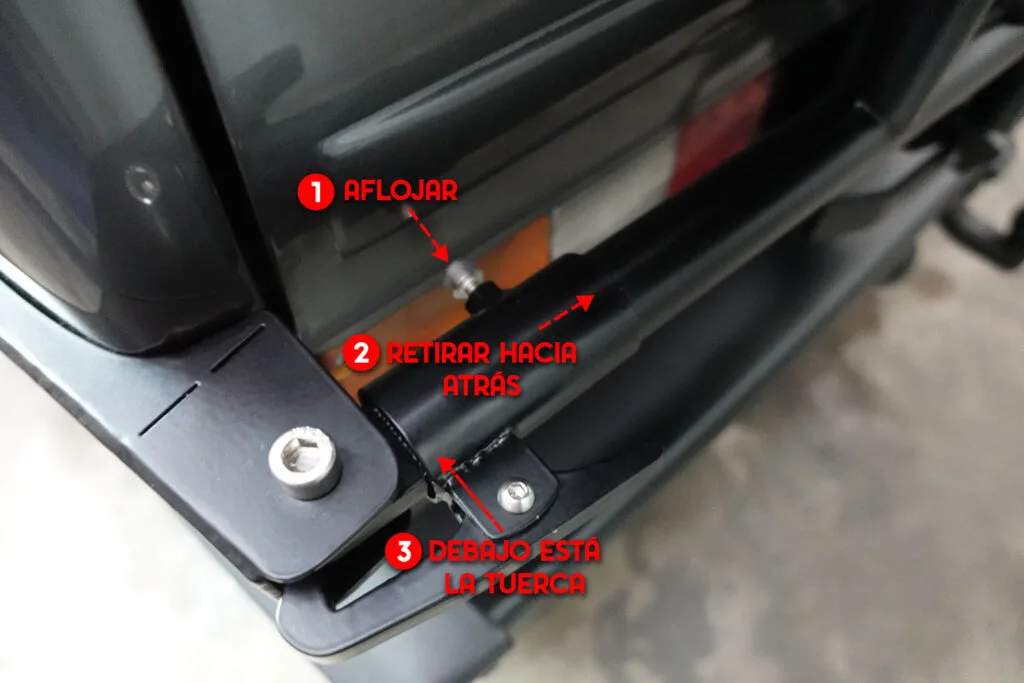
Once loosened, you’ll need to remove the bolt and nut securing the wheel holder to the lower bracket so that you can turn the screw that adjusts the extension. Keep turning the screw until the wheel holder is completely level.
Step 4: Fitting the mounting bracket
Now that the wheel holder is in place, one of the final steps is to fit the bracket that goes next to the number plate and supports the weight of the bracket and the wheel.
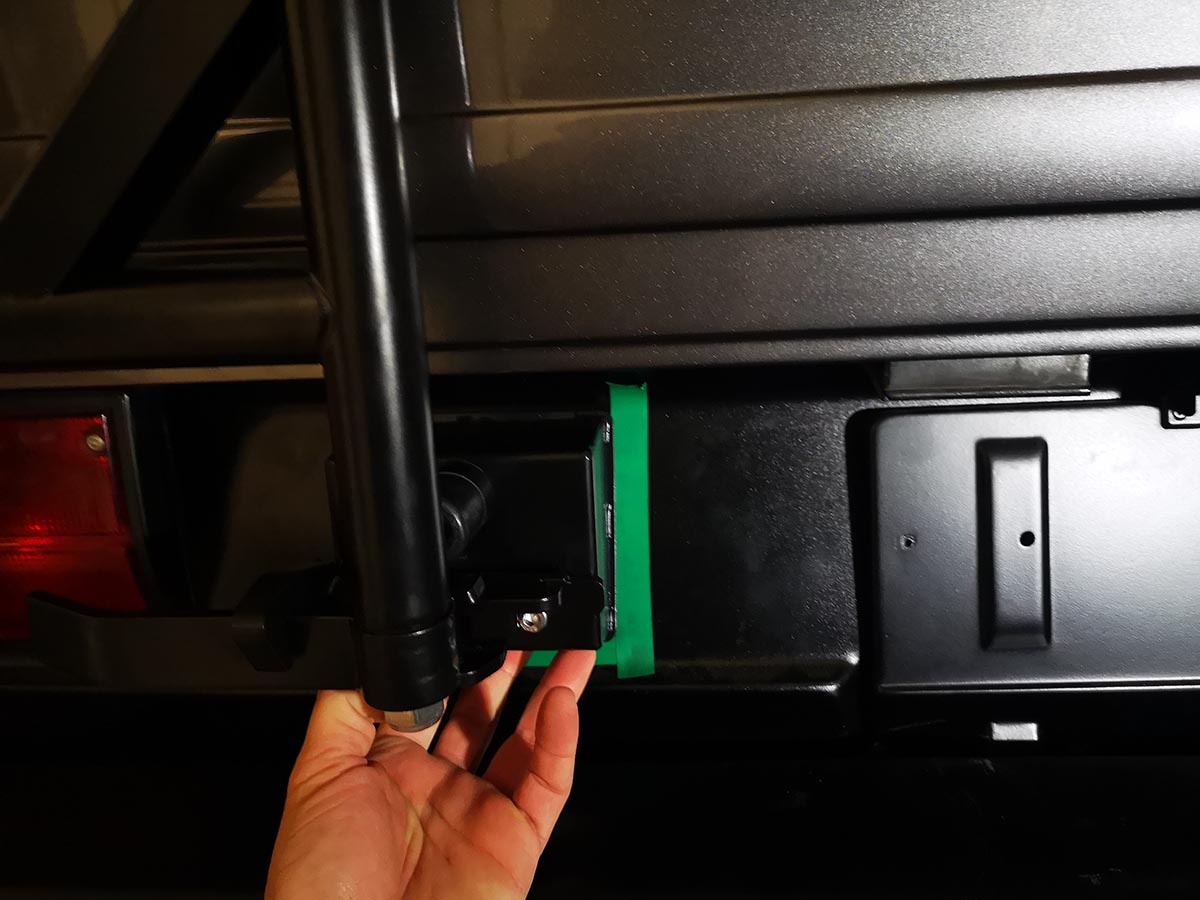
Place the wheel holder in its closed position, attach the bracket and position it where it is to be secured.
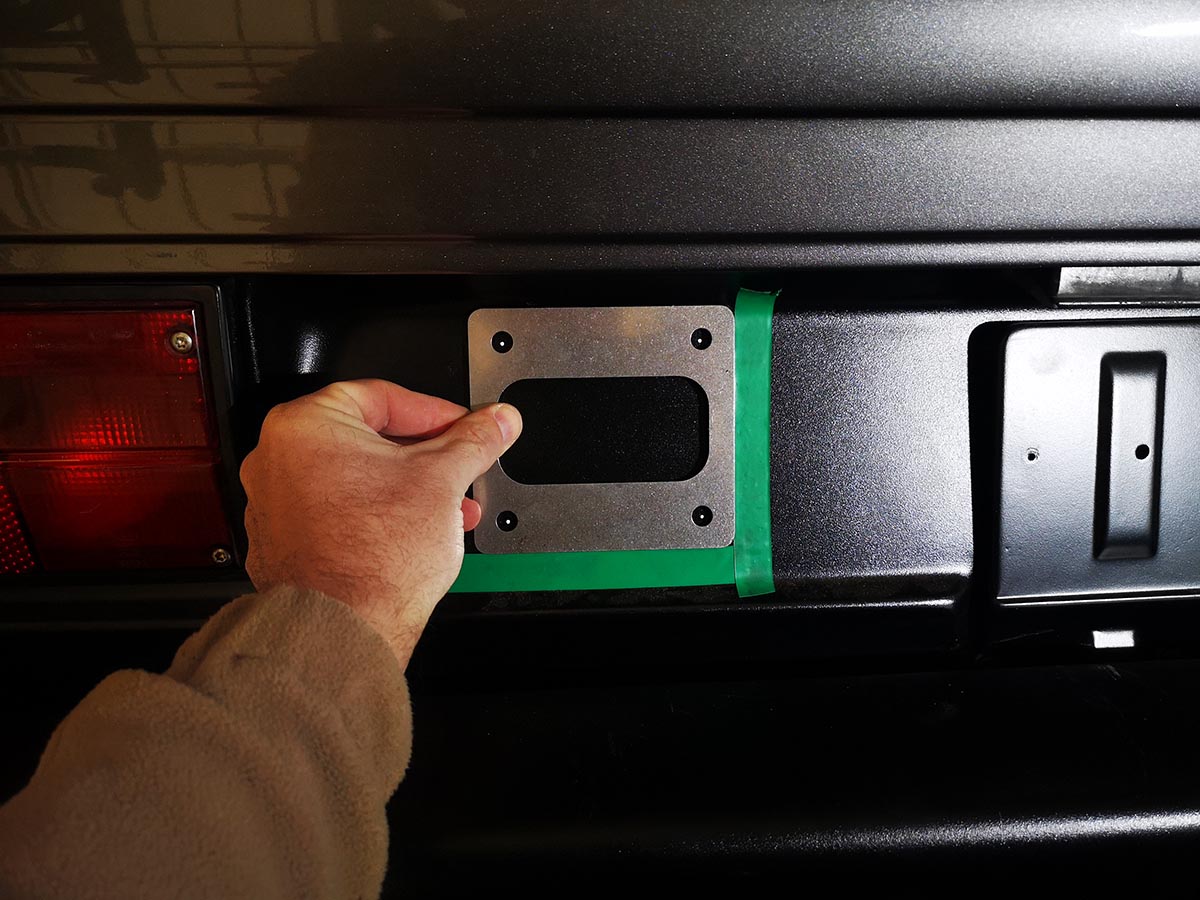
Mark the position and use the rear panel as a template to mark the four fixing screws.
We drill the holes, file them down and protect the panel, position the part, place the plate behind it and screw it in place.
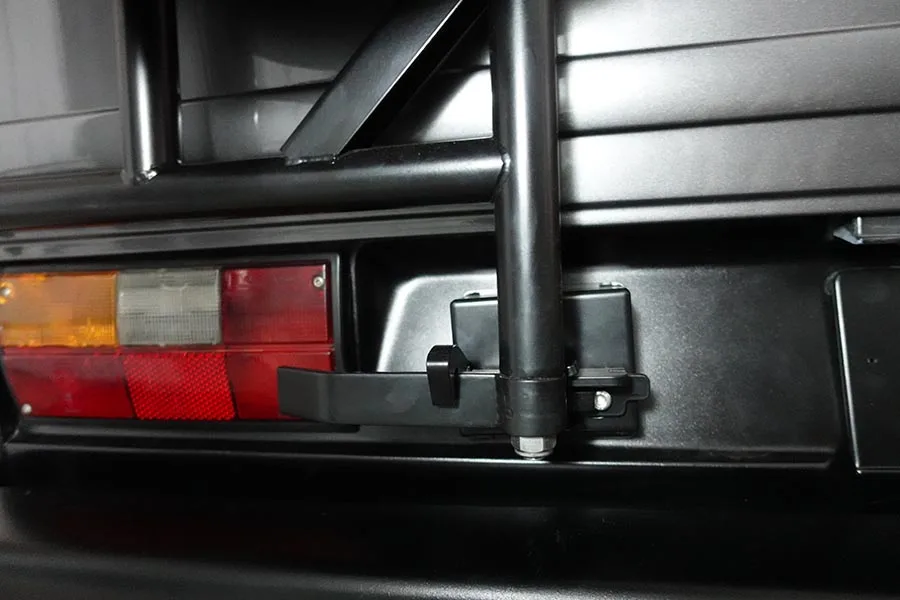
And here is the final result: