
Repairing the van’s bodywork
4 de mayo de 2019
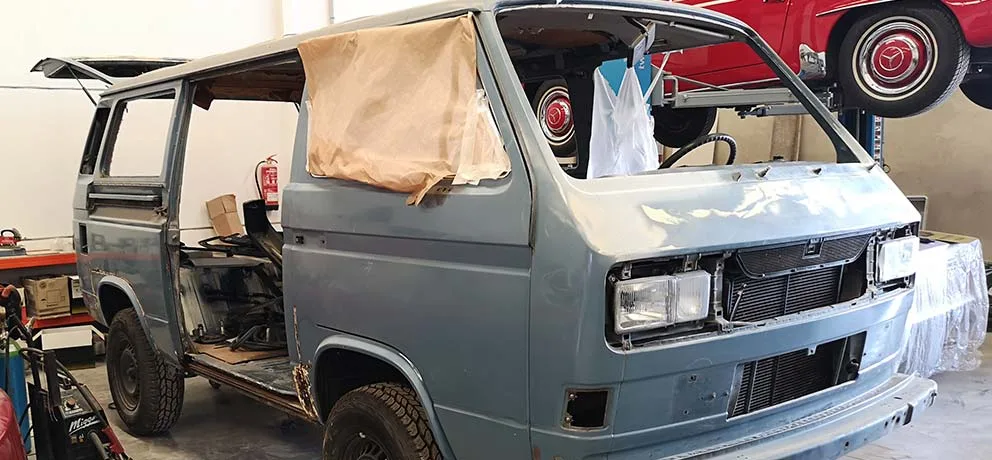
As I’ve mentioned on this blog, I took the plunge and removed the engine from the Syncro. This has set off a chain of unplanned decisions. My plan was to enjoy the van by using it and restoring it bit by bit. But once the engine was out, it was the perfect time to carry out a full bodywork and paint job.
As I said, it wasn’t my priority, as the bodywork isn’t in a bad state – there’s no major rust and it looks pretty sound. It’s clear that things will come to light once I’ve sanded it down a bit. And as for the paintwork… well, it’s very poorly painted over the original colour – a really shoddy job that probably didn’t cost much, but I wasn’t overly concerned about it either.
But anyway, things are what they are, so let’s look ahead and get on with it.
Bodywork repair process
For the full bodywork and paint repair job, I entrusted the work to La Cotxera Classic Garage, a workshop specialising in classic cars in Torrente (Valencia).
I hired a tow truck and off it went to the workshop.
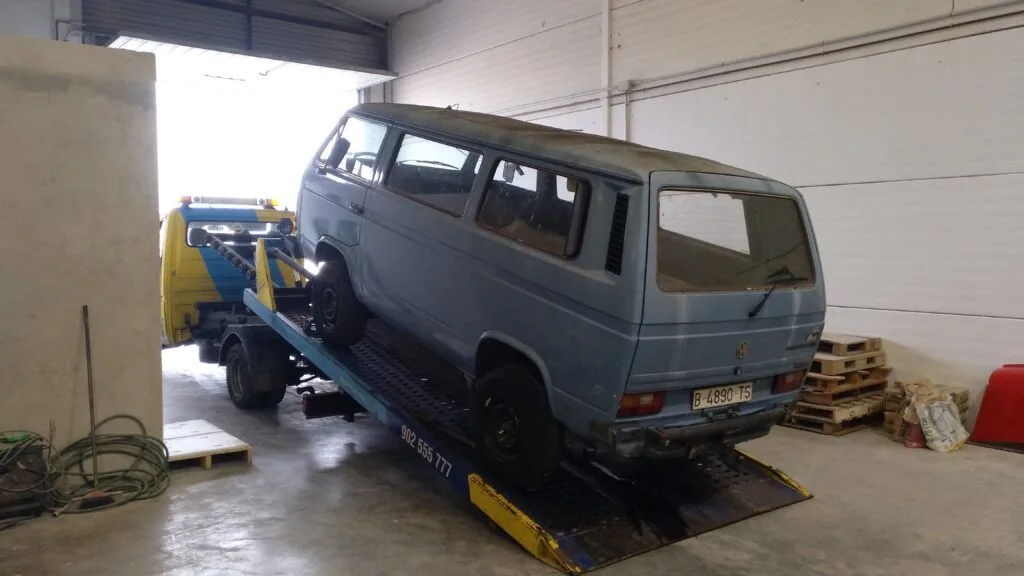
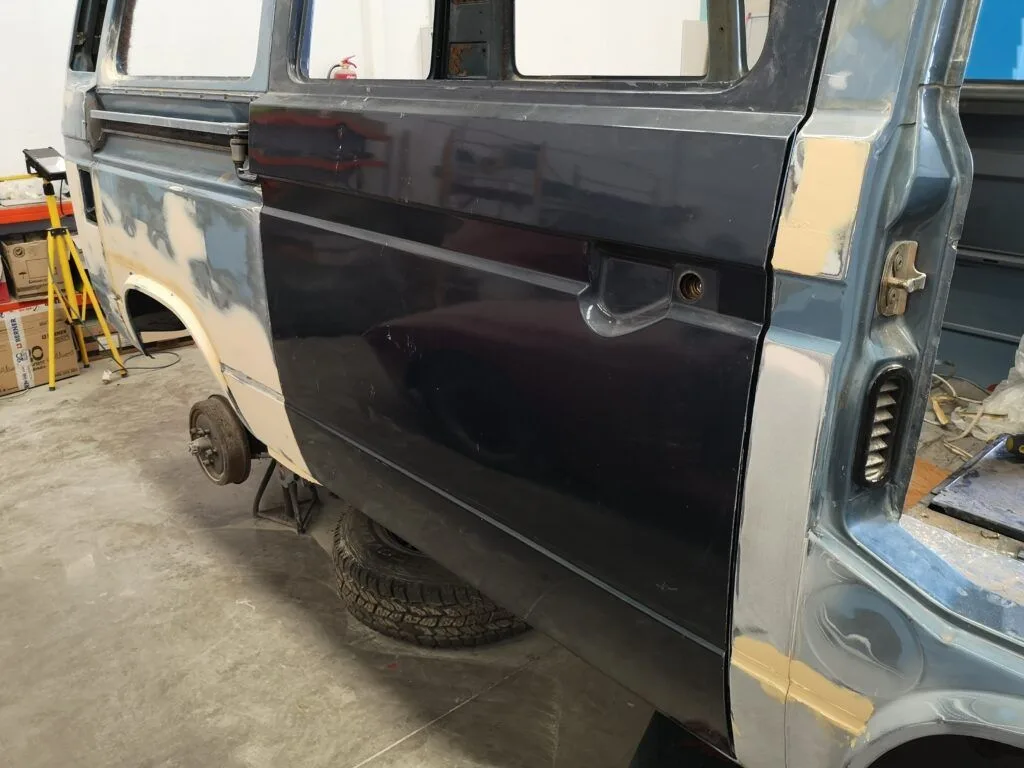
That’s when they started repairing the van’s bodywork. They removed the poorly adhered layer of paint, treated areas of rust and filled in some dents and scratches with body filler.
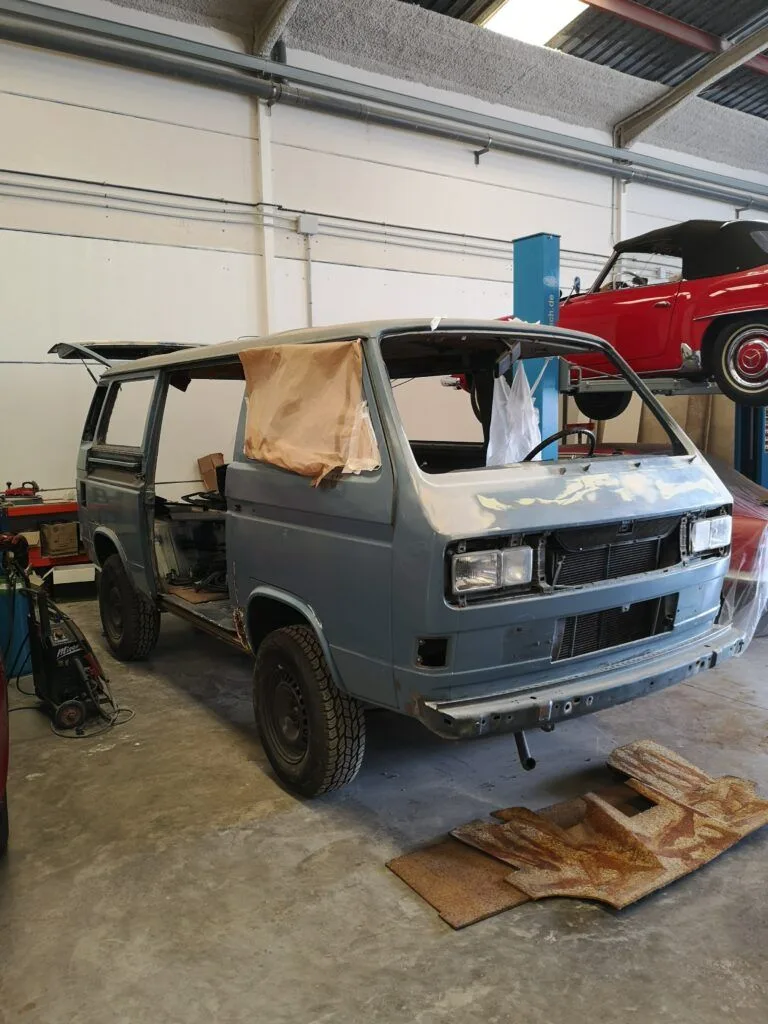
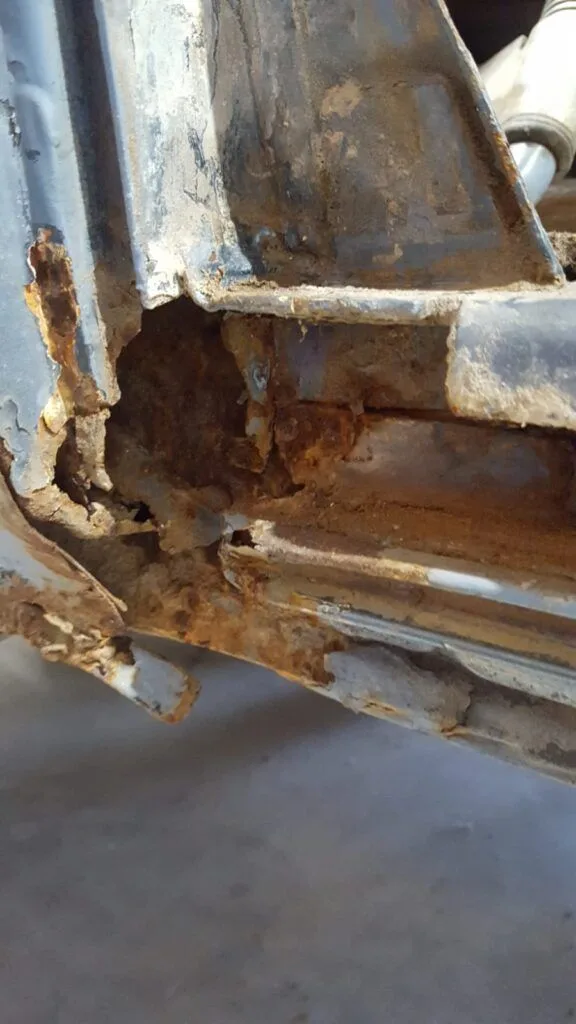
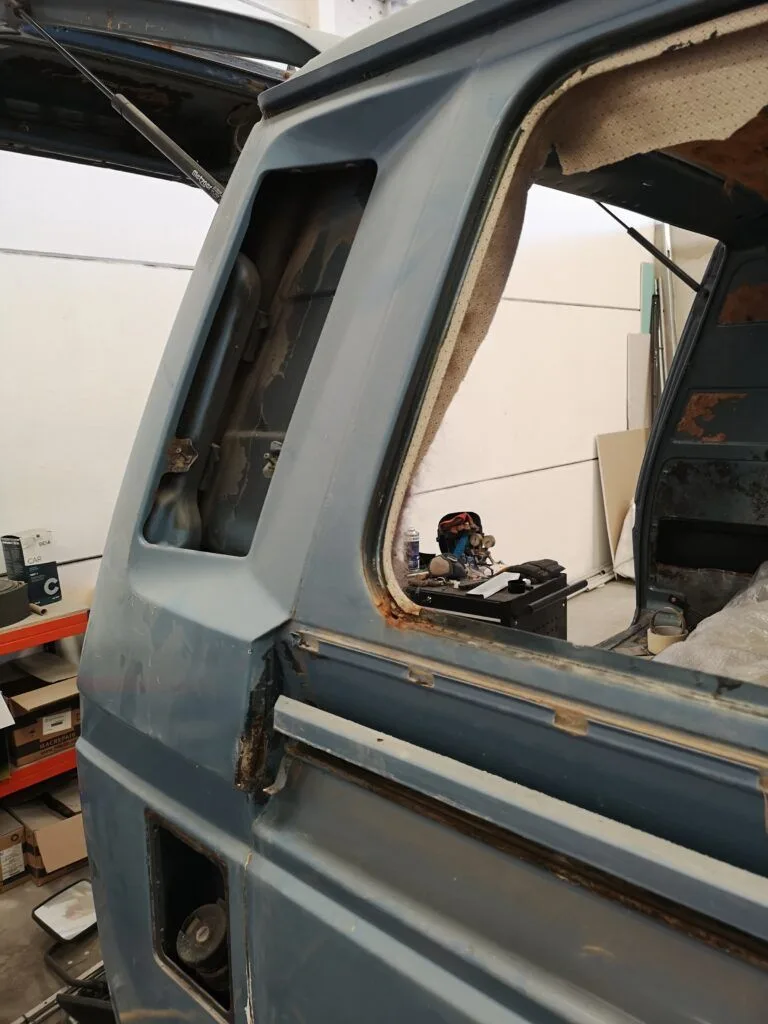
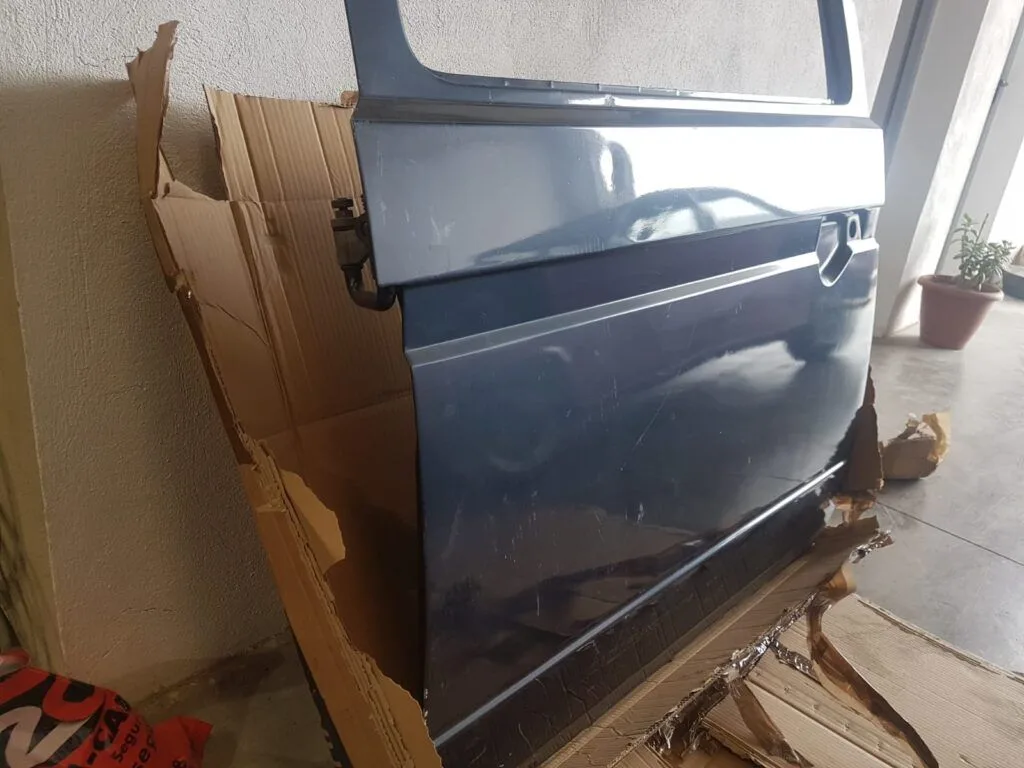
The worst part was undoubtedly the sliding door, which they decided to replace with one I’d found second-hand, and the rear wheel arch adjacent to the sliding door.
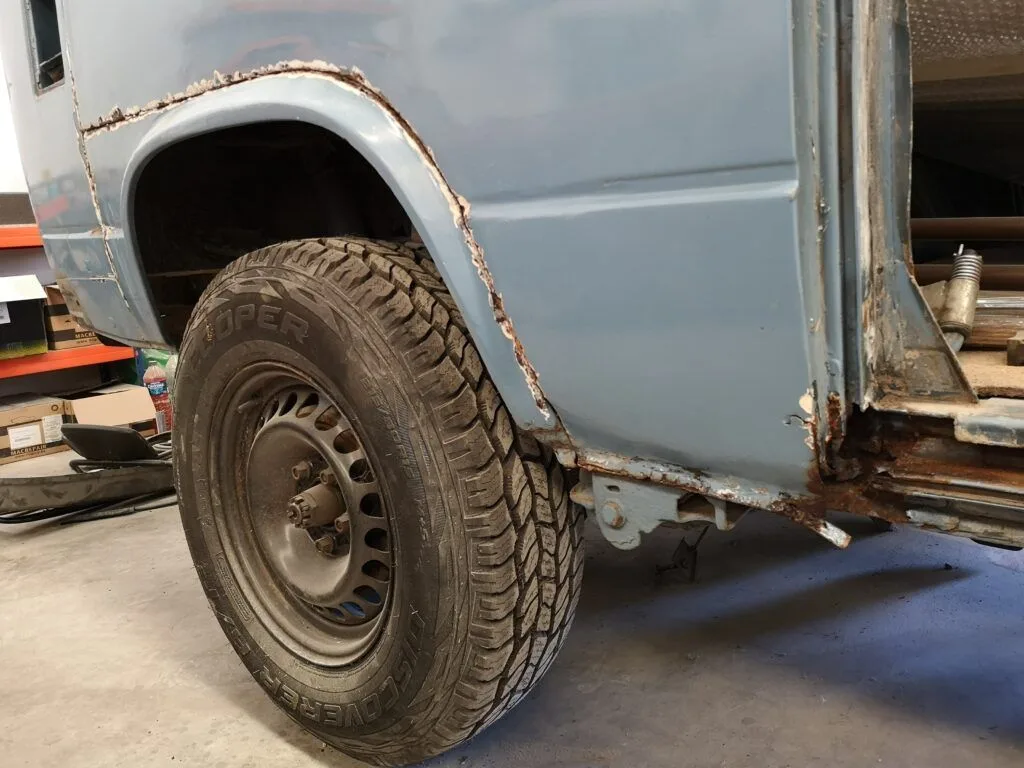
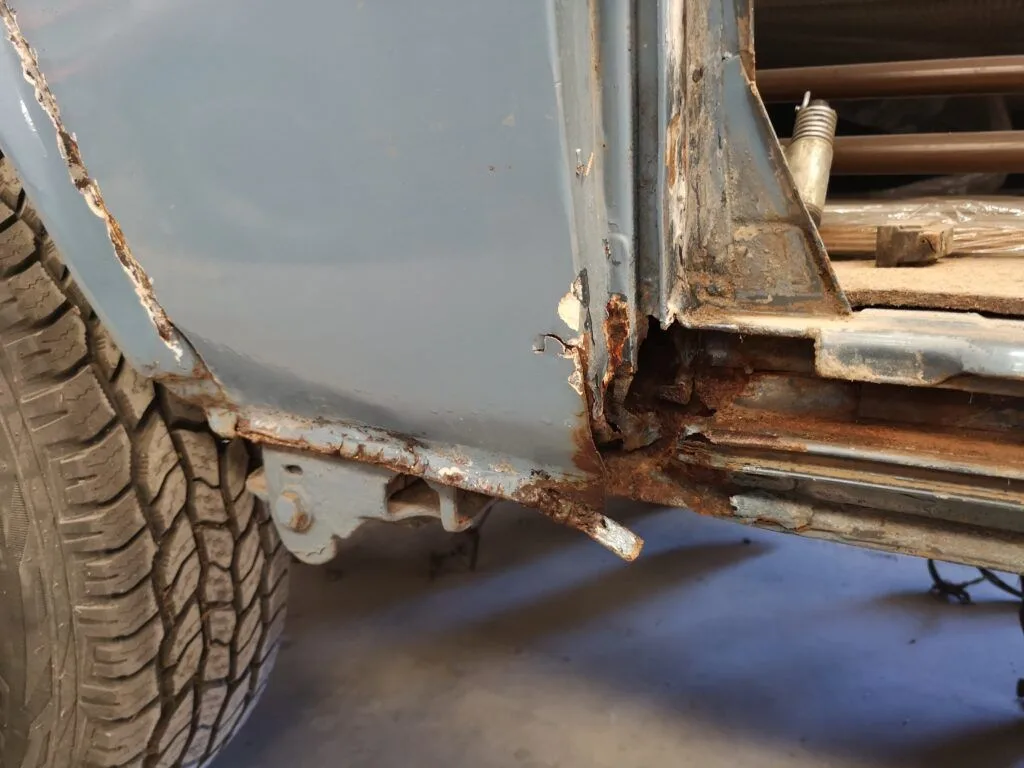
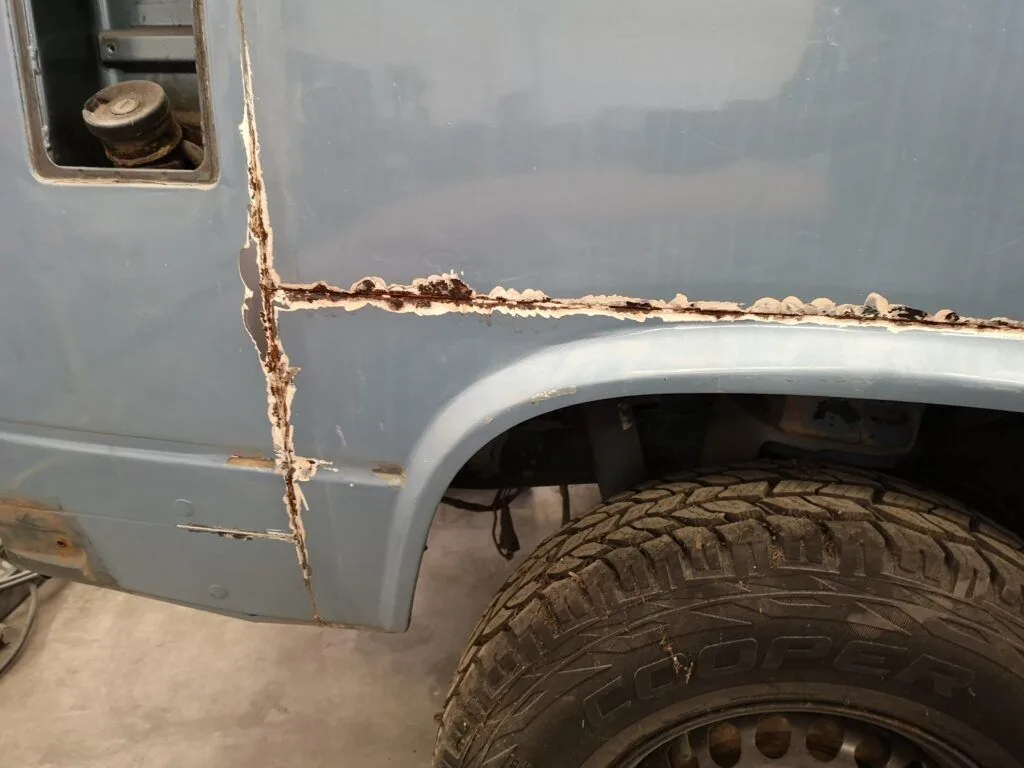
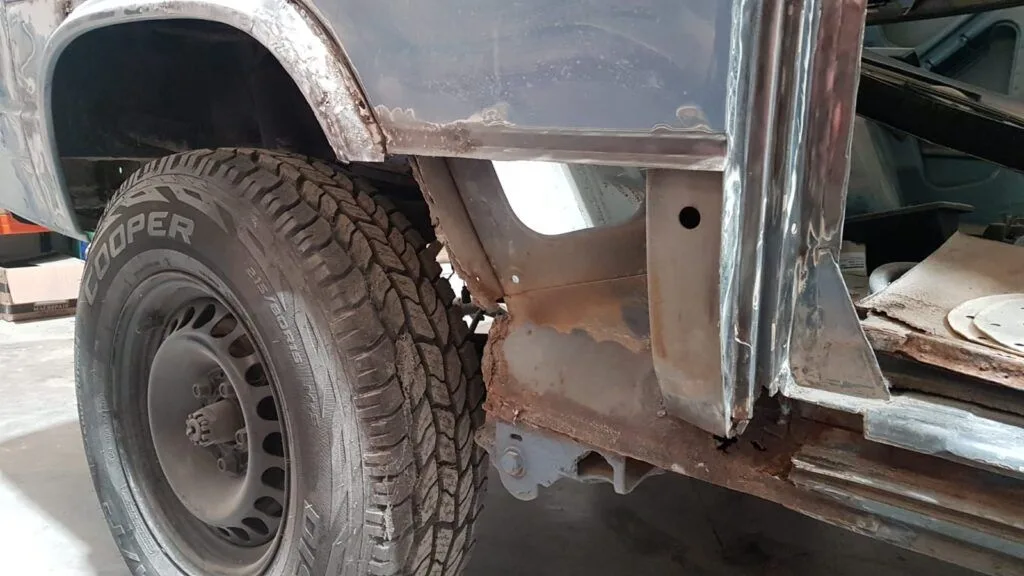
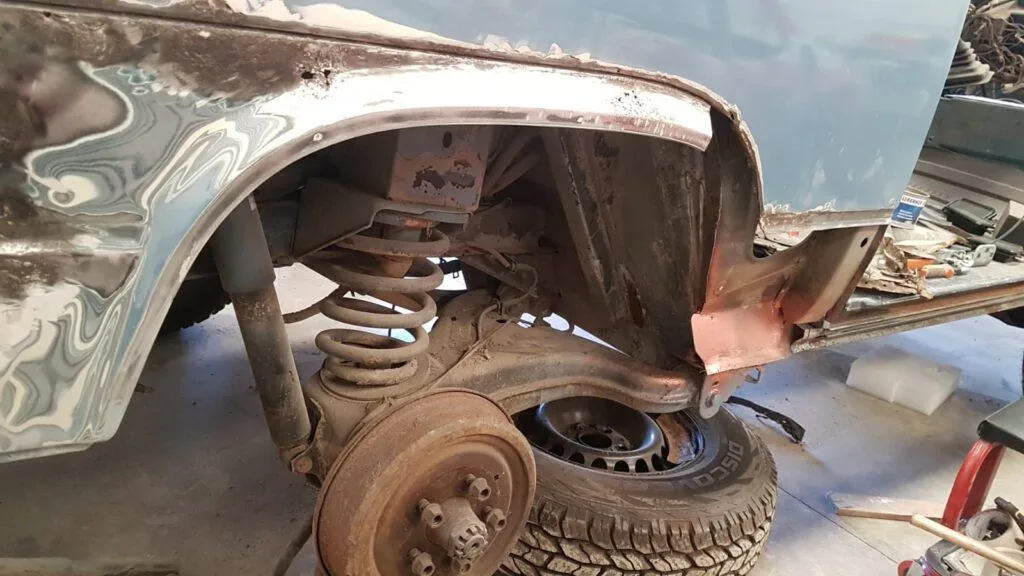
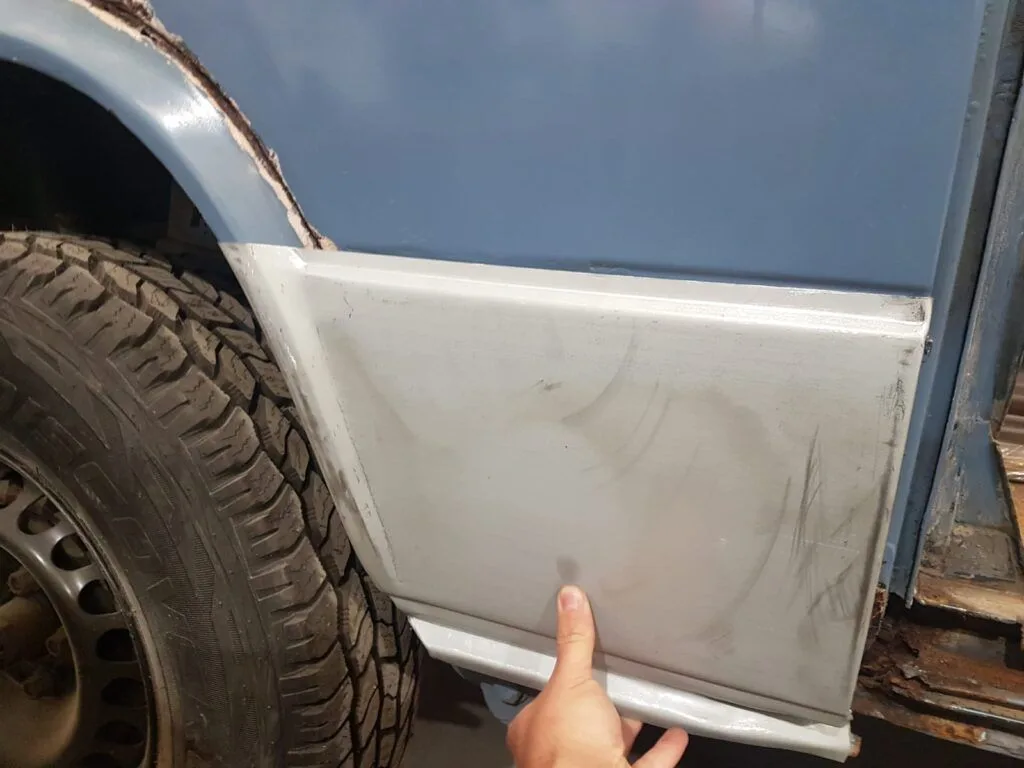
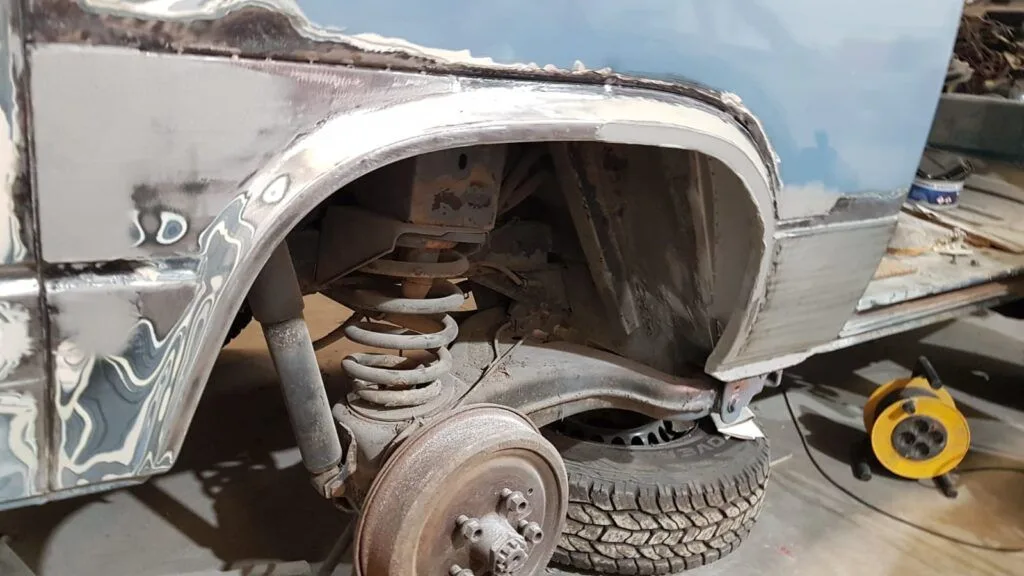
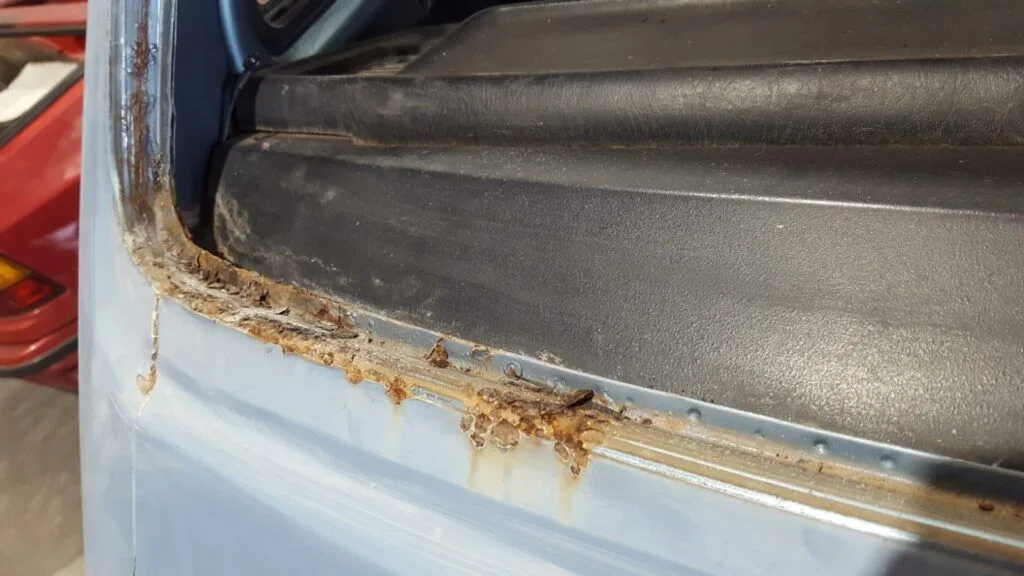
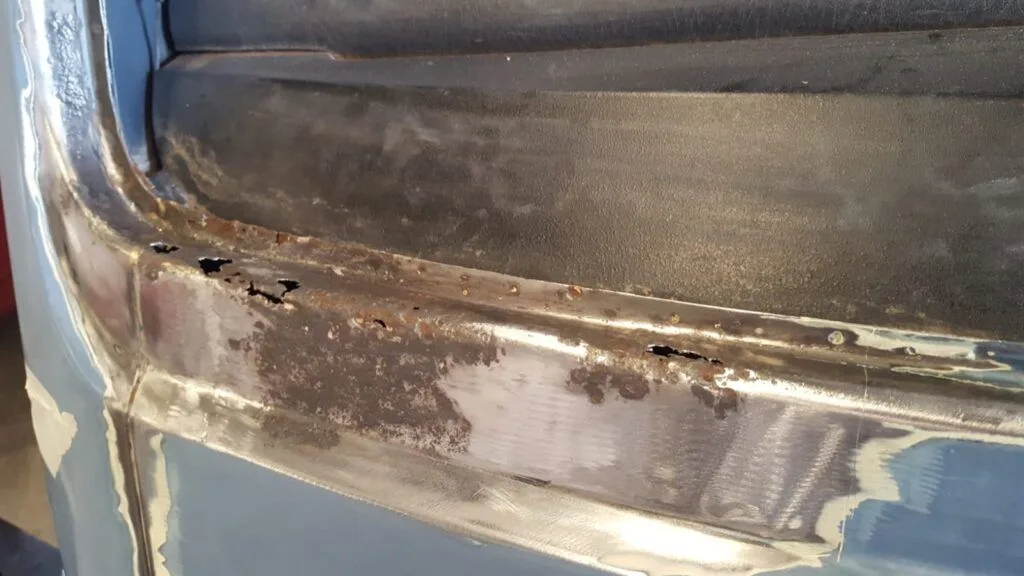
Rust also started to appear in areas prone to it, such as the window frames.
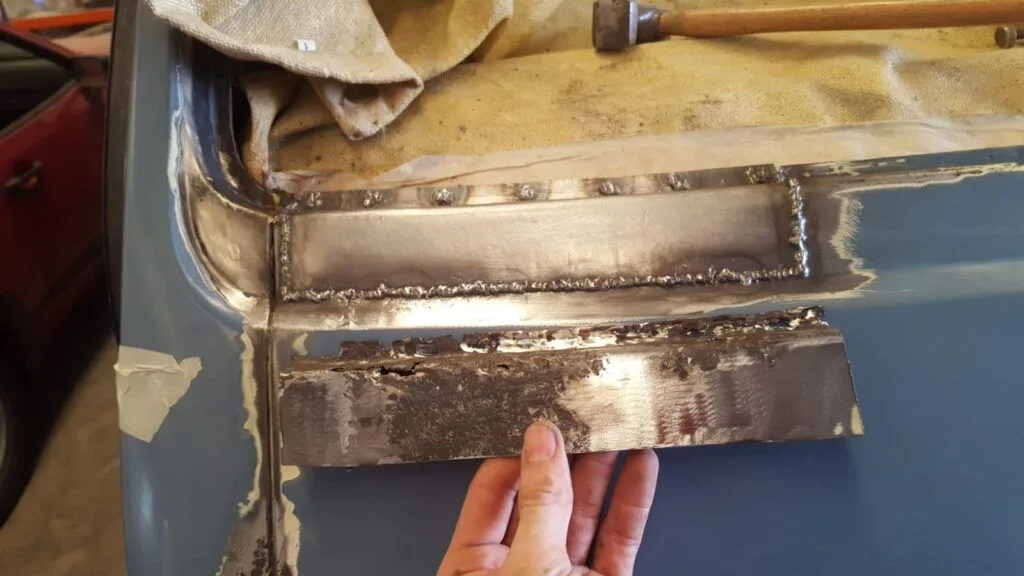
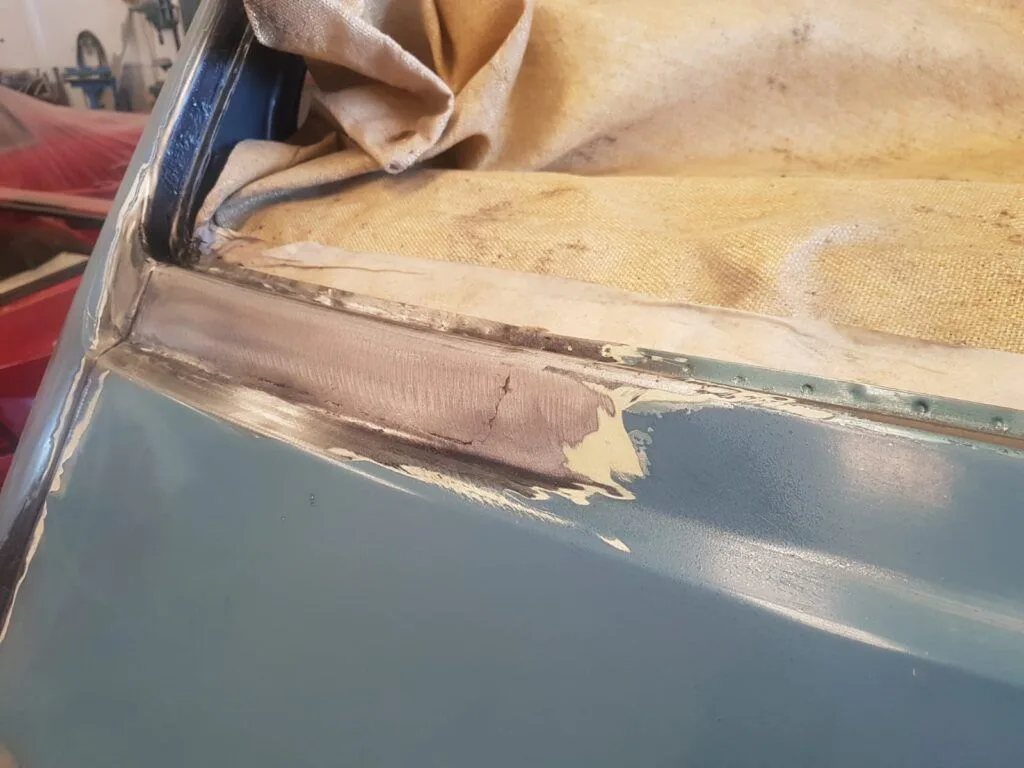
Finally, I also wanted to repair the boot panel, as it had sustained quite a few dents and scratches from loading things into the van.
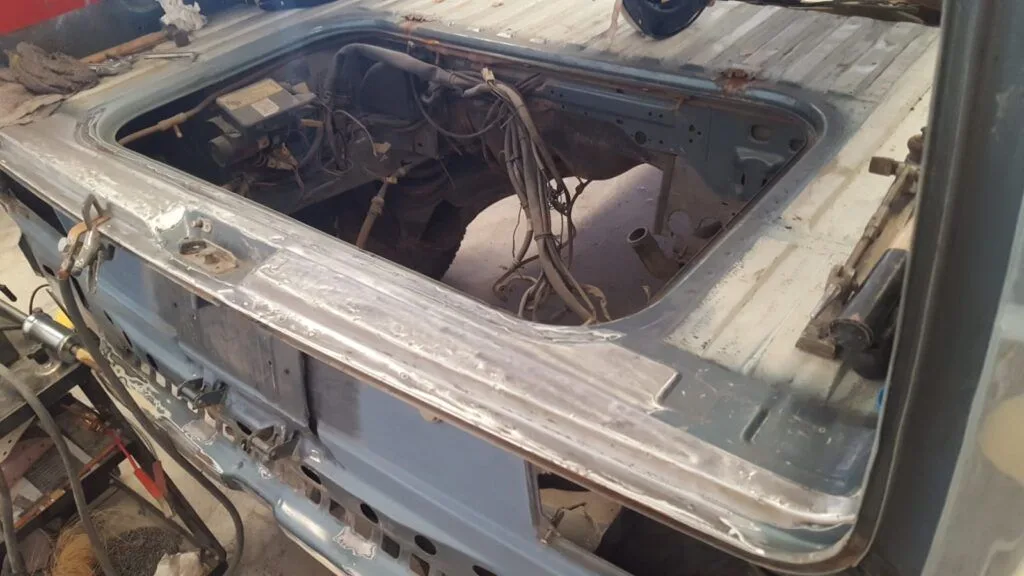
Once the panel work was complete, I proceeded to fill the areas
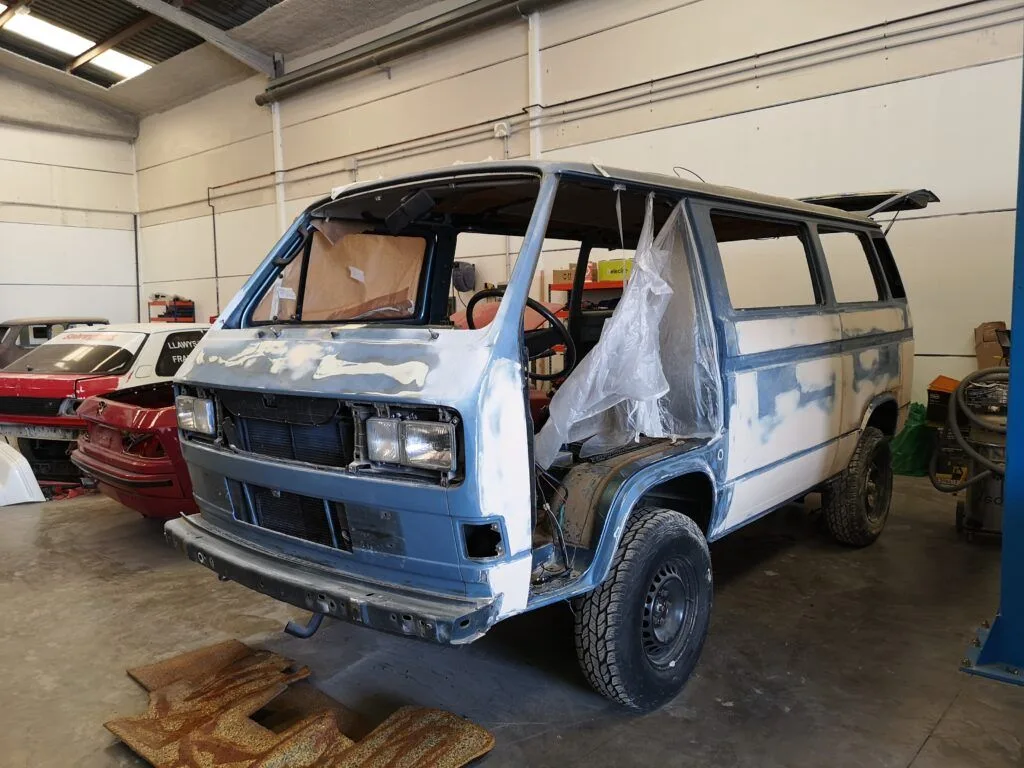
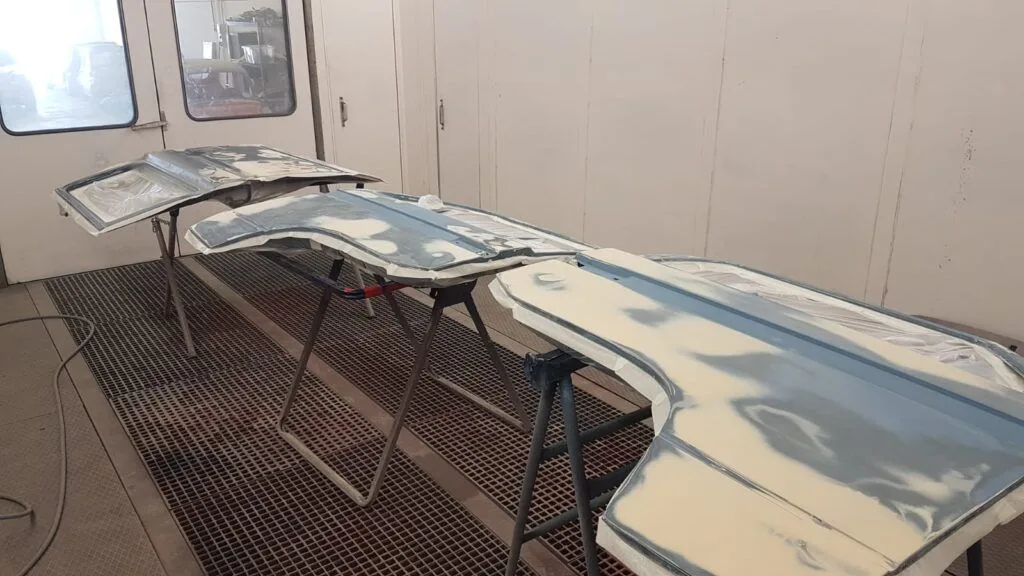
And it was primed to prevent the rust from returning
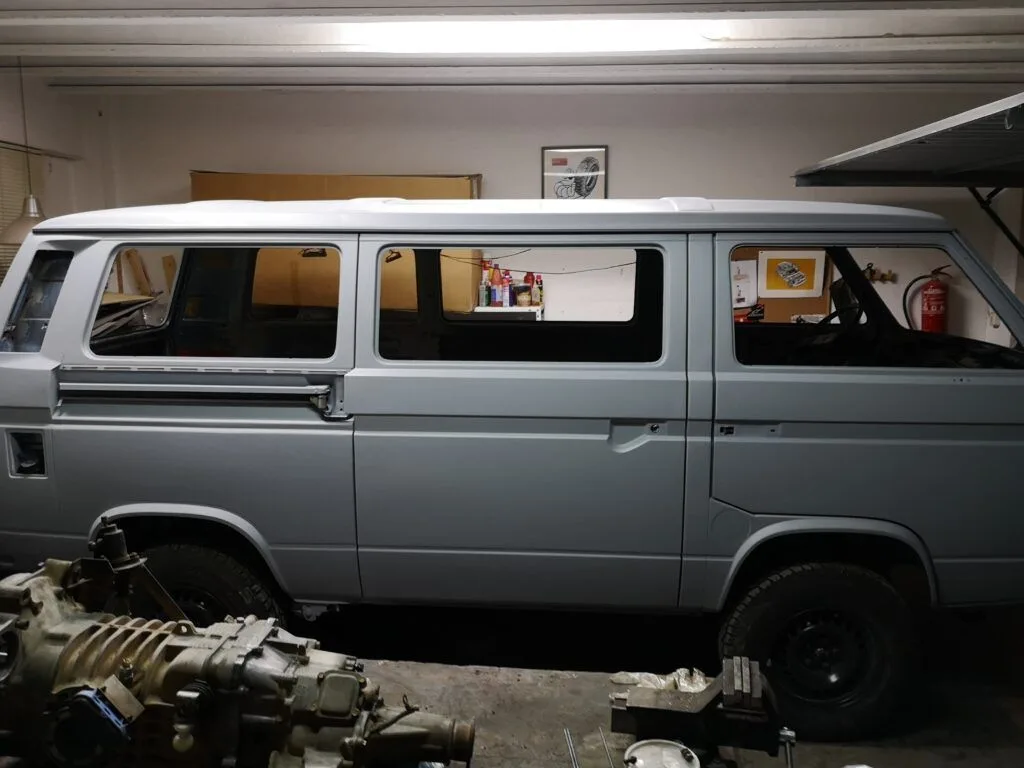
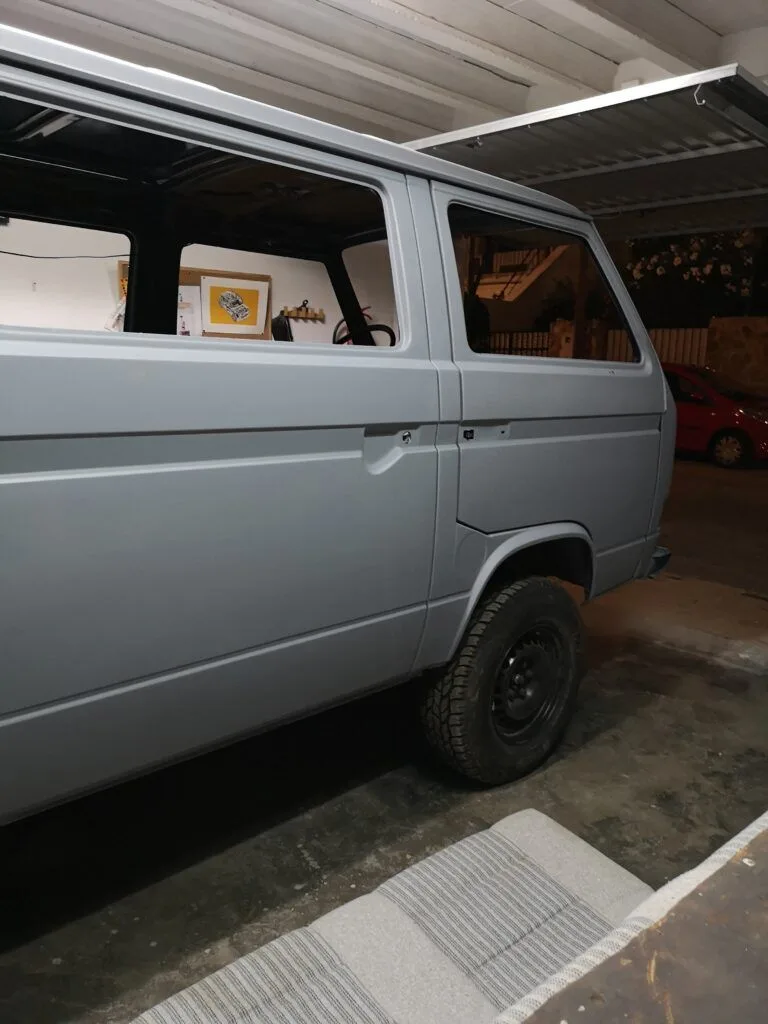
For the moment, I’ve got it in my garage, waiting to remove the fuel tank and a few other bits to clear as much space as possible in the engine bay and underbody so I can apply anti-gravel coating.
It will be back at the workshop shortly to complete the paintwork.