Restoring T3 Syncro transmissions
8 de mayo de 2017
As I’ve got the Syncro’s front differential out, I’ve taken the opportunity to remove the front drive shafts. The aim was to remove all the accumulated dirt (which was making it impossible to unscrew the bolts properly), replace the bellows and grease, check the condition of the balls, raceways and bearing shells… and take the opportunity to paint the drive shafts.
As the differential is already loose on that side, to lower it I removed the six bolts securing it; all that was left was to loosen the hub nut so I could take it out. After applying 3-in-1 several times and using a bar to apply more torque, I managed to loosen the nut. All that remained was to detach the stabiliser bar so we could manoeuvre to remove the whole assembly.
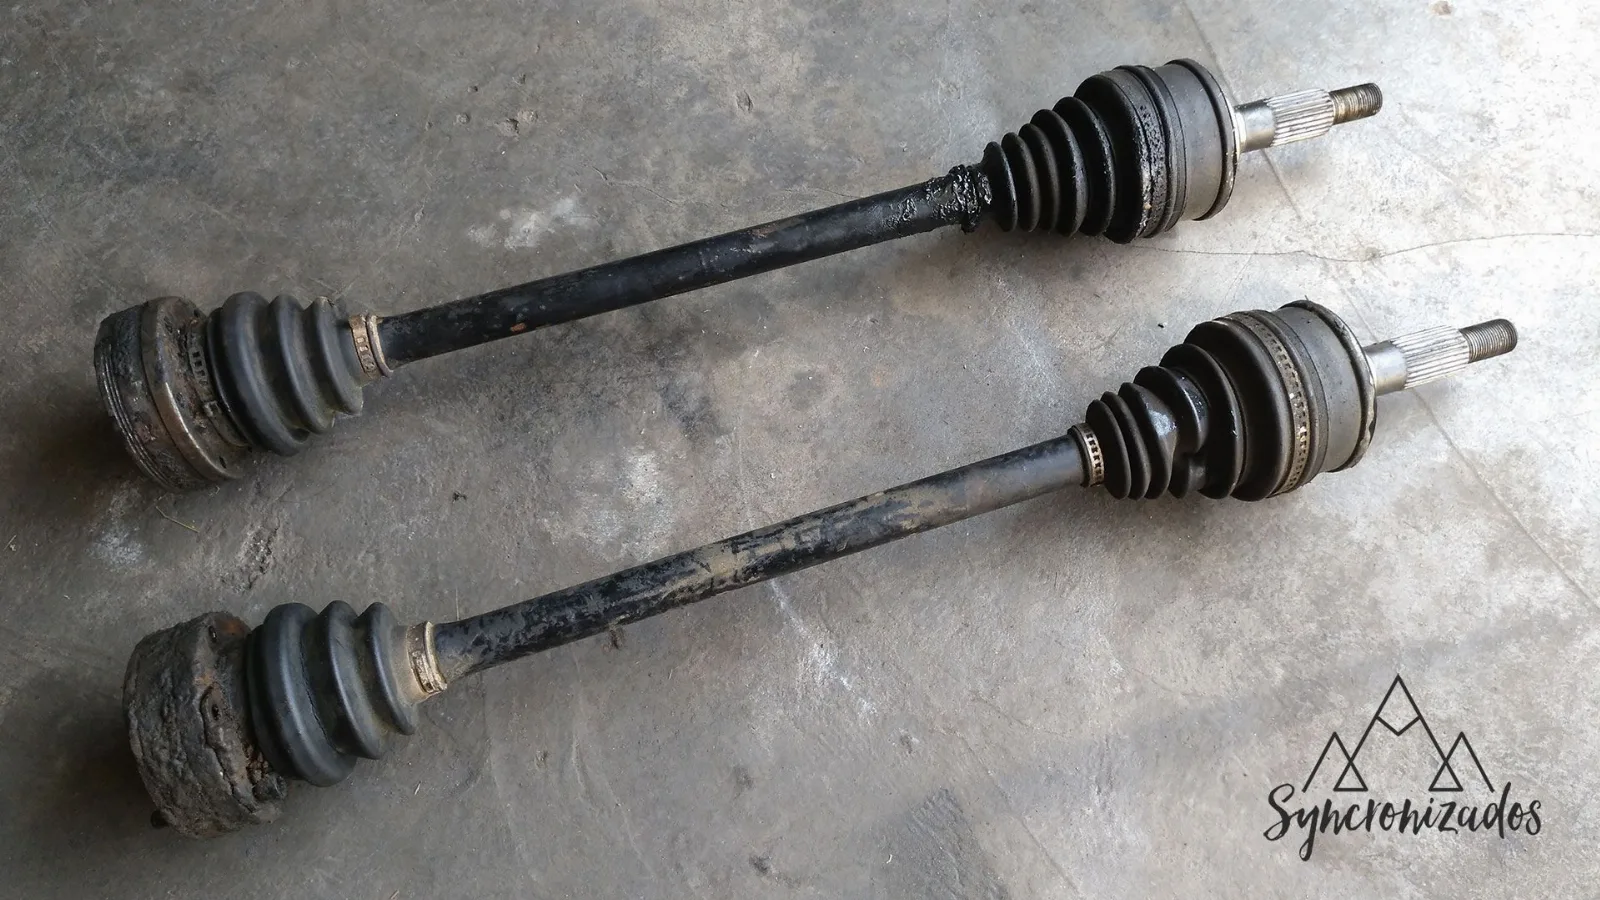
Once the drive shafts are out, it’s time to remove all the dirt (and there’s quite a lot of it), take off the old gaiters and clean off the grease. As you’ll know, petrol helps with these tasks.
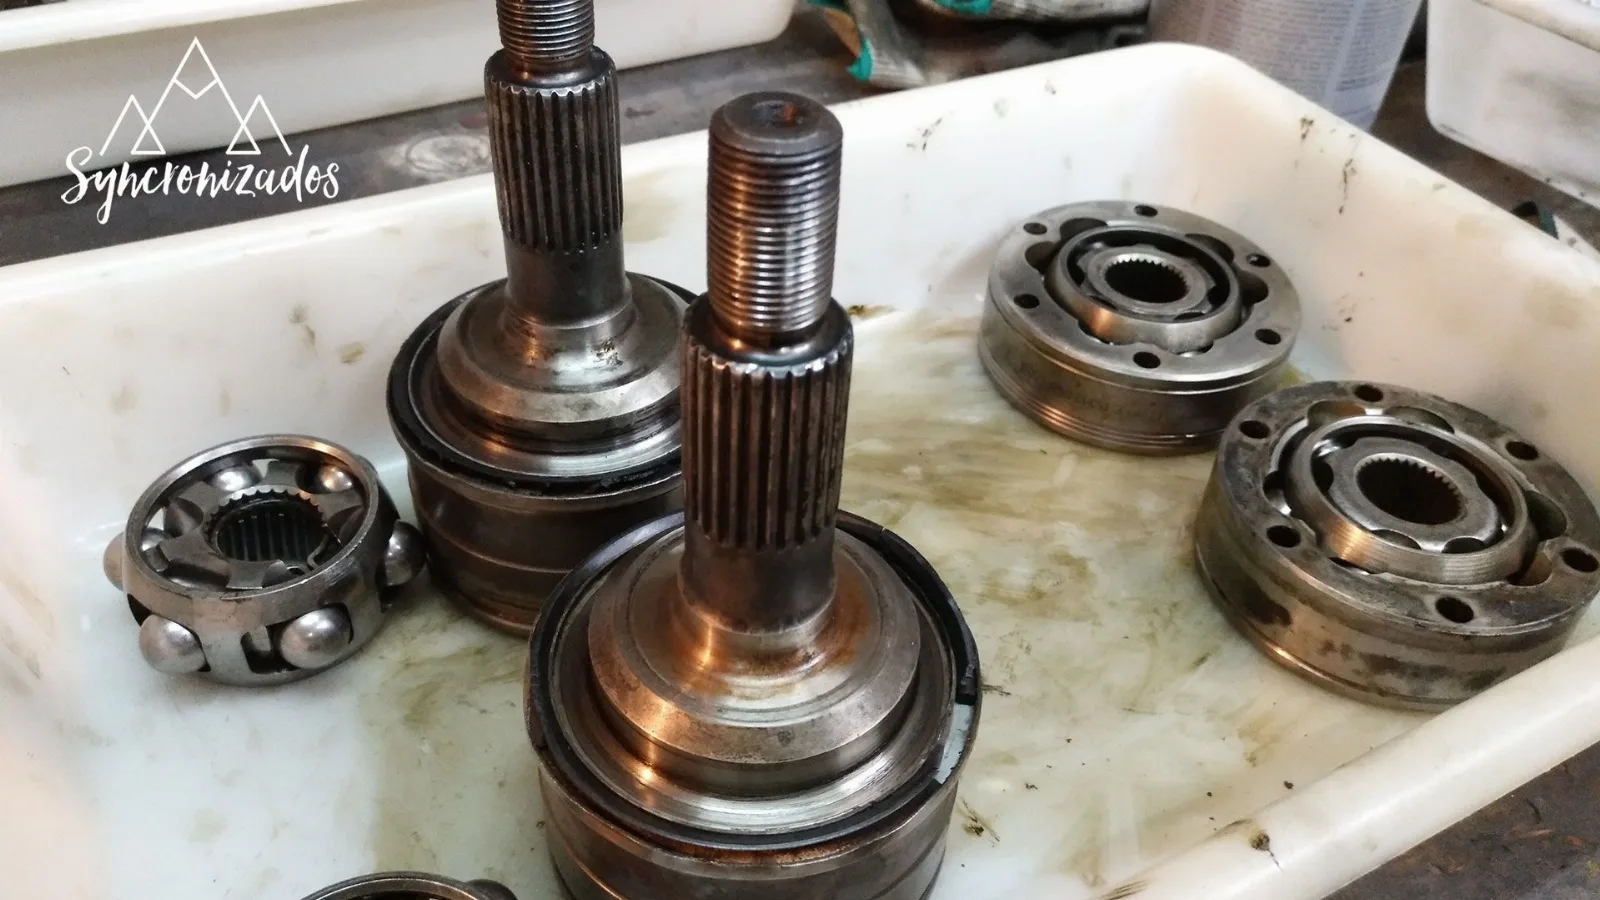
Having assessed the wear and tear – and although there is some – I decide to refit them and not spend any more money. When the constant-velocity joints start making a lot of noise, I’ll replace them. You’ve got to cut back somewhere, and they aren’t exactly cheap parts. So for now, I’ll put up with them.
So I’ve decided to give everything a thorough clean and buy some new boots. As these are for the front drive shafts, you need to bear in mind that one type is used on one side and a different type at the ends.
I’ve bought the following:
I also took the opportunity to sand down the bearing housing and give it a coat of black polyurethane paint, which is supposed to be more impact-resistant as it’s more ‘rubbery’.
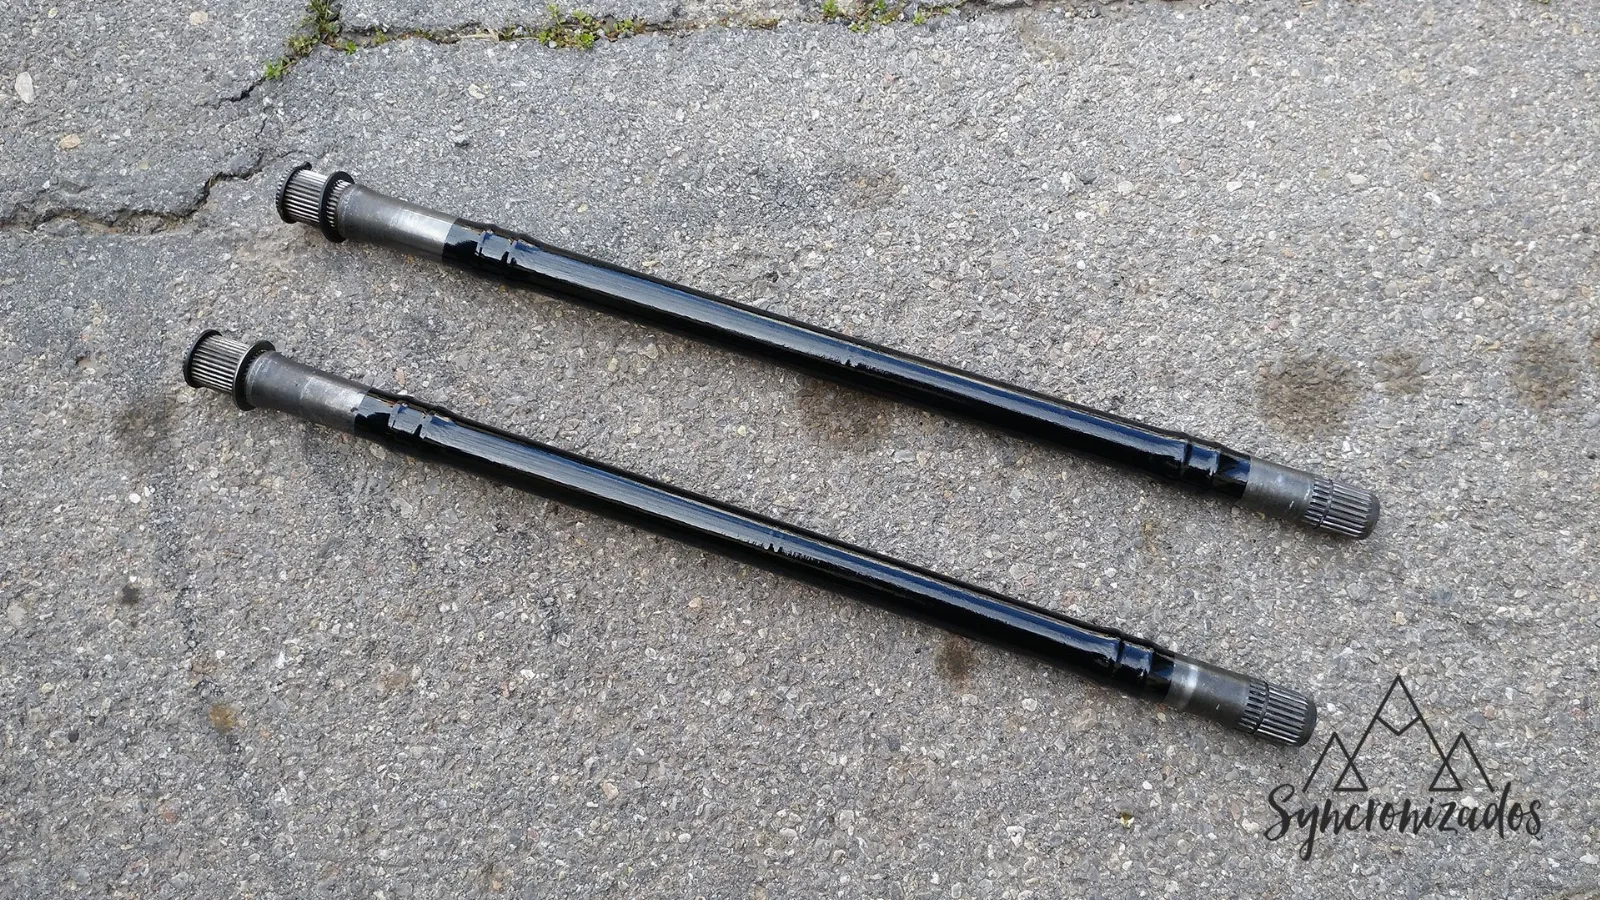
All that’s left is to fit all the parts, apply the grease, fit the dust cover (after bleeding the air out of it first) and secure the clamps properly. With that, everything’s ready to go back in place.
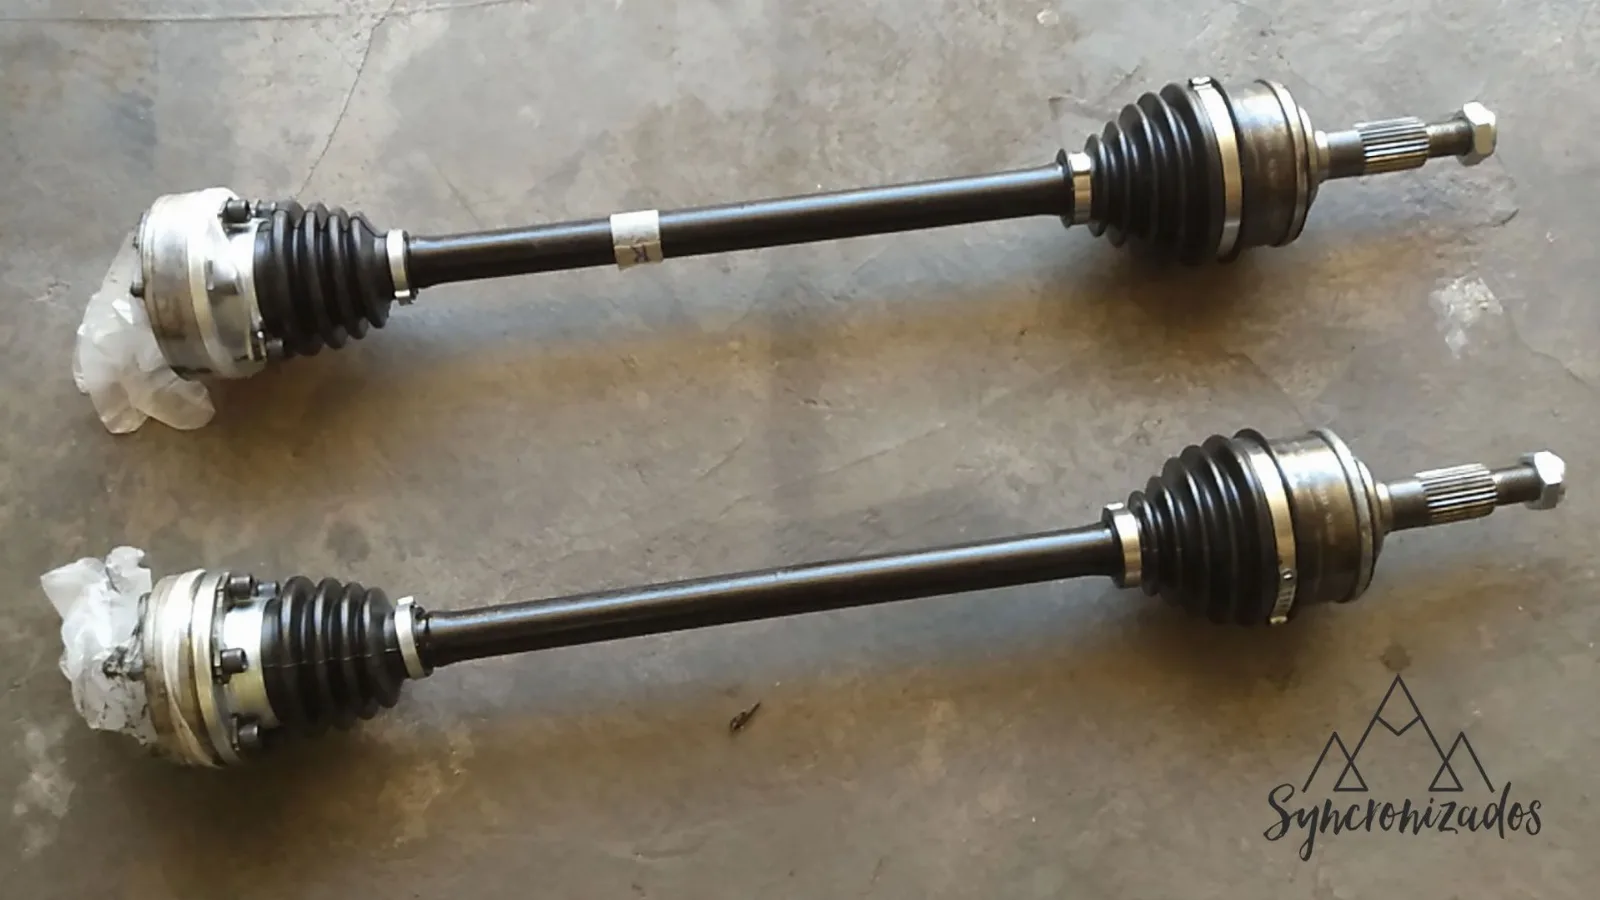
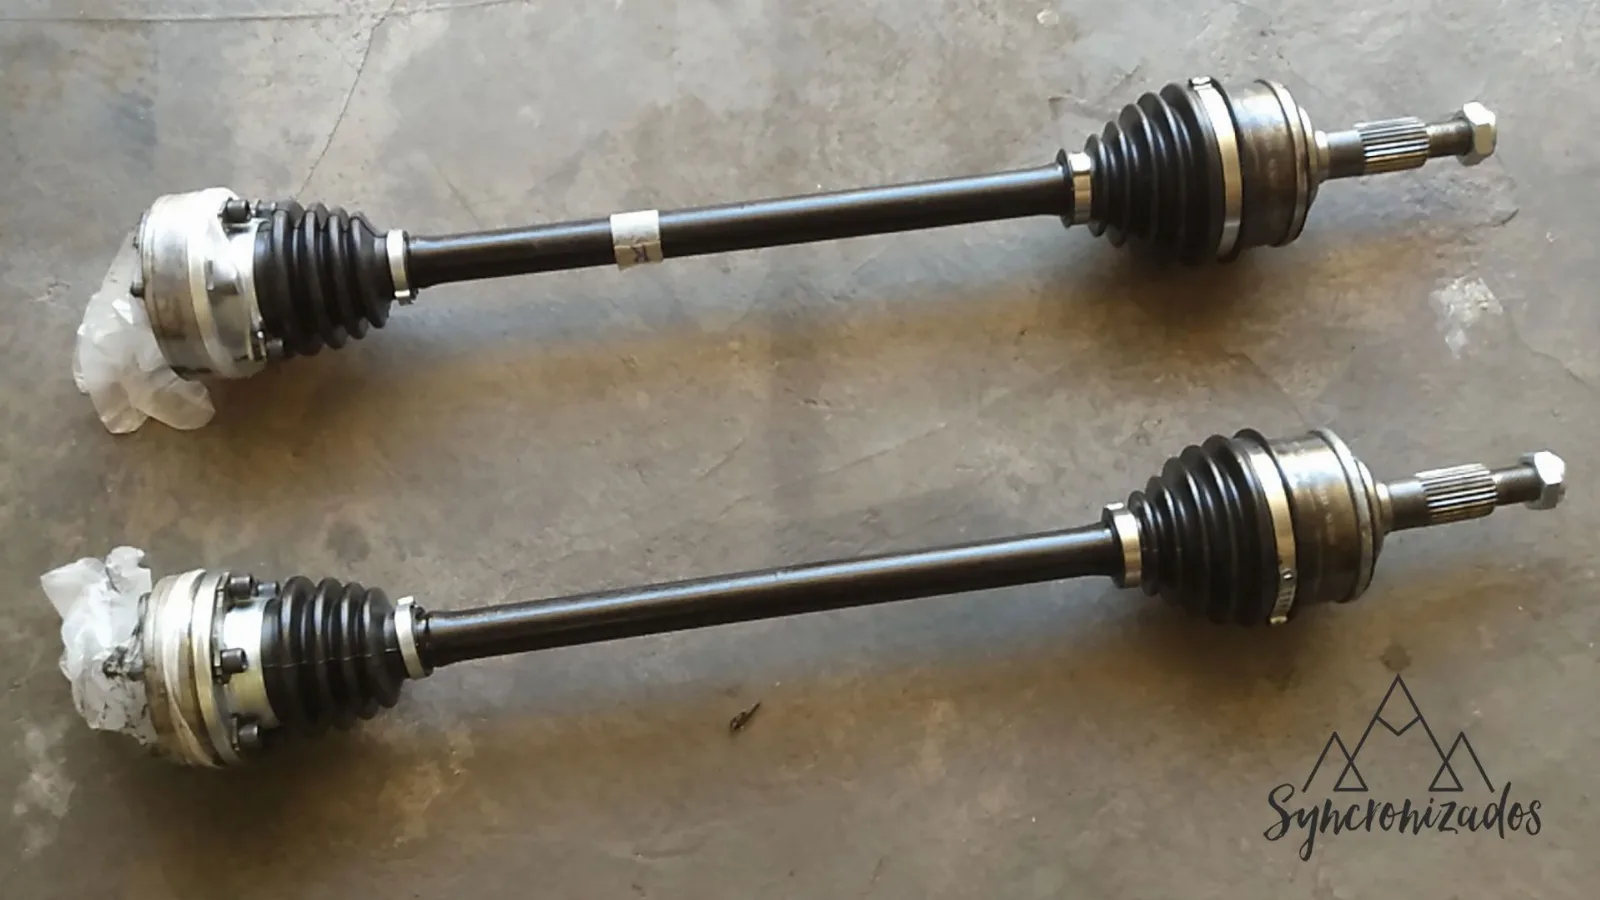
Here’s the result: